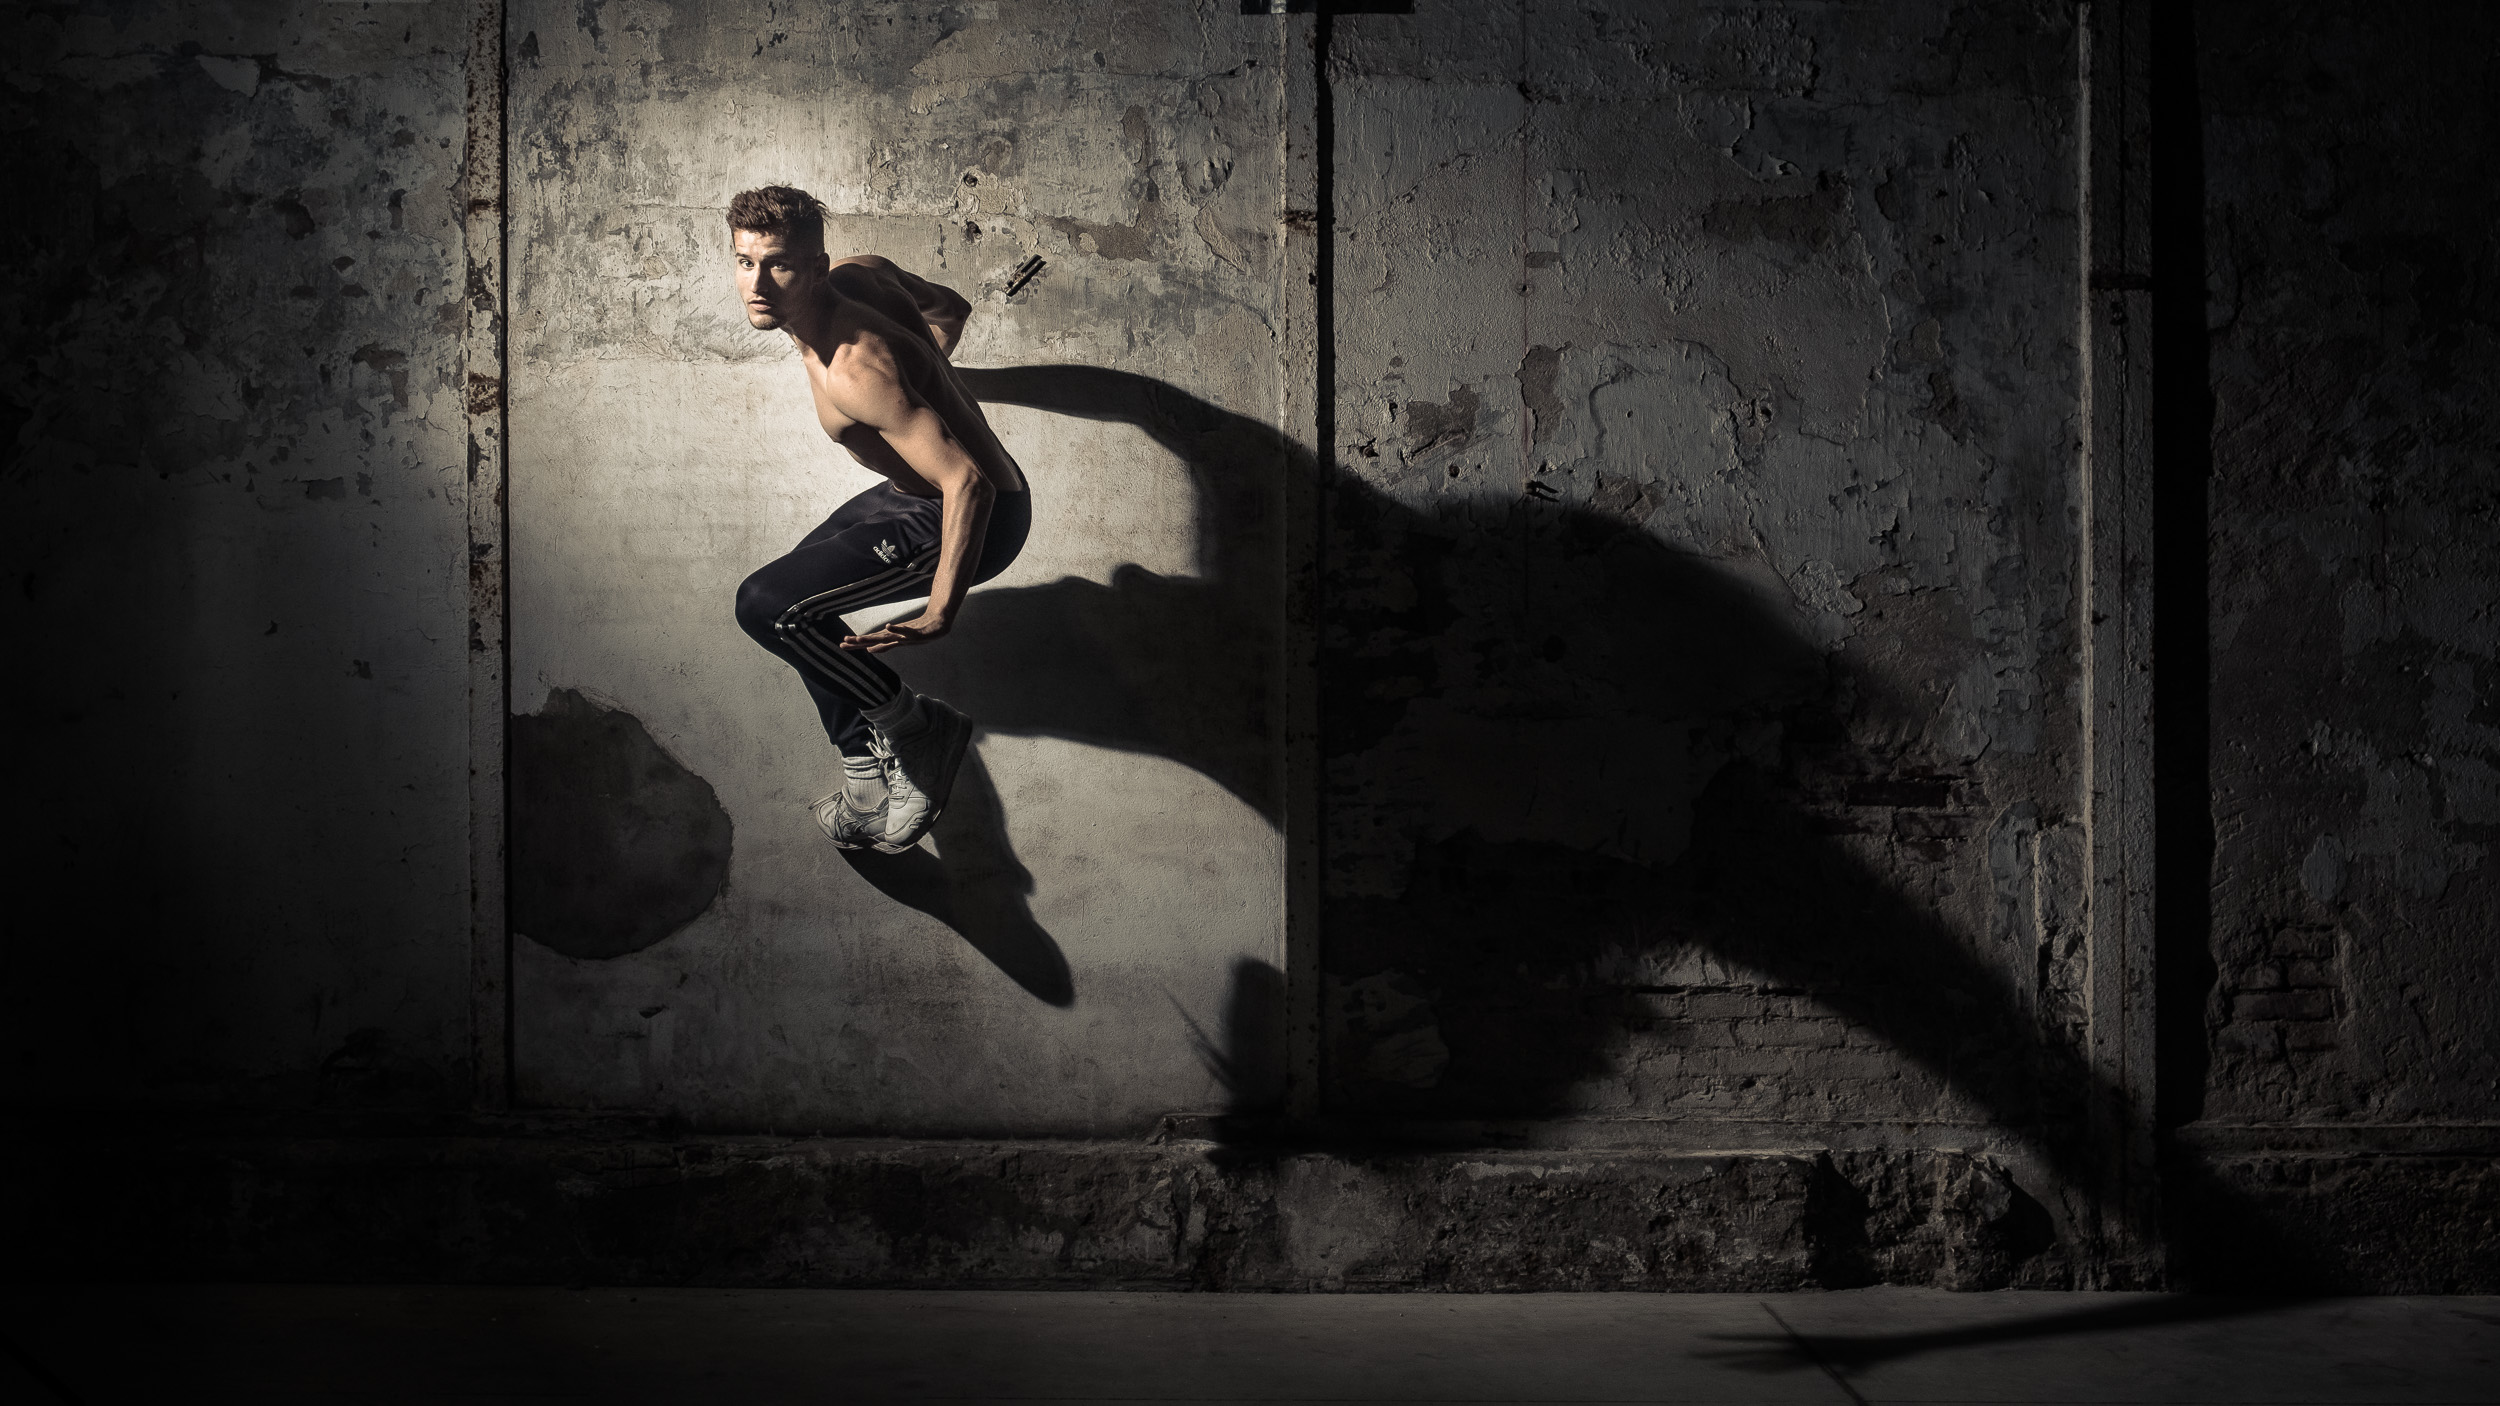
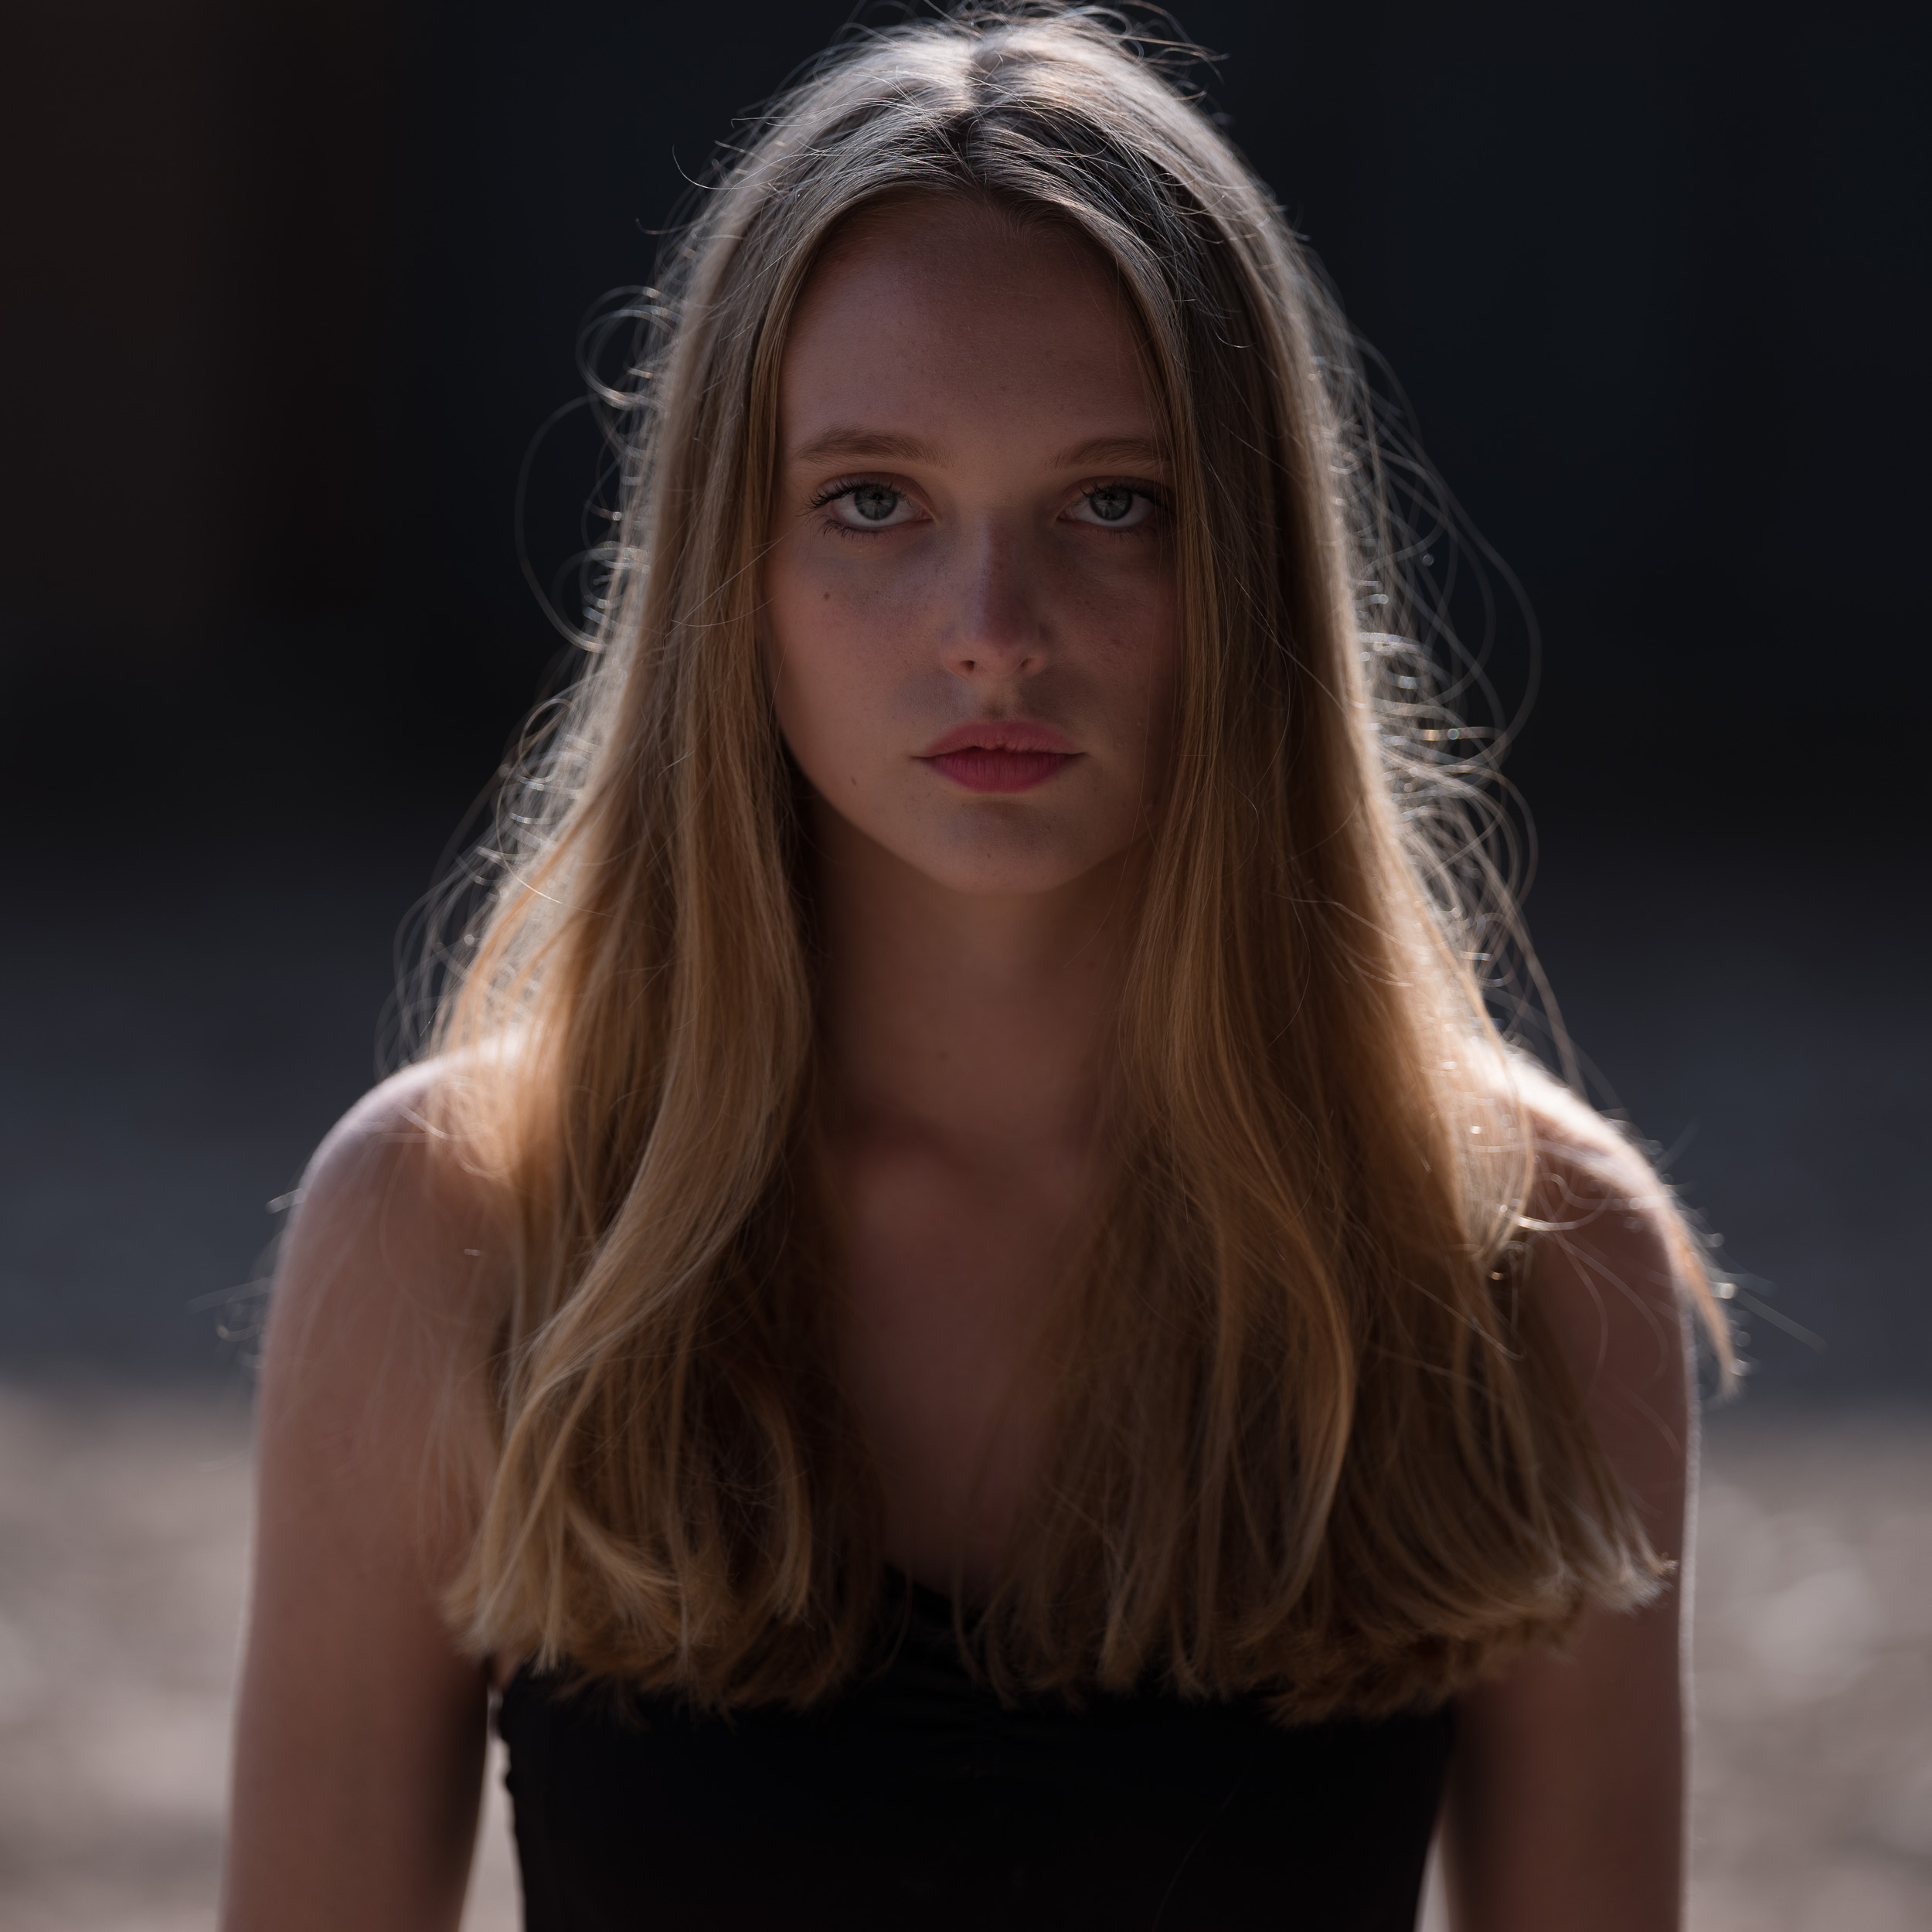
Making your light look natural
There are two ways you can use flash: in an inconspicuous way or in a way that clearly says “this was lit”. To me, as with just about anything else in photography, there is no right or wrong. It’s a matter of personal taste, preference and also a matter of what you want your photo to say. While I’ve done my fair share of images that clearly looked “lit” (and I still love doing this kind of work), I sometimes also try to use my flashes in a more subtle way. The great Gregory Heisler, whose fantastic book 50 Portraits shows you some great examples of flash photography, calls this “motivating the practical”: you have to motivate your light, make it look authentic, believable. The use of colour gels will also help a lot to make your (fake) flash light look real.

An interesting scene… lit by boring light.
I was traveling through Swedish Lapland when this nice scene caught my eye. I liked the patina on the wall and the old bike with the reindeer skin on it. The only problem was again that the available light was too nice, too soft. It did not bring out the patina the way I wanted it to. So I added an orange filter to my flash and put it parallel to the wall, outside of the frame on a tripod (I use my tripods (I use my tripods - like the Sirui Traveller T2204XL I'm currently using - more as light stands than I do as camera stands)more as light stands than I do as camera stands), aiming slightly down. The result is a picture that looks like it was made with the setting sun. The orange filter helps to motivate that.

The same photo with an orange-gelled flash lined up parallel to the wall, simulating golden evening light. The light brings out the texture in the wall and adds some interesting shadows.
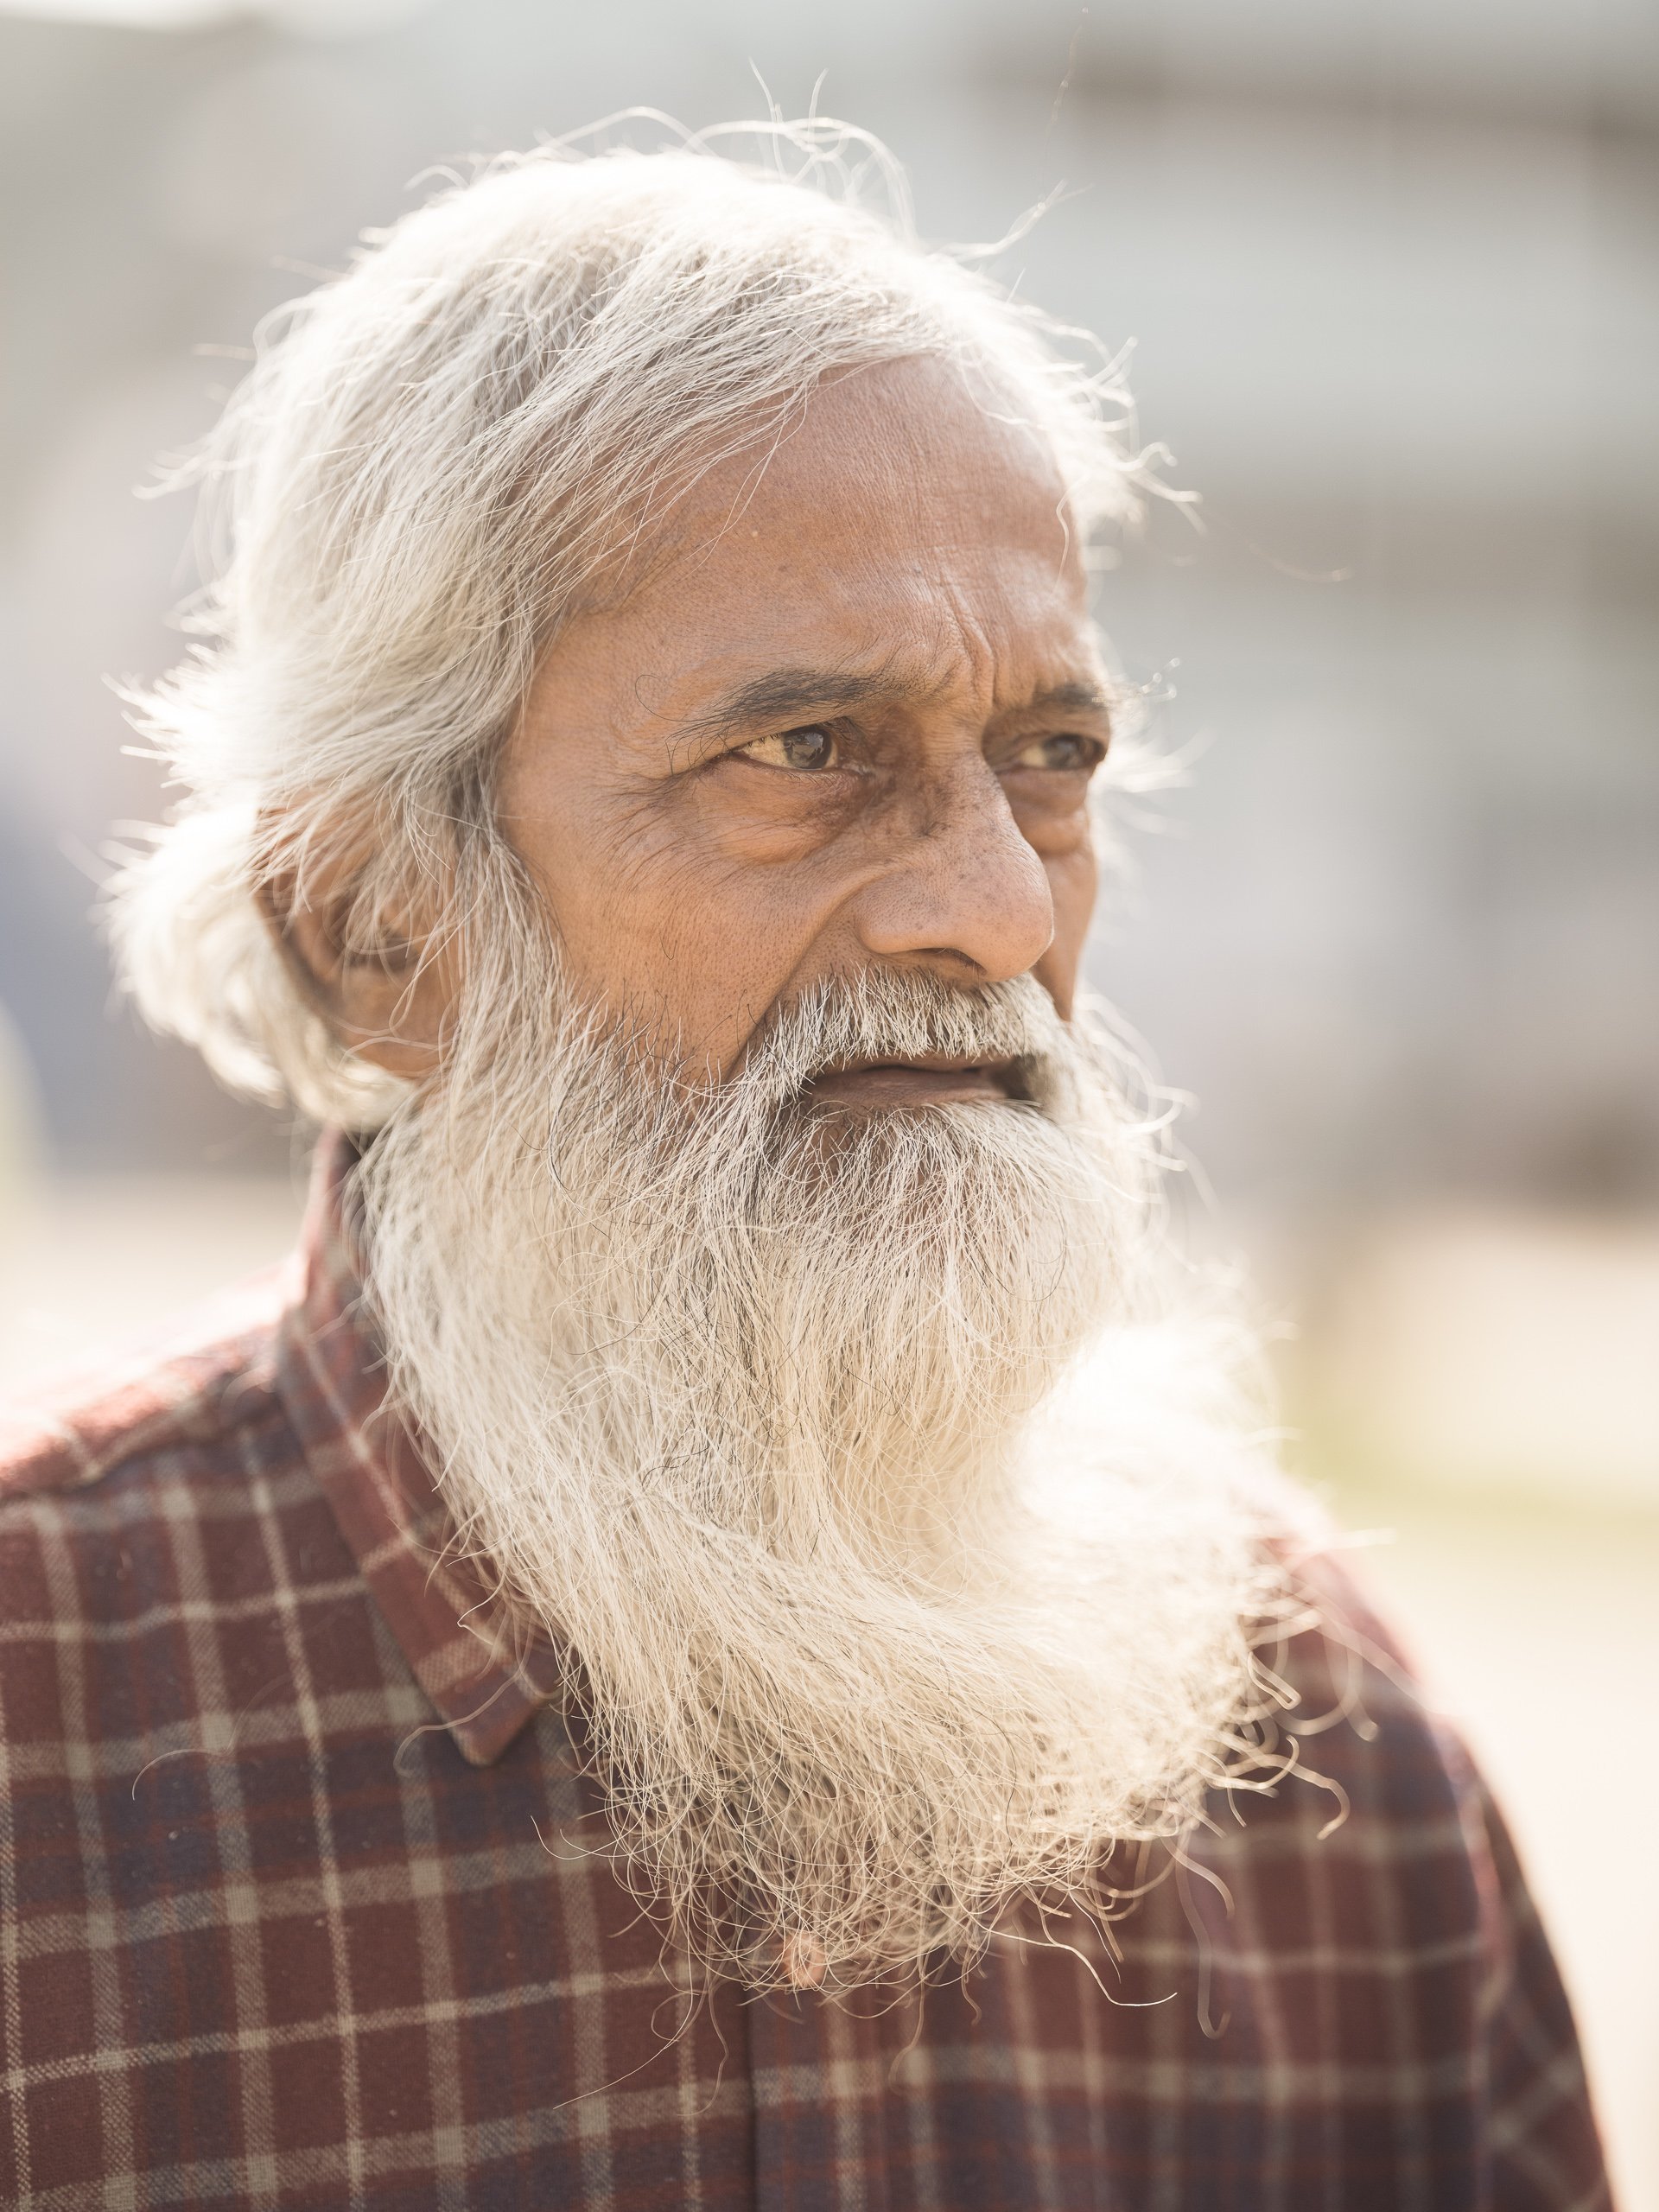
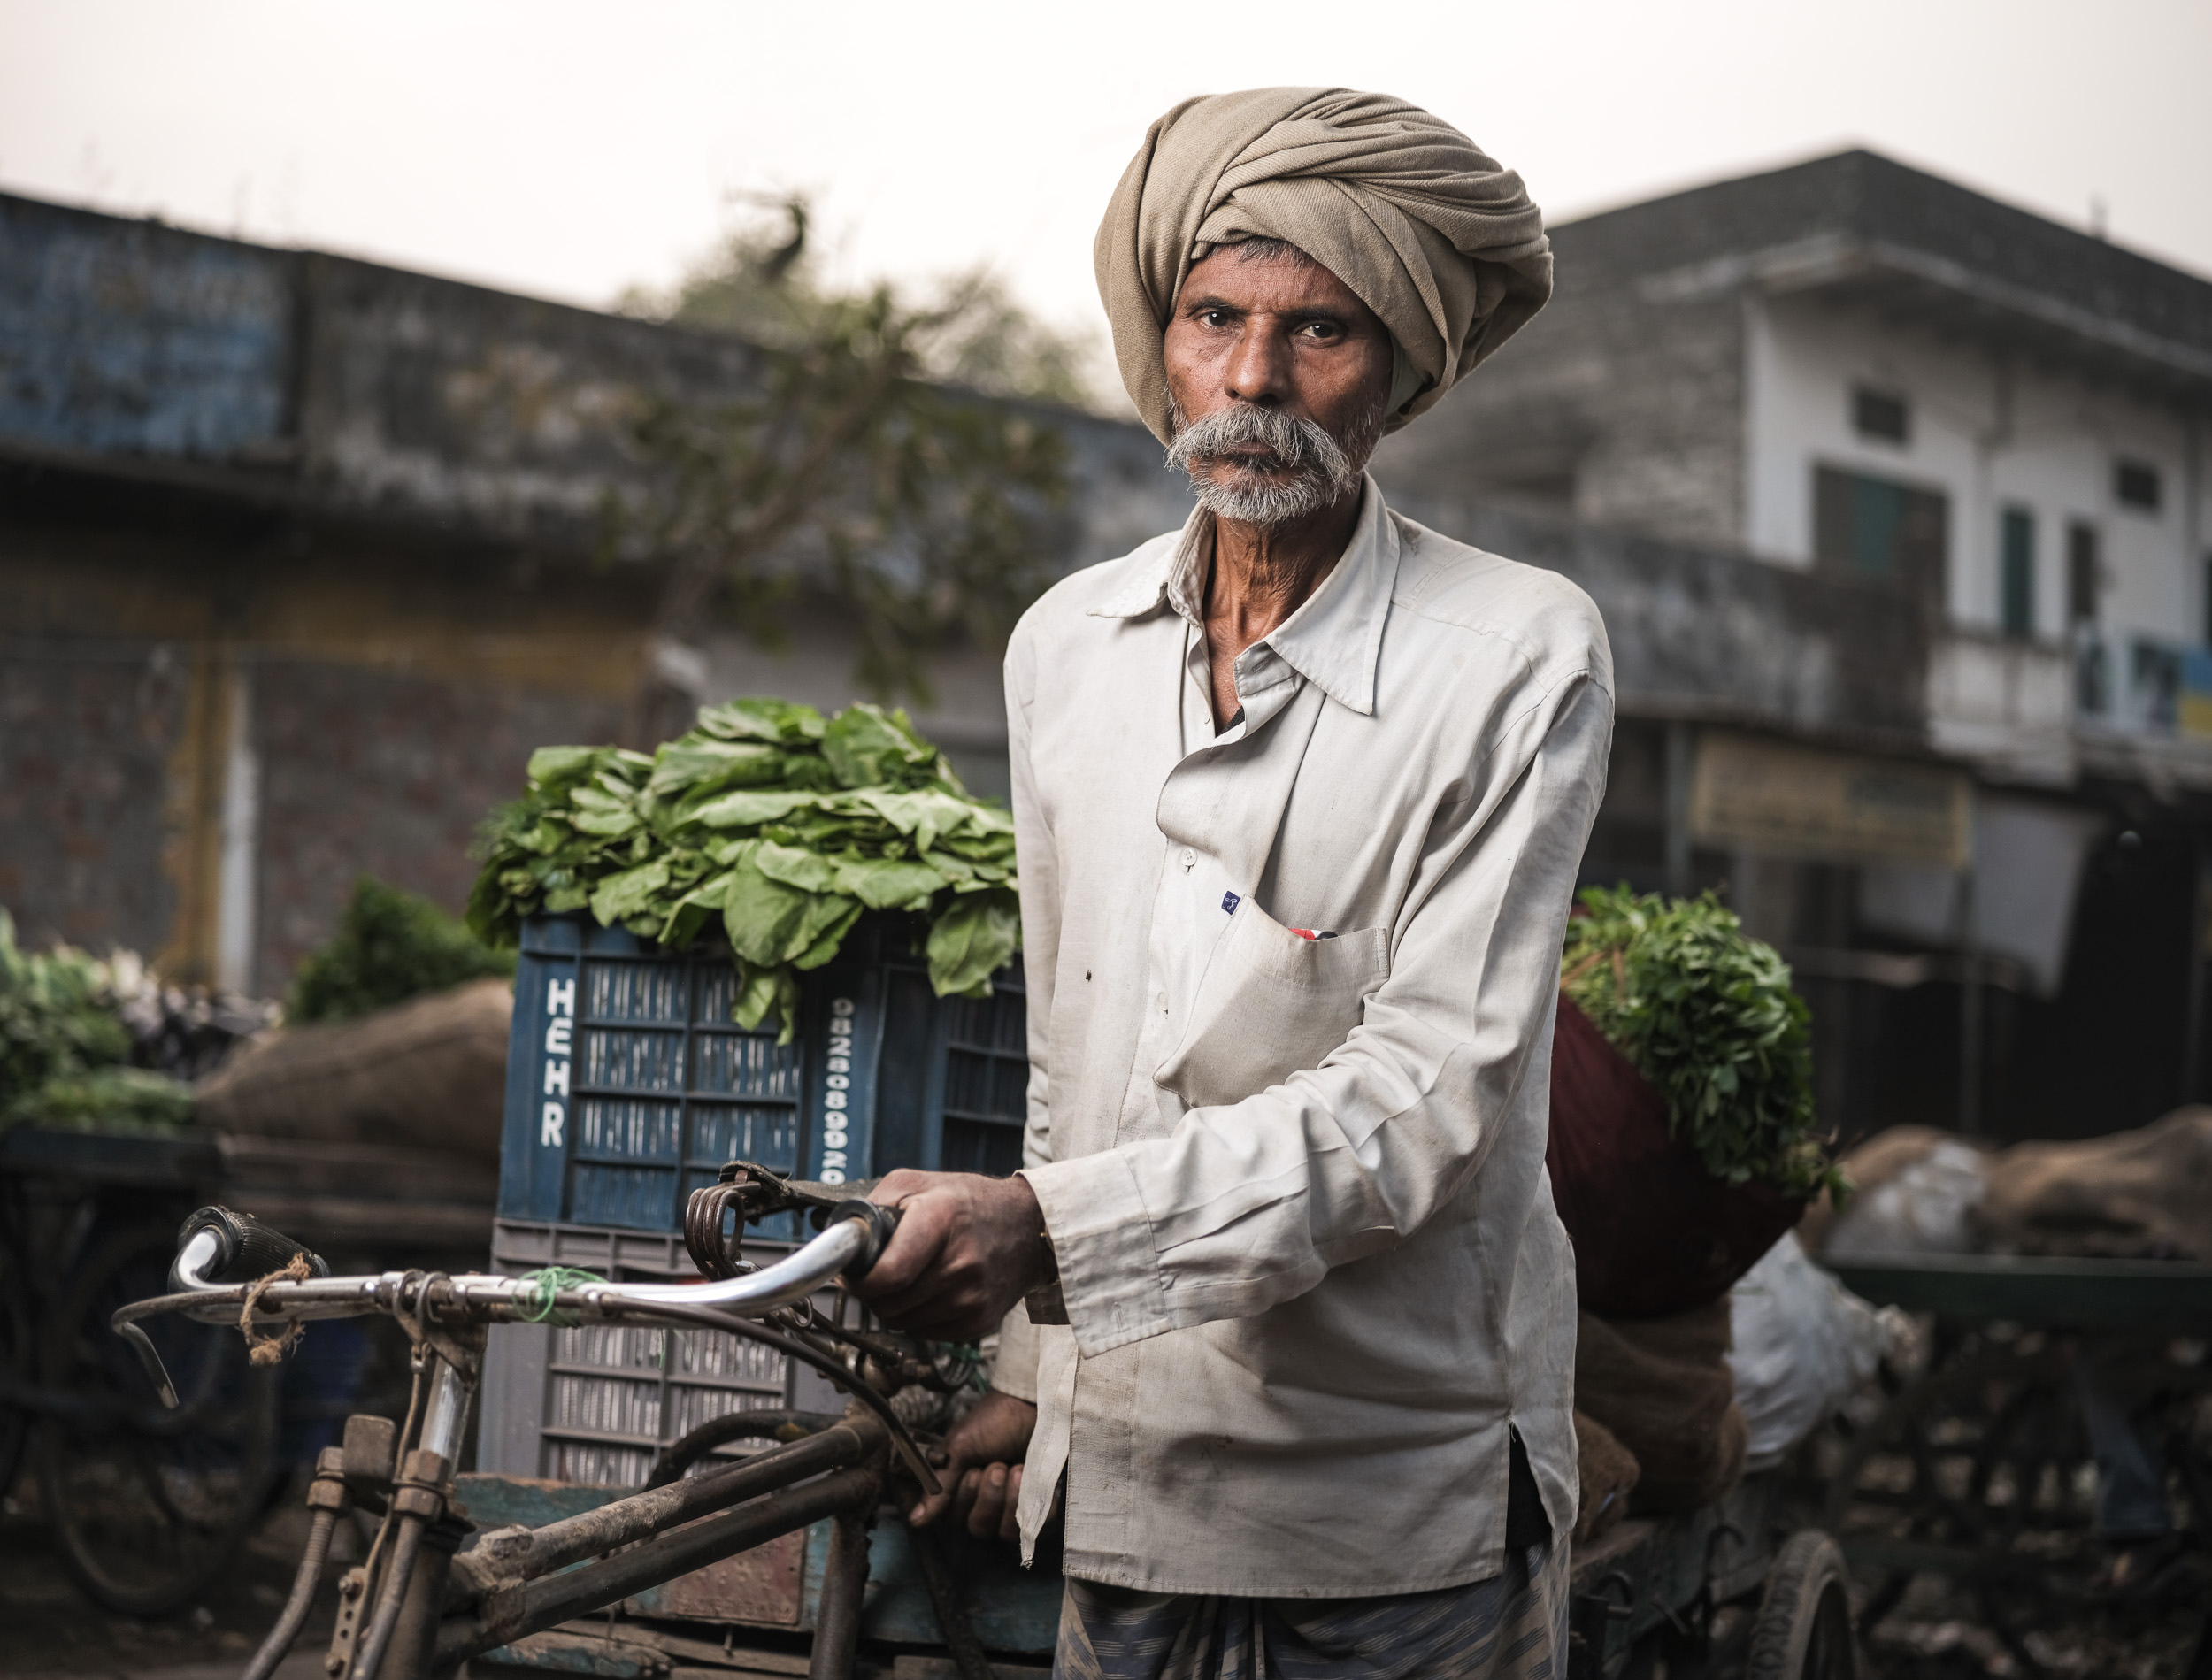
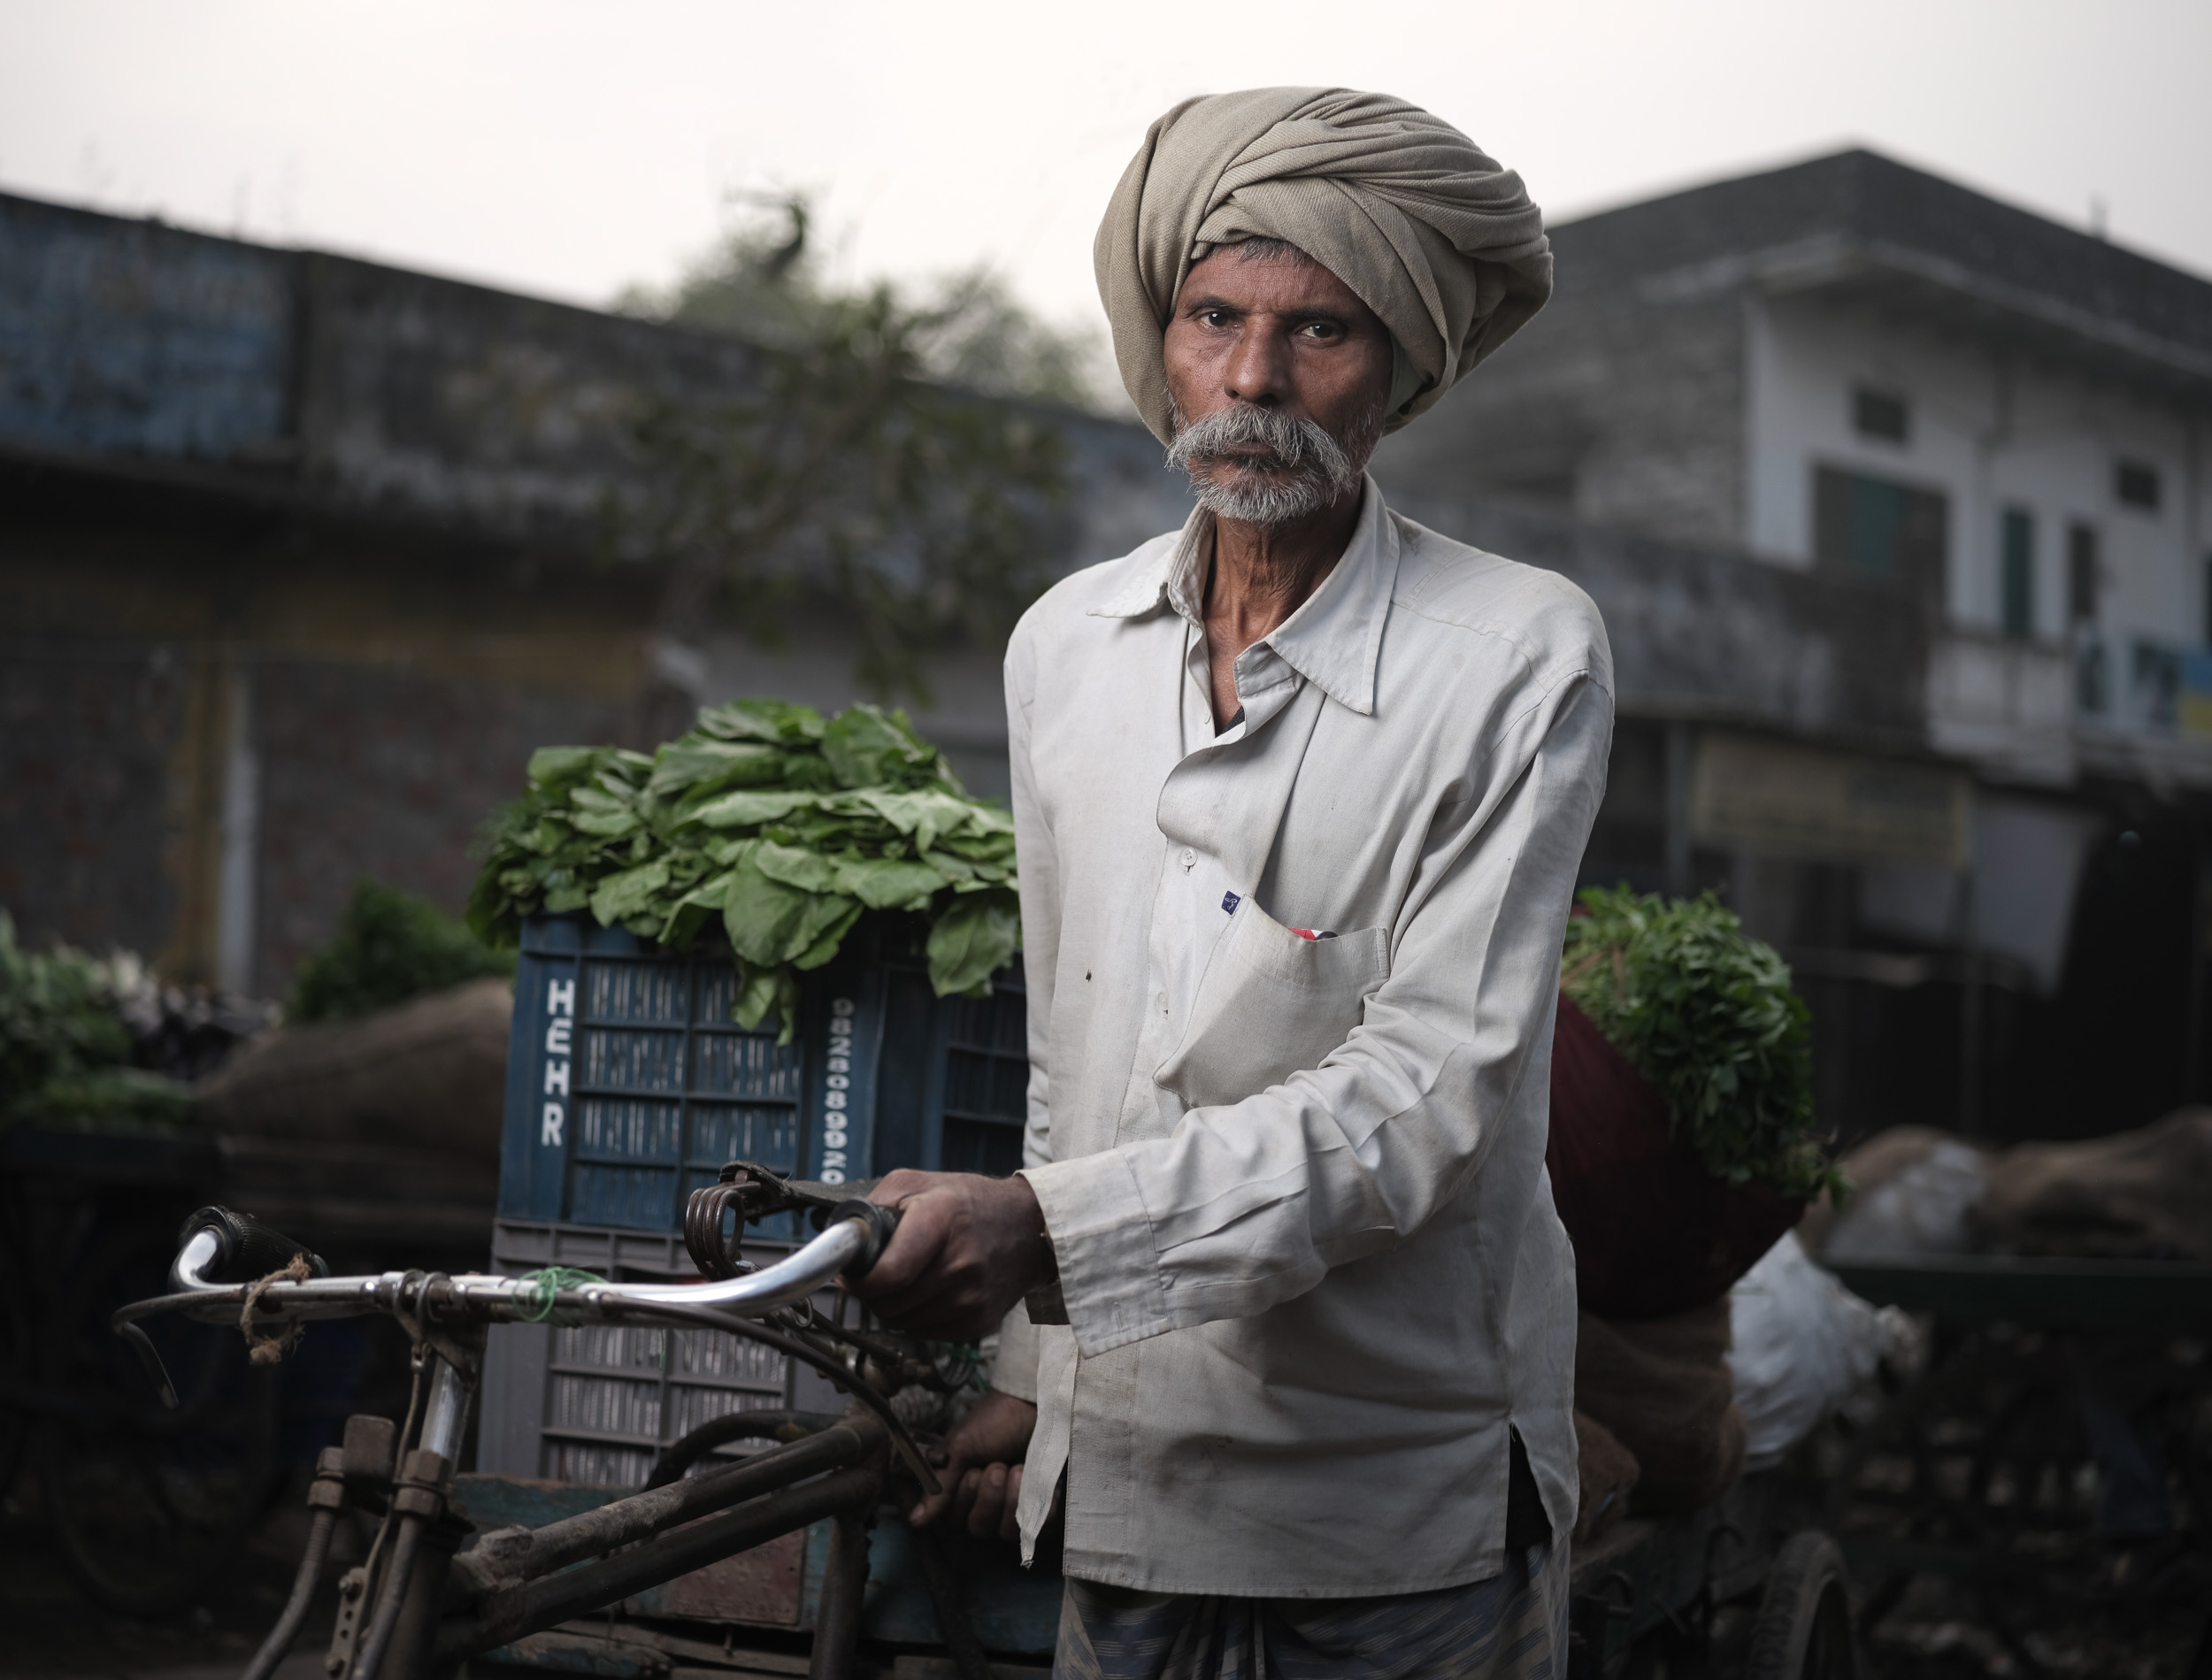
The image of the taxi driver below was shot at noon. So the only available light was coming from above him. The roof above him completely blocked the light, so he was completely in the shade. Had I only used available light, the background would have been completely overexposed if I wanted to light him correctly. I chose to add a flash, coming in from the left, to simulate the effect of late afternoon light coming in through the windshield. I then asked him to slightly turn his face towards me to create a nice 'Rembrandt' look.

Fujifilm GFX 50S | GF32-64mmF4 R LM WR @ 44 mm | 1-125 sec @ f - 4,0 | ISO 100

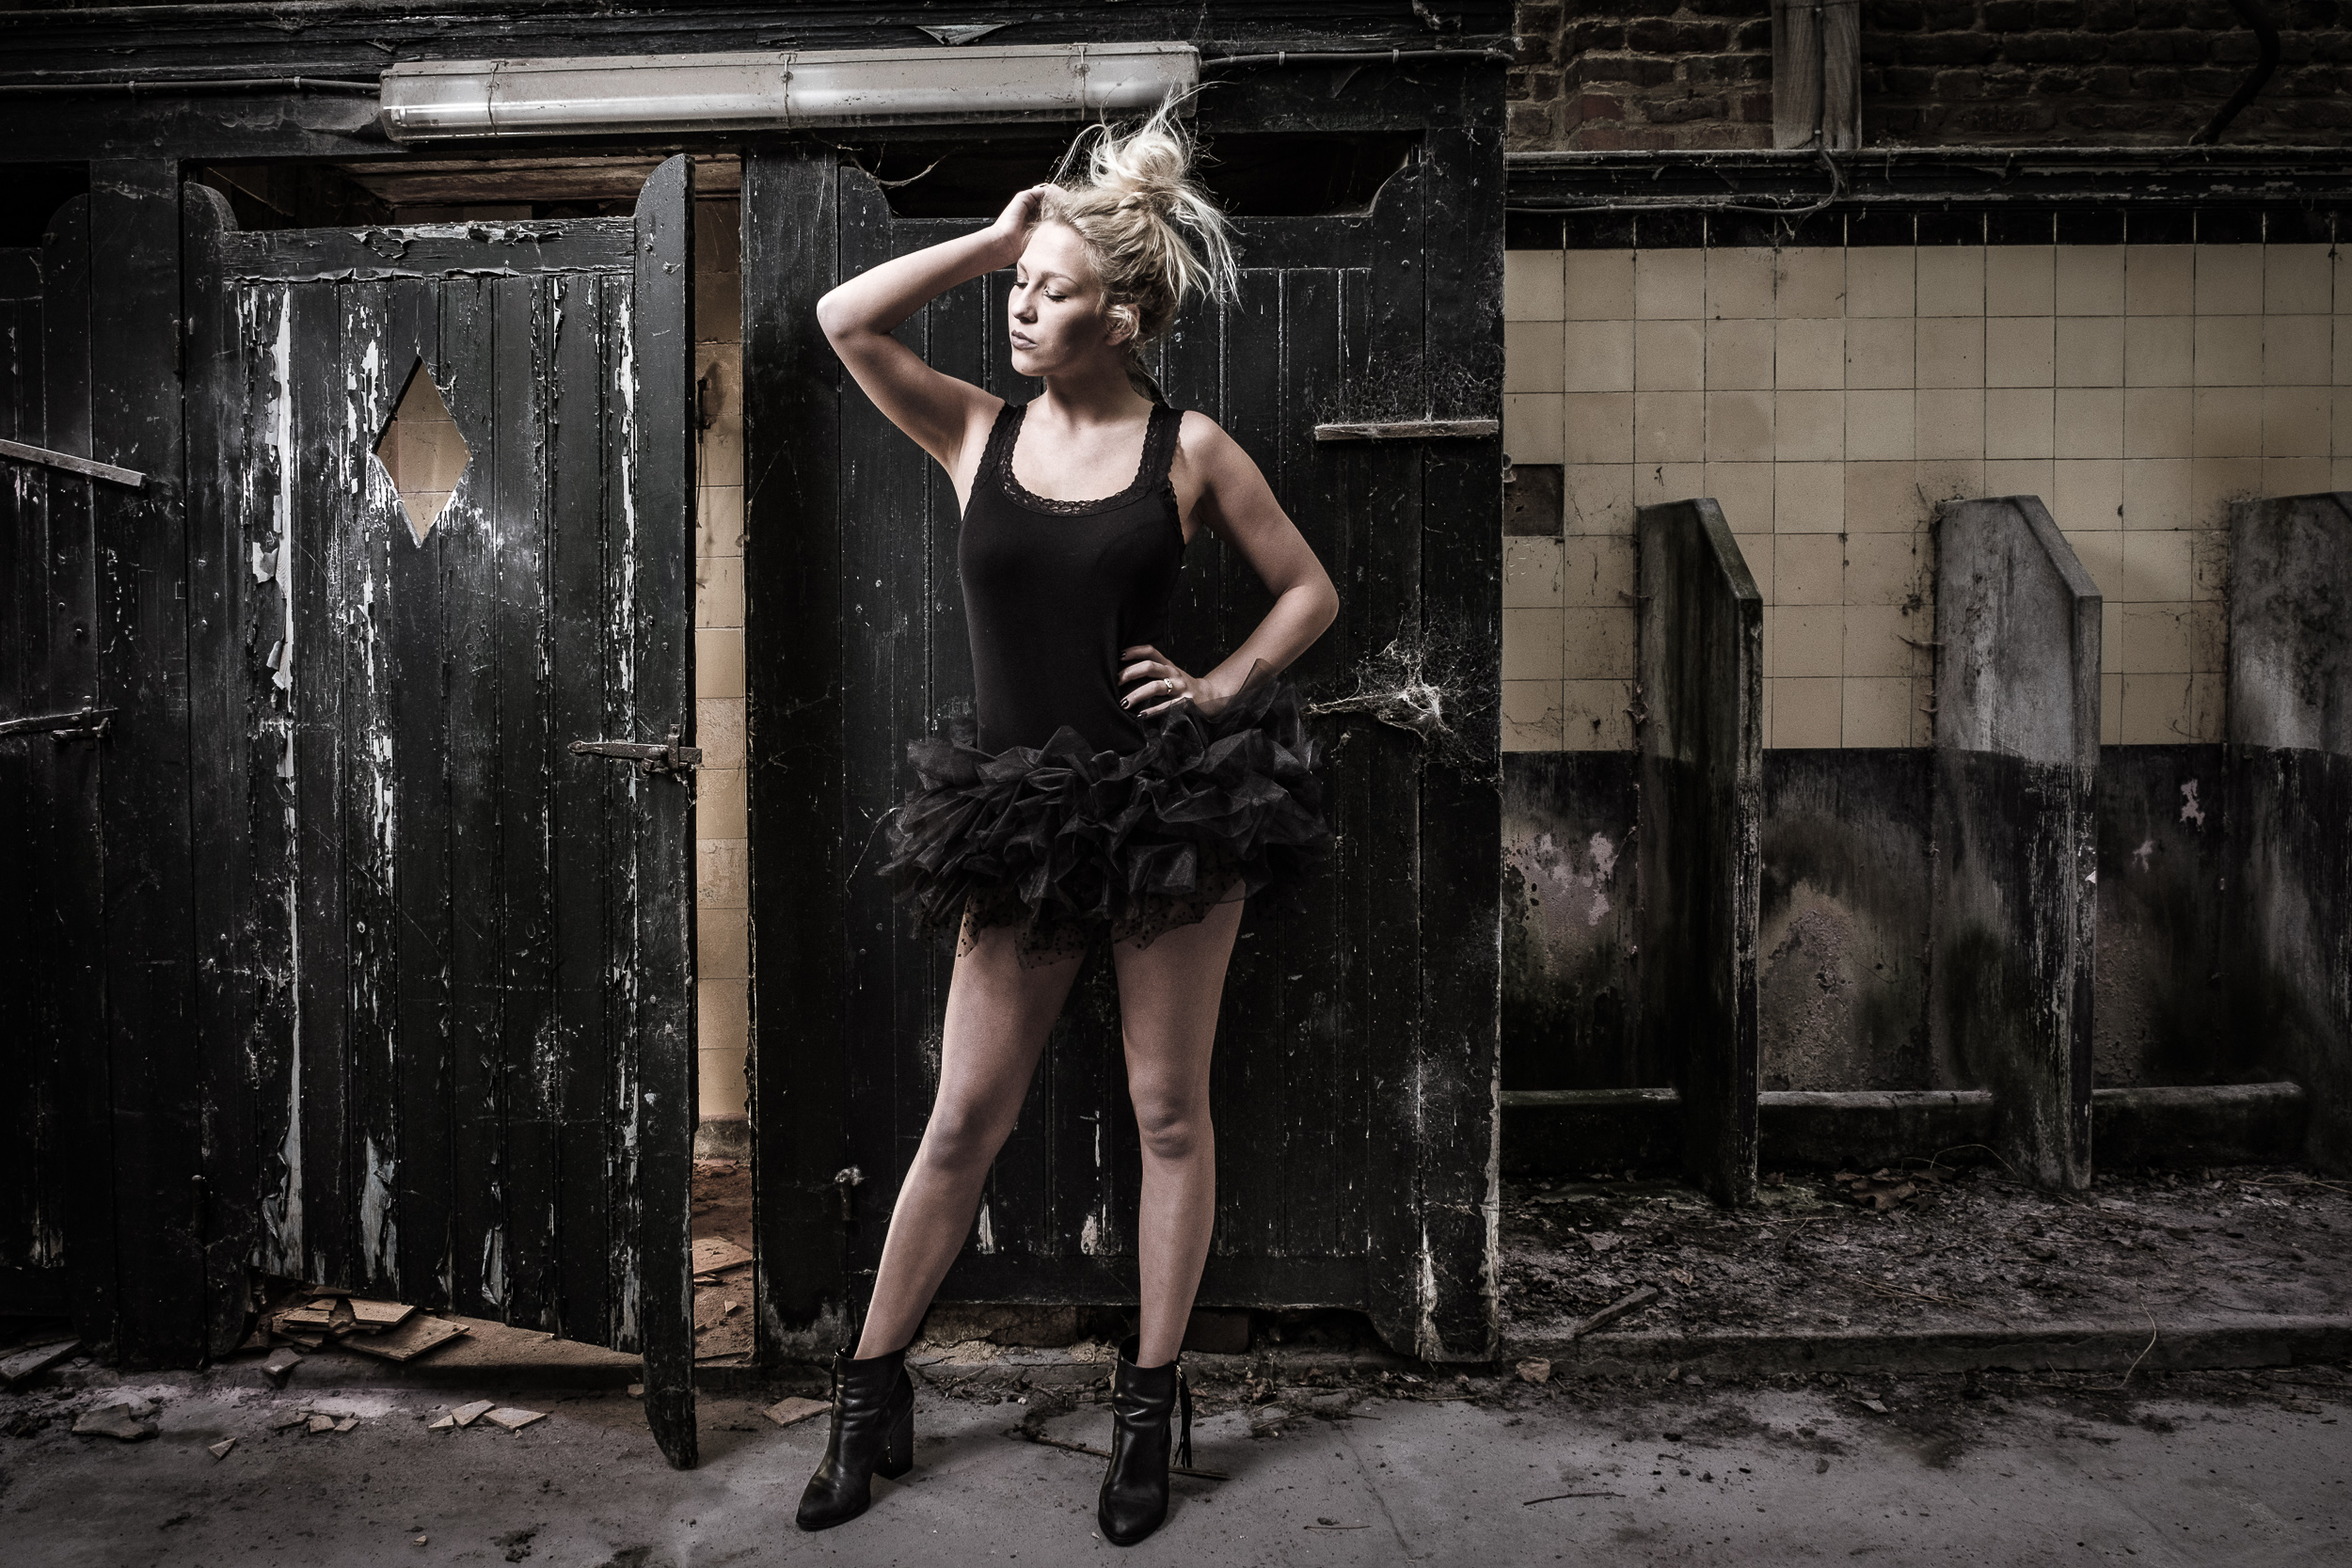
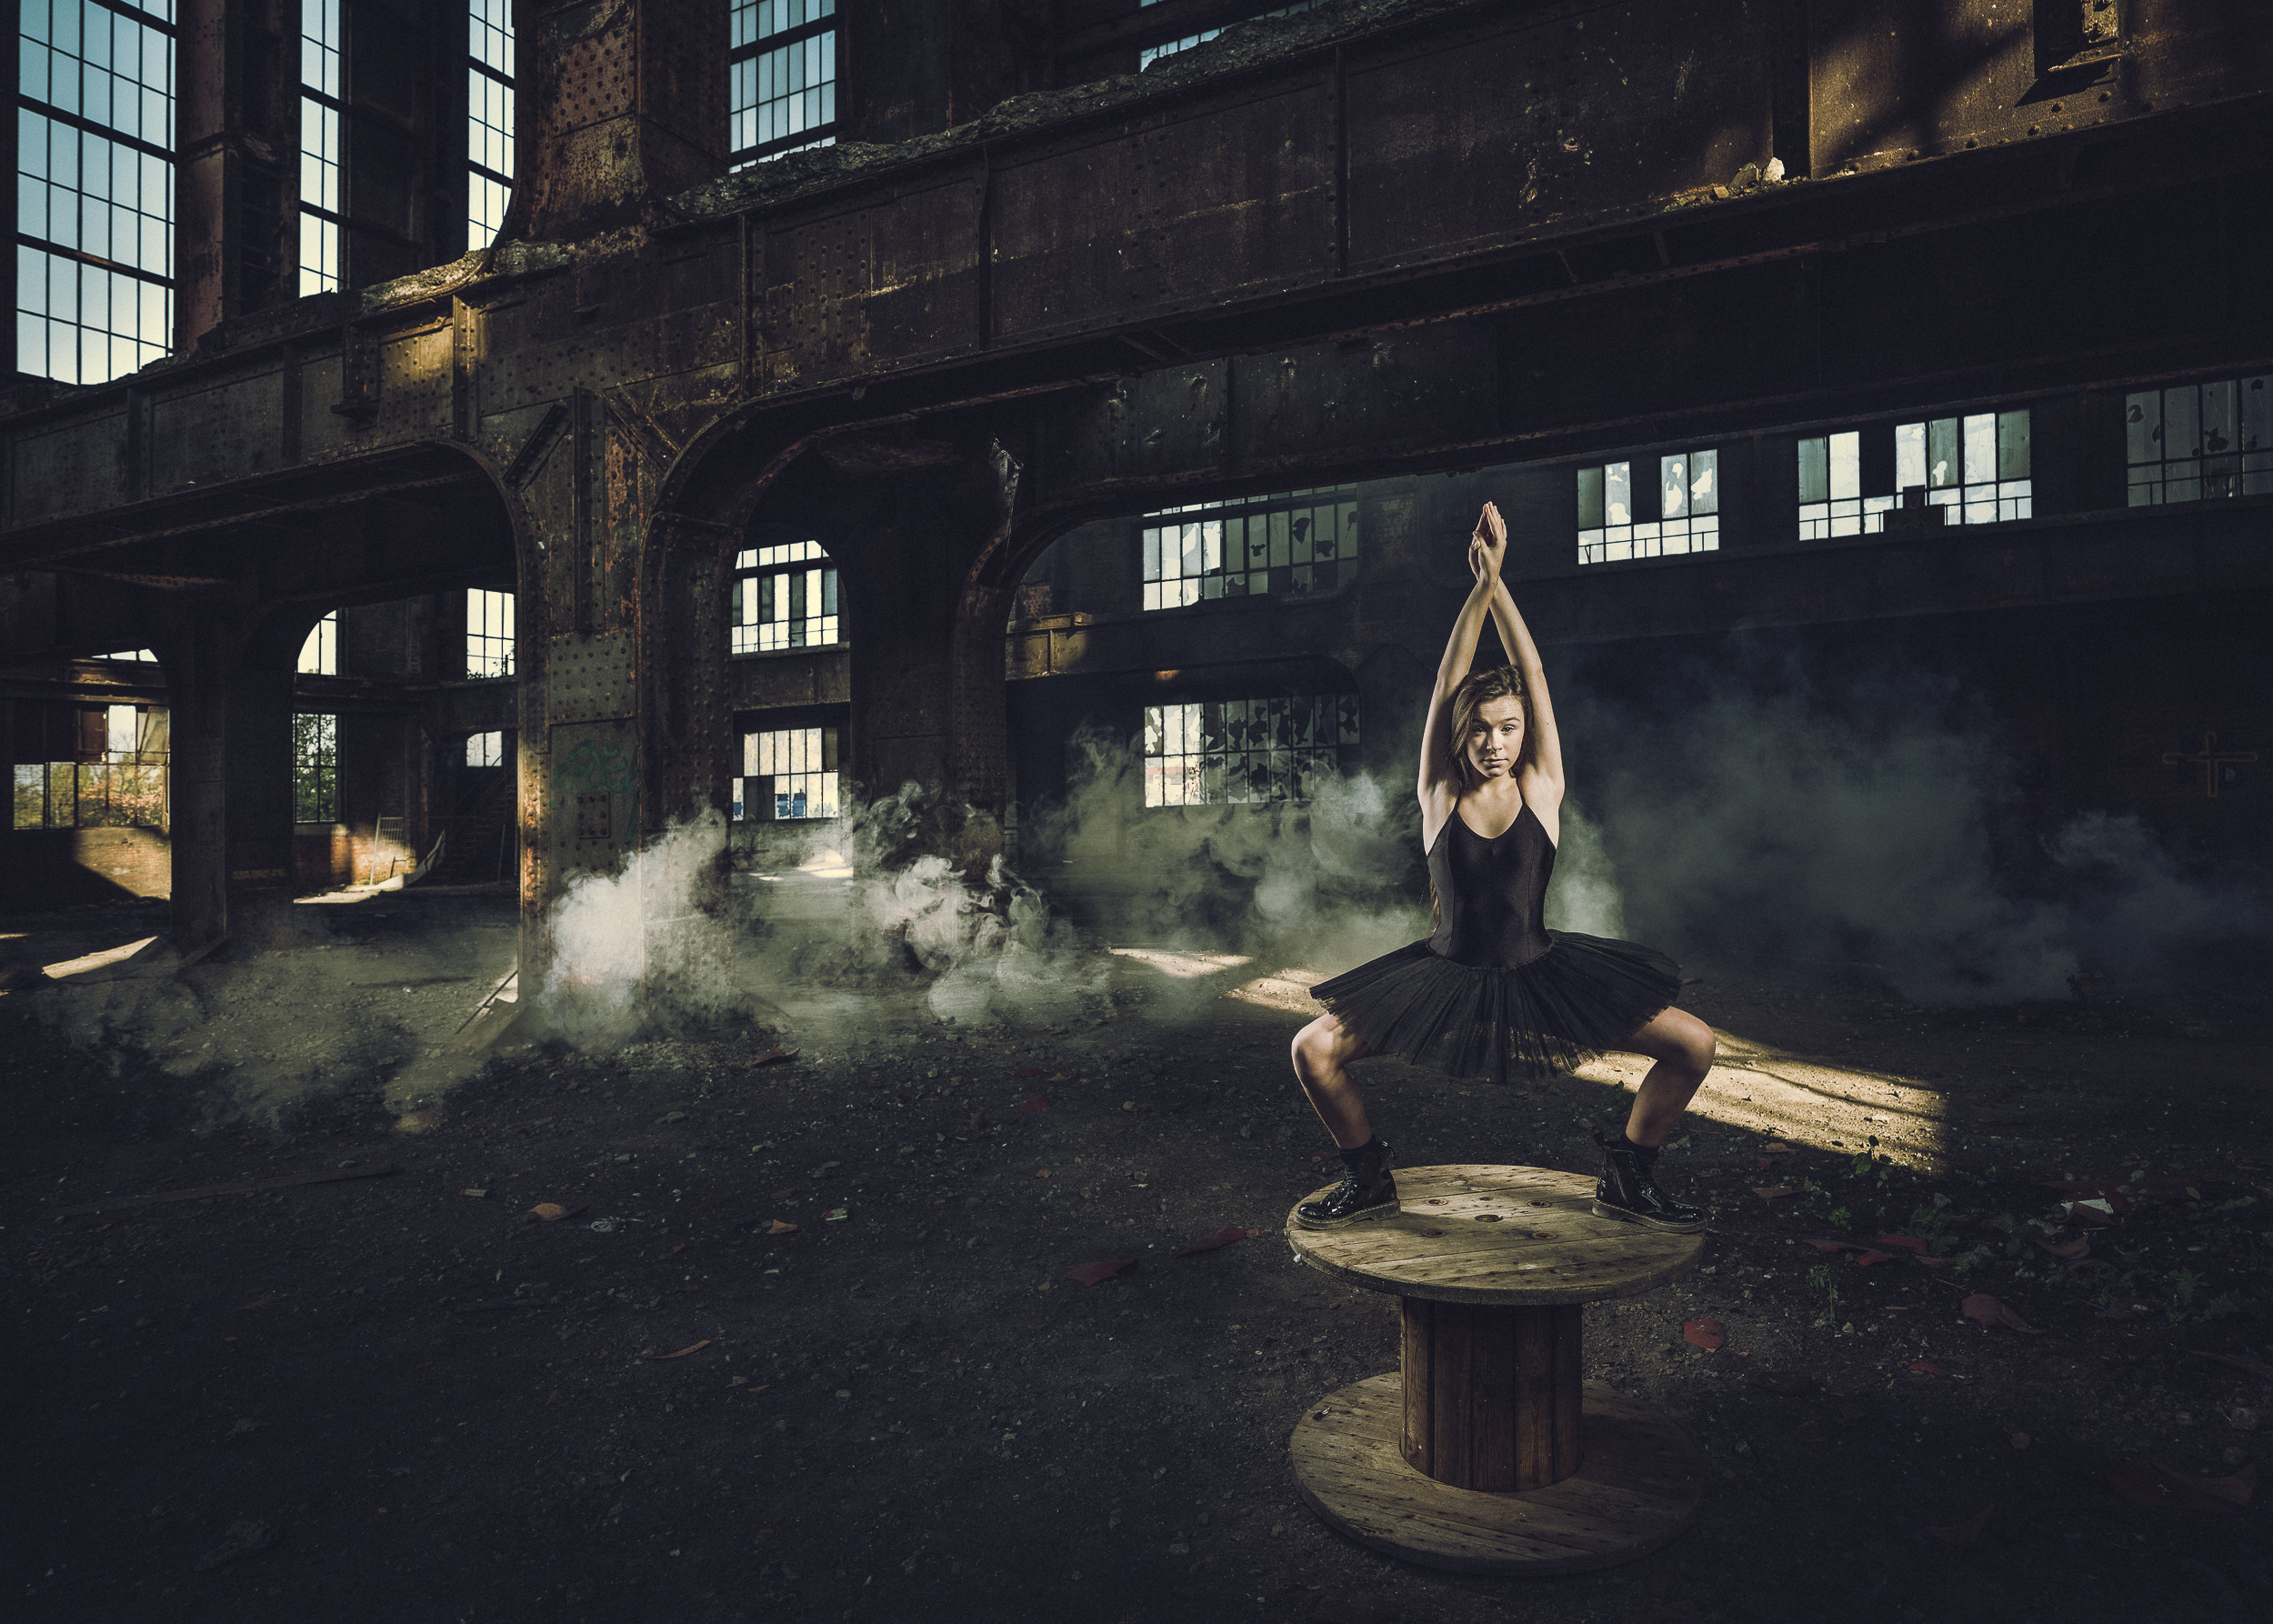
Combining both approaches
In this picture below I took of model Cato, I combine both approaches. To the left of the boiler room we were photographing in was a window. I placed a bare strobe outside, and aimed it through the window as to simulate sunlight falling in.

FUJIFILM X-Pro2 | XF16-55mmF2.8 R LM WR @ 20 mm | 1/30 sec @ f/9 | ISO 1000
The opening in the wall motivates the light. However, I also put a flash way back in the room to add some rim light to the boiler tanks to prevent that part of the picture from going totally black. There’s nothing really there to motivate that there would be a light over there, other than my artistic choice to put one there.

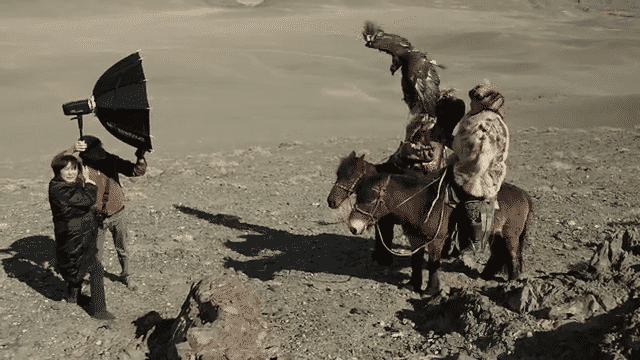
The lighting setup to the image above. Taken from my latest eBook 'Light it Up! Techniques for Dramatic Off-Camera Lighting
Want to improve your flash skills?
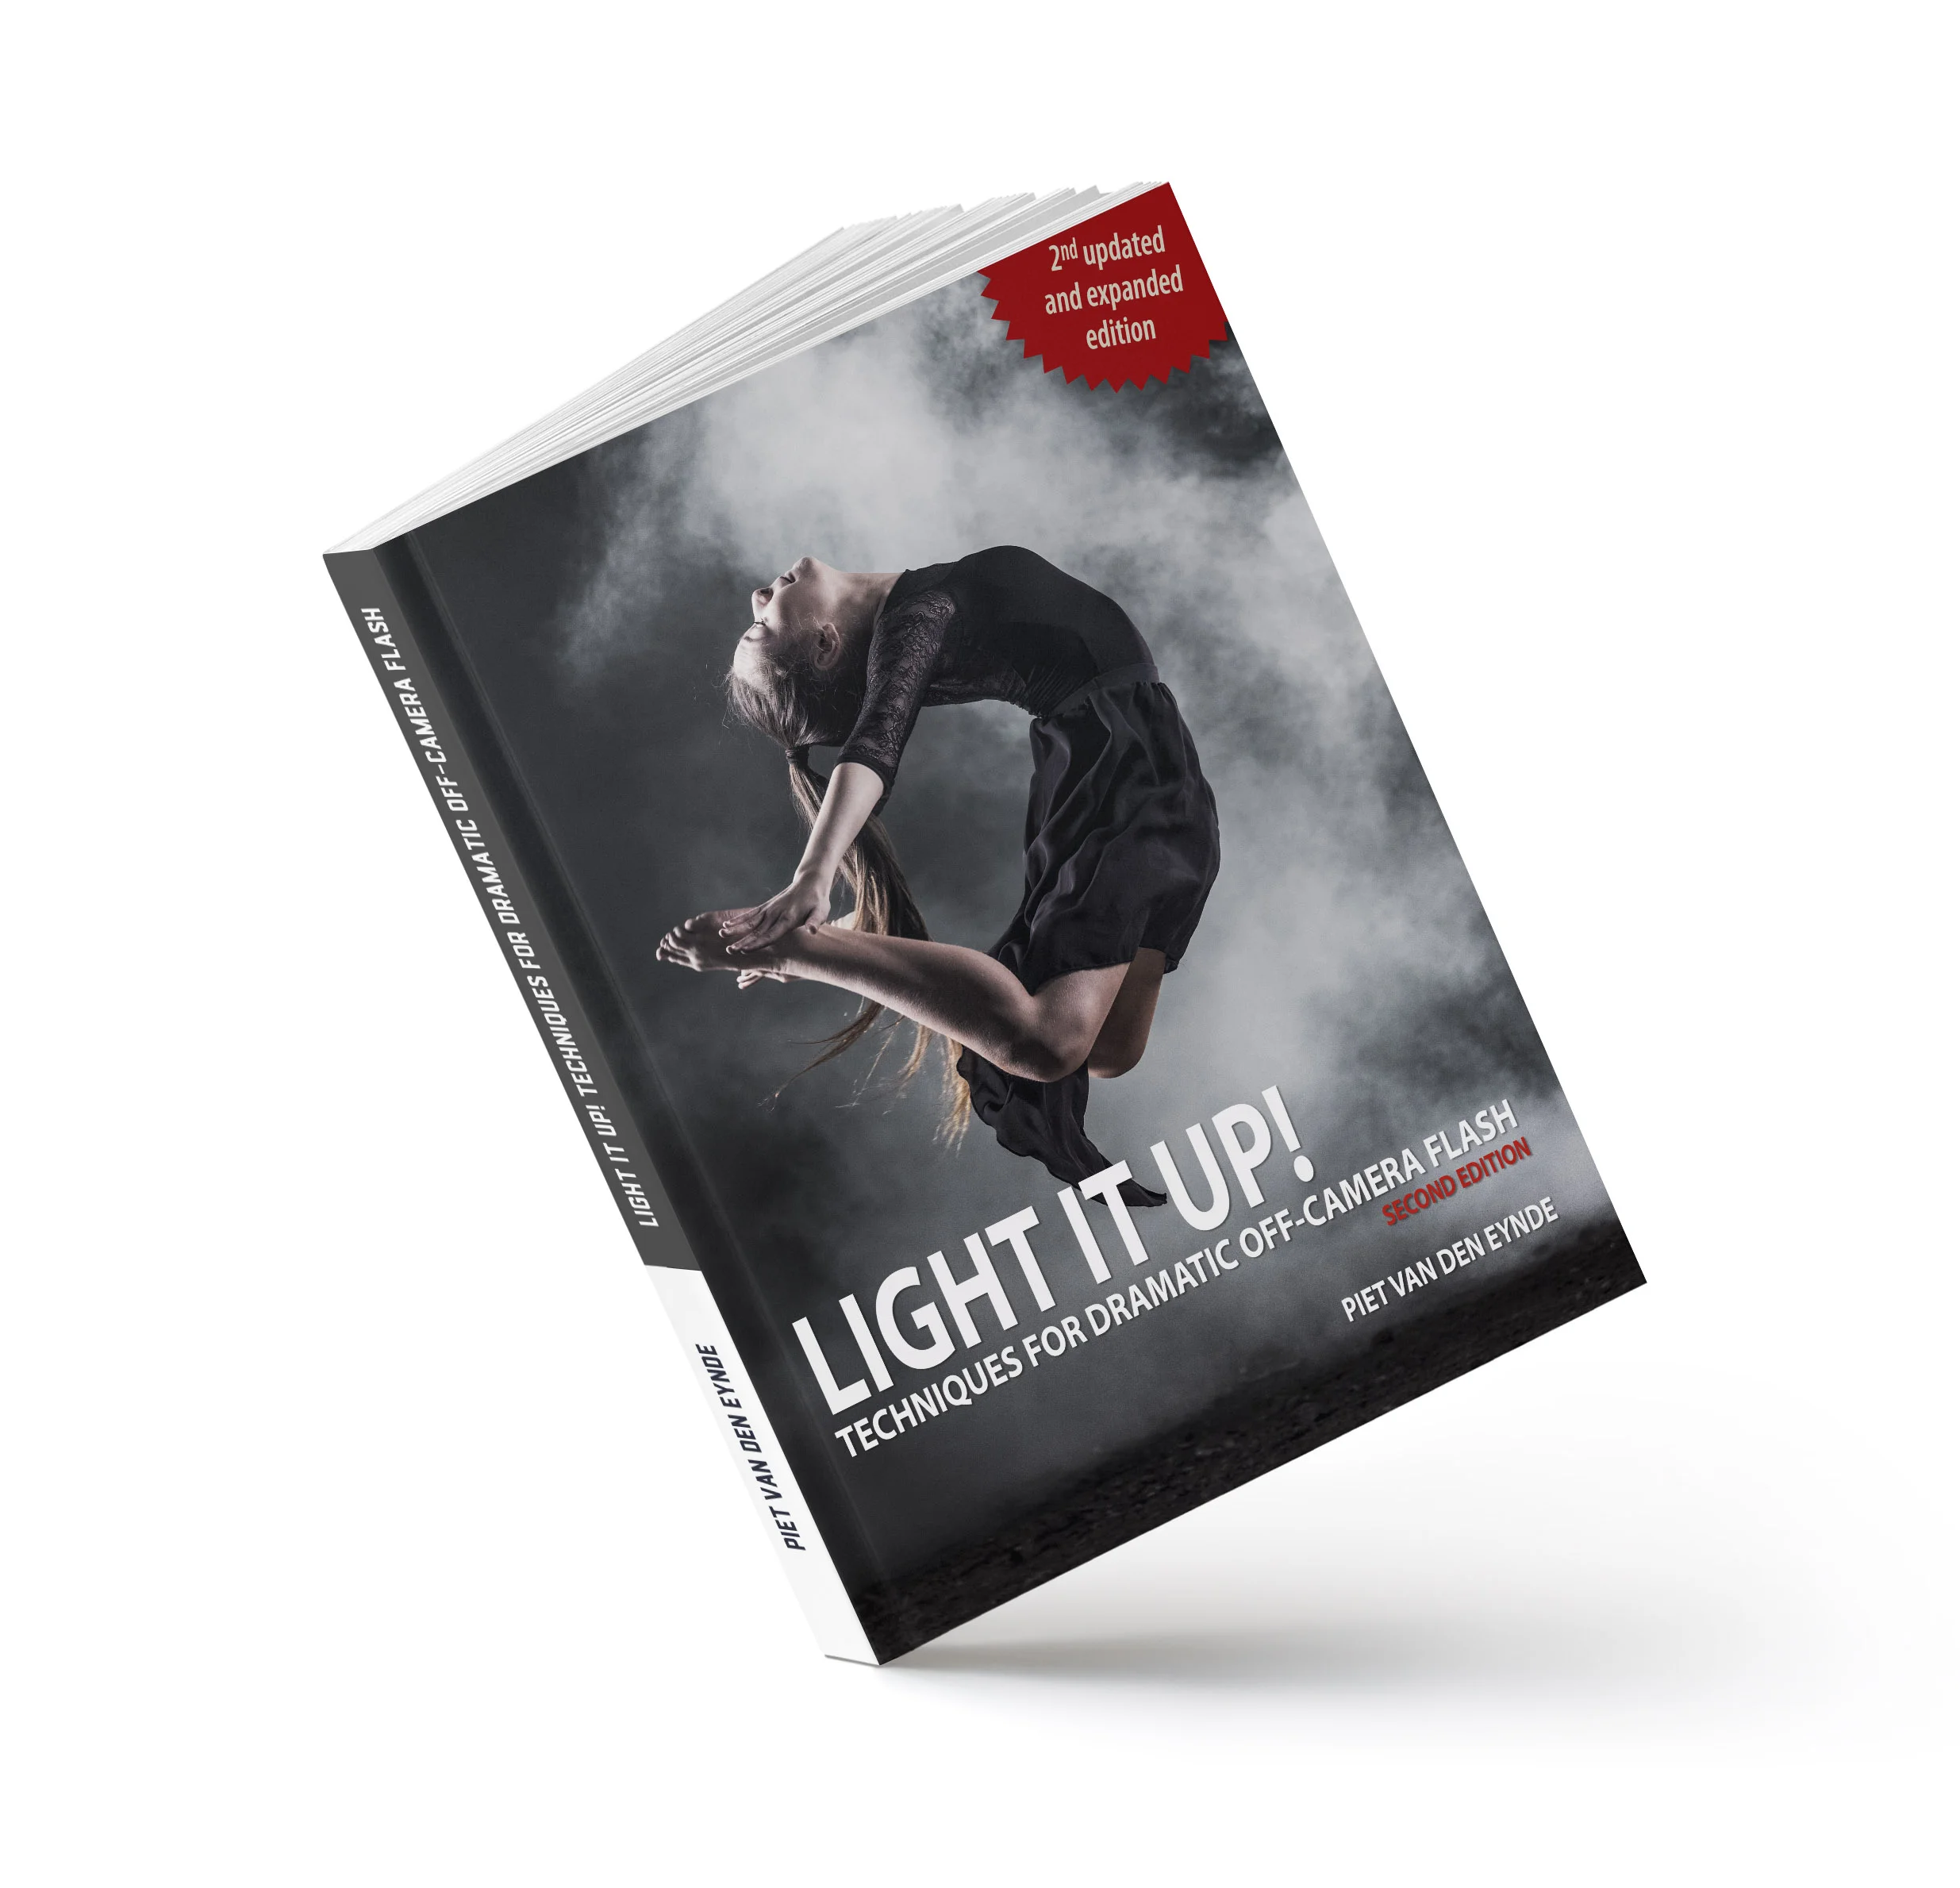
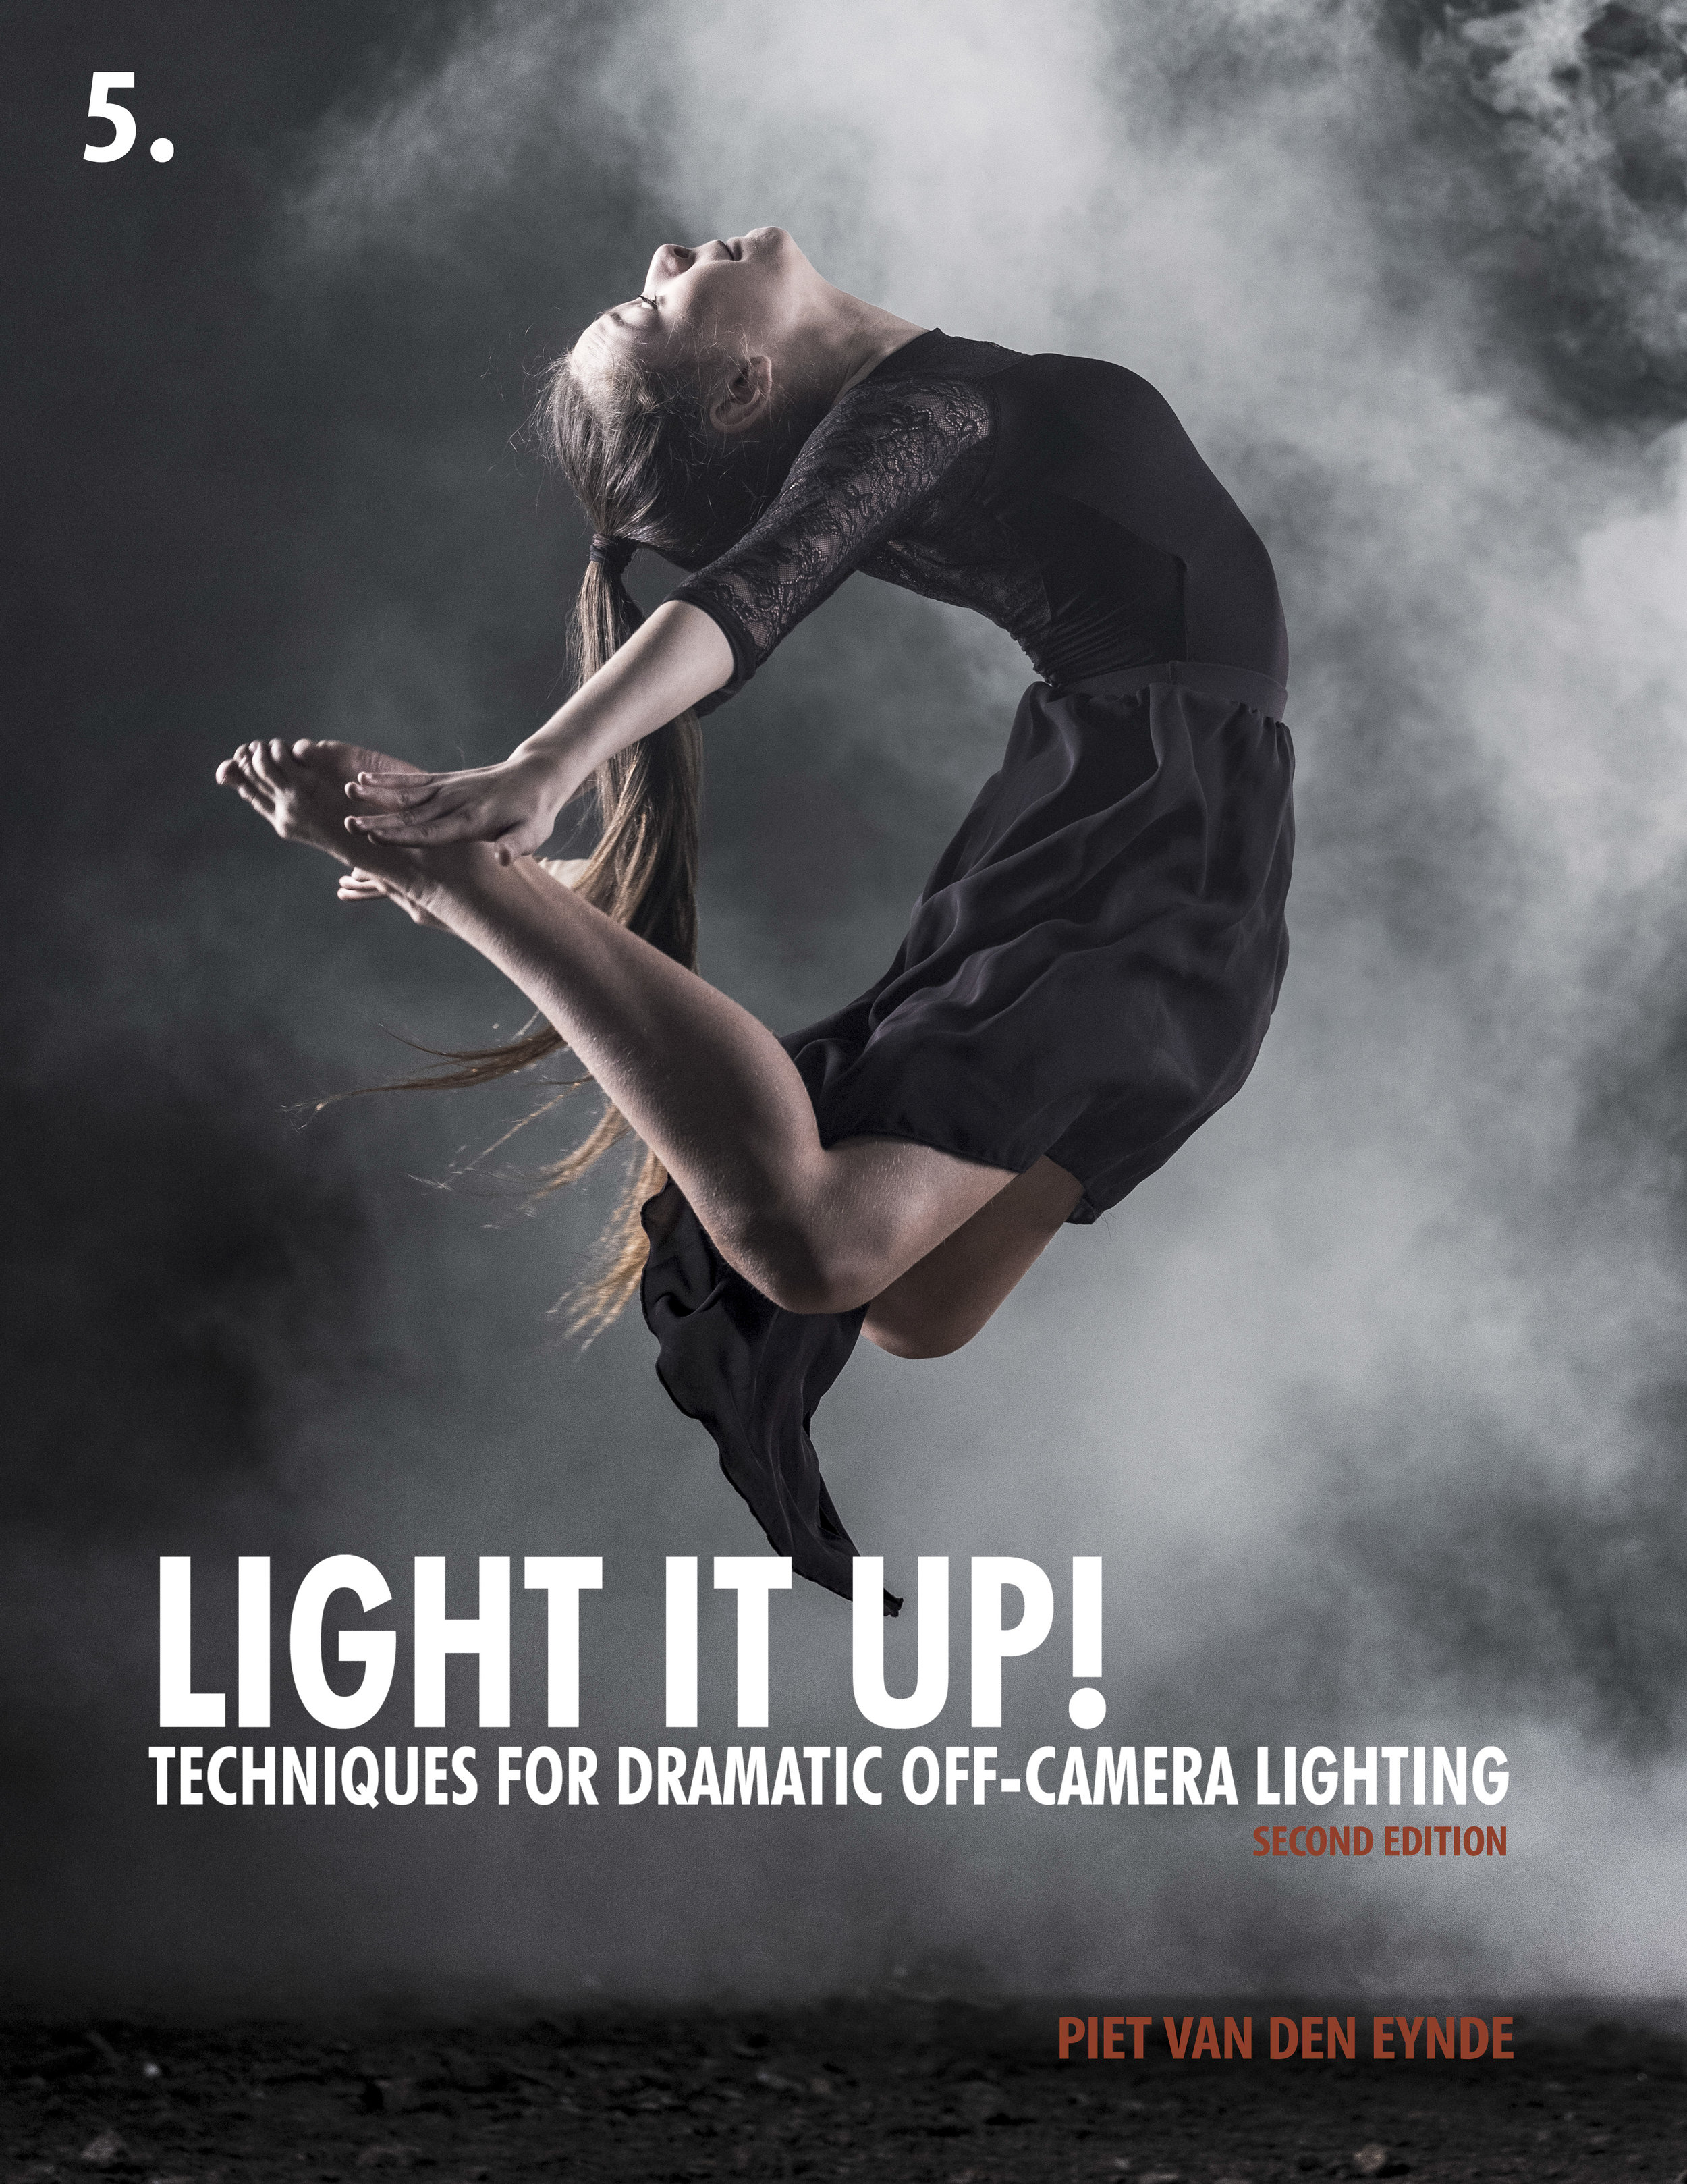
The image I discussed above is also in just-released eBook: Light it Up! Techniques for Dramatic Lighting. This eBook teaches you everything you need to know. Everything explained in plain English with lots of behind the scene shots or lighting diagrams. For those who already have some flash experience under their belt, there are also more advanced chapters on gear and light setups. The book also contains plenty of buyer's advice (did you know that some brand flashes cost up to three times as much as third party alternatives, while not offering more power or features - sometimes even less).
Light It Up! (including bonuses) is available in two versions: the Standard Edition (185 page PDF ebook) retails for $24.95 + applicable taxes. The Deluxe Edition is $10 extra and also includes three tutorial videos (totalling 45 minutes) and five Lightroom presets. On both editions, you can save 10% with code light10.
P.S. If you speak Dutch, this book is also available in Dutch (both as a print book and an eBook). I also have a Dutch video course on off camera flash over at my Dutch online photo training website www.photofactsacademy.nl.