1) If Lightroom CC is now called Lightroom Classic CC, what happened to Lightroom CC itself?
Well, in a marketing move that will probably cause confusion for quite some time for Lightroom users and Lightroom educators alike, Adobe has not only rebranded good old Lightroom 6/CC into Lightroom Classic CC, but has slapped the 'Lightroom CC' name on a completely new application. I explain what Lightroom CC is and how it relates to Lightroom Classic in my video round-up. So, bear that name swap in mind when you go online and look for Lightroom training!
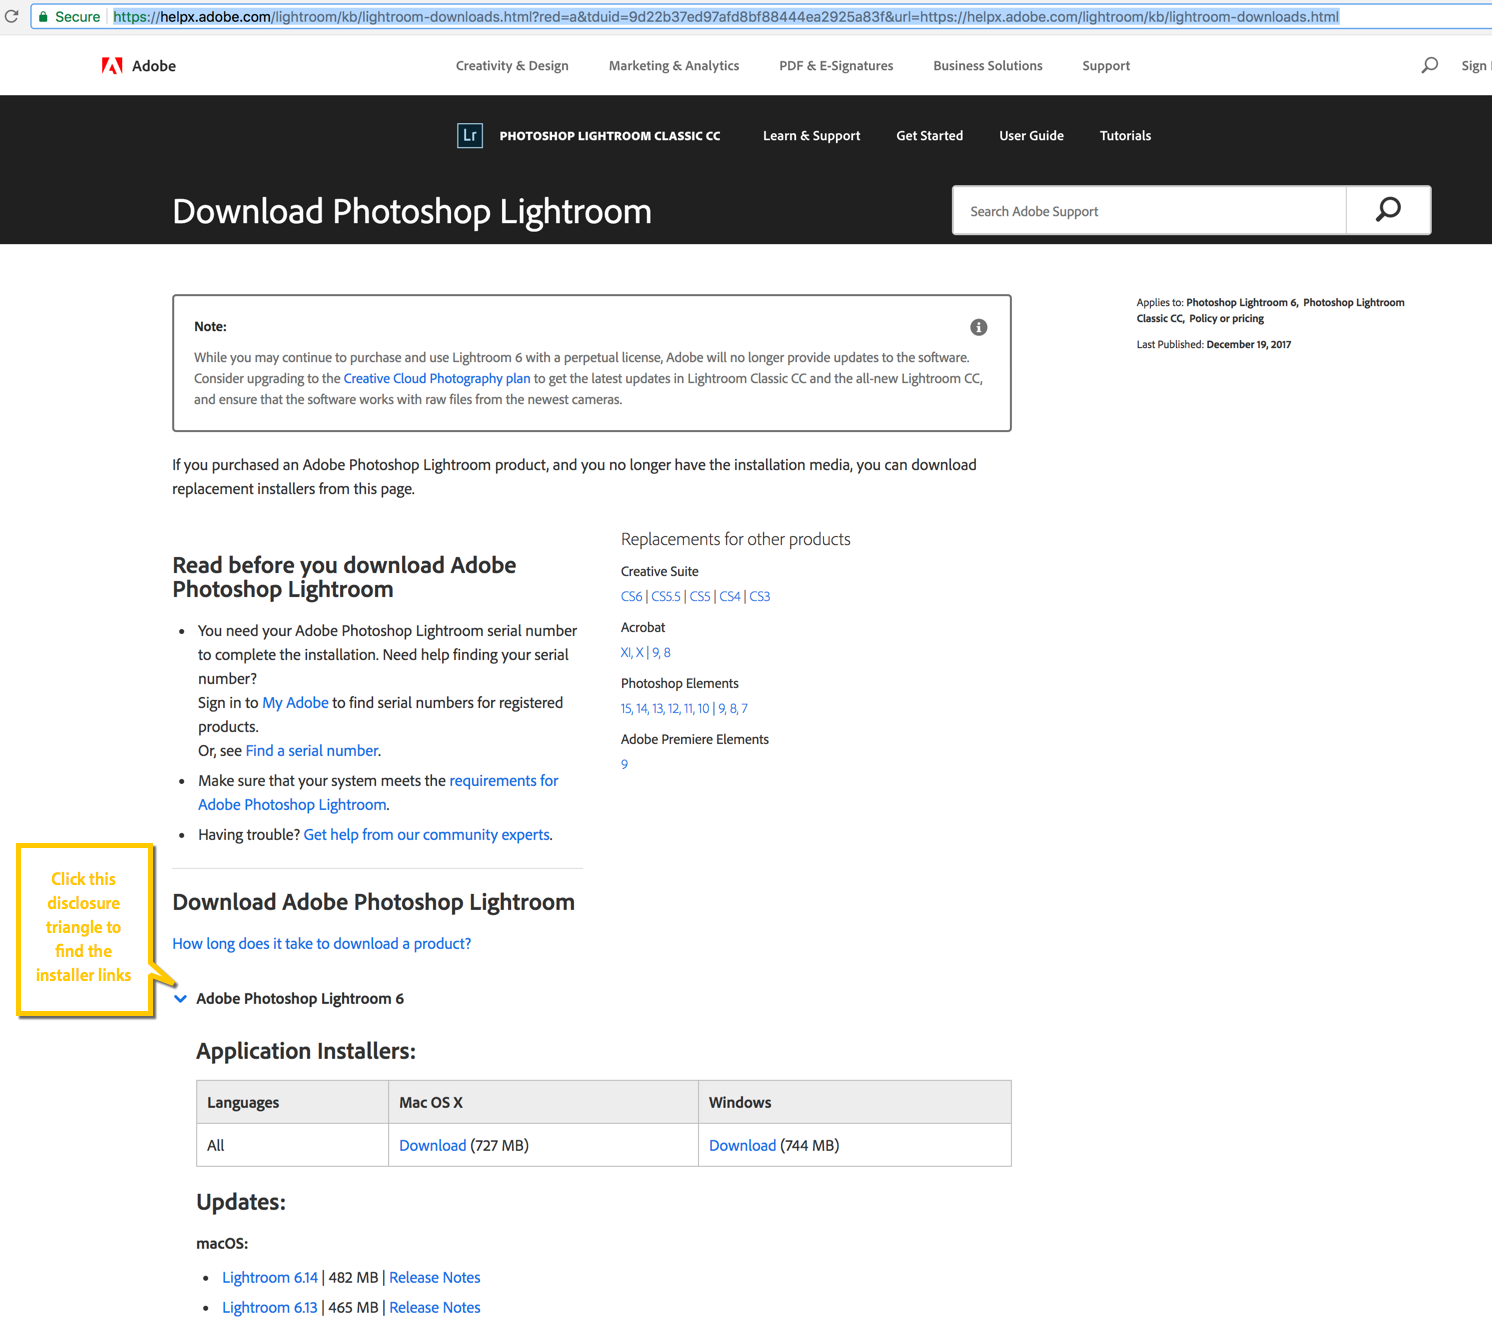
2) What happened to Lightroom 6?
Well, this is the elephant in the room. Lightroom 6 does not get an update. You'll still be able to buy Lightroom 6, and there will still be updates with new raw support and updates that would address compatibility issues with upgrades of your operating system, but... only until the end of 2017. So Lightroom 6 is basically a dead-end street. You will still be able to use it in 2018, but if a new version of your operating system comes out that does not play nicely with it, you'll be out of luck. Your options are - to use a term that was popular in personnel management in the big accounting firms in the eighties - 'Up or Out': you can either upgrade to Lightroom Classic CC or basically you'll have to find a new home for your images. Personally, although I fully understand the reasons why people might object to the subscription model, I think the price for the Lightroom Classic CC + Photoshop CC subscription is very fair. In a sort of roundabout way, if you decide to upgrade from 6 to Classic CC, you get a great deal because not only do you get the new features of Lightroom Classic CC, but also you can finally play catch-up with the new features that were introduced in during the Lightroom CC2015 lifecycle as well. I'll do a separate blog post on that later.
3) What are the new features?
Well, the first isn't really a new feature as such, but the engineers main priority was speed. And it must be said that Lightroom Classic CC is faster on a number of levels: switching between Library and Develop, switching between images in Develop and other things have become a somewhat to a lot faster. A lot obviously also depends on your configuration.
4) Aside from speed, are there any REAL new features?
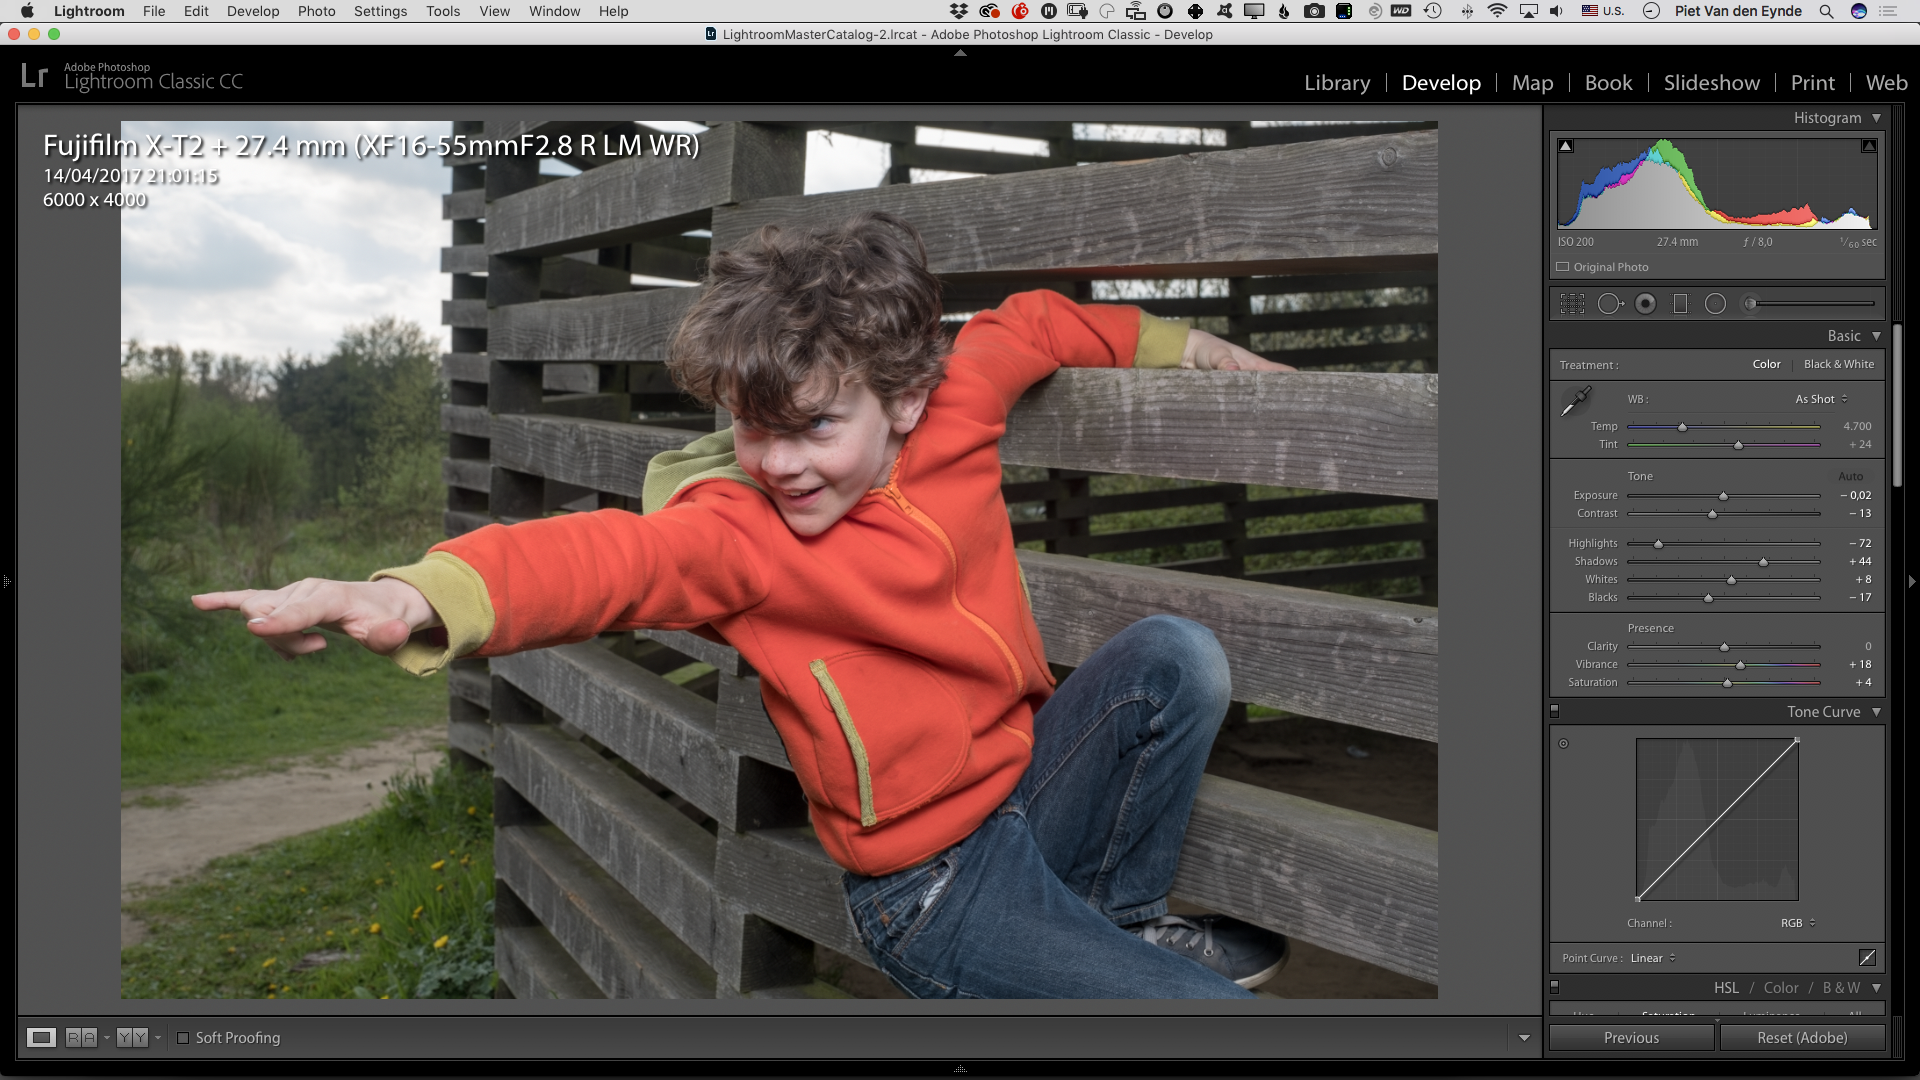
Yes, there are two really nice ones in my opinion, and I explain them in detail in the video, so i'll just sum them up briefly here: the first is a feature that high volume photographers will love. In fact, to me it would be worth upgrading from 6 to Classic CC only for this feature: you can now use the embedded JPG in a RAW file to zoom into your image to determine sharpness instead of having to wait up until ten seconds for Lightroom to build its own 1:1 preview. Really folks, this is huge!
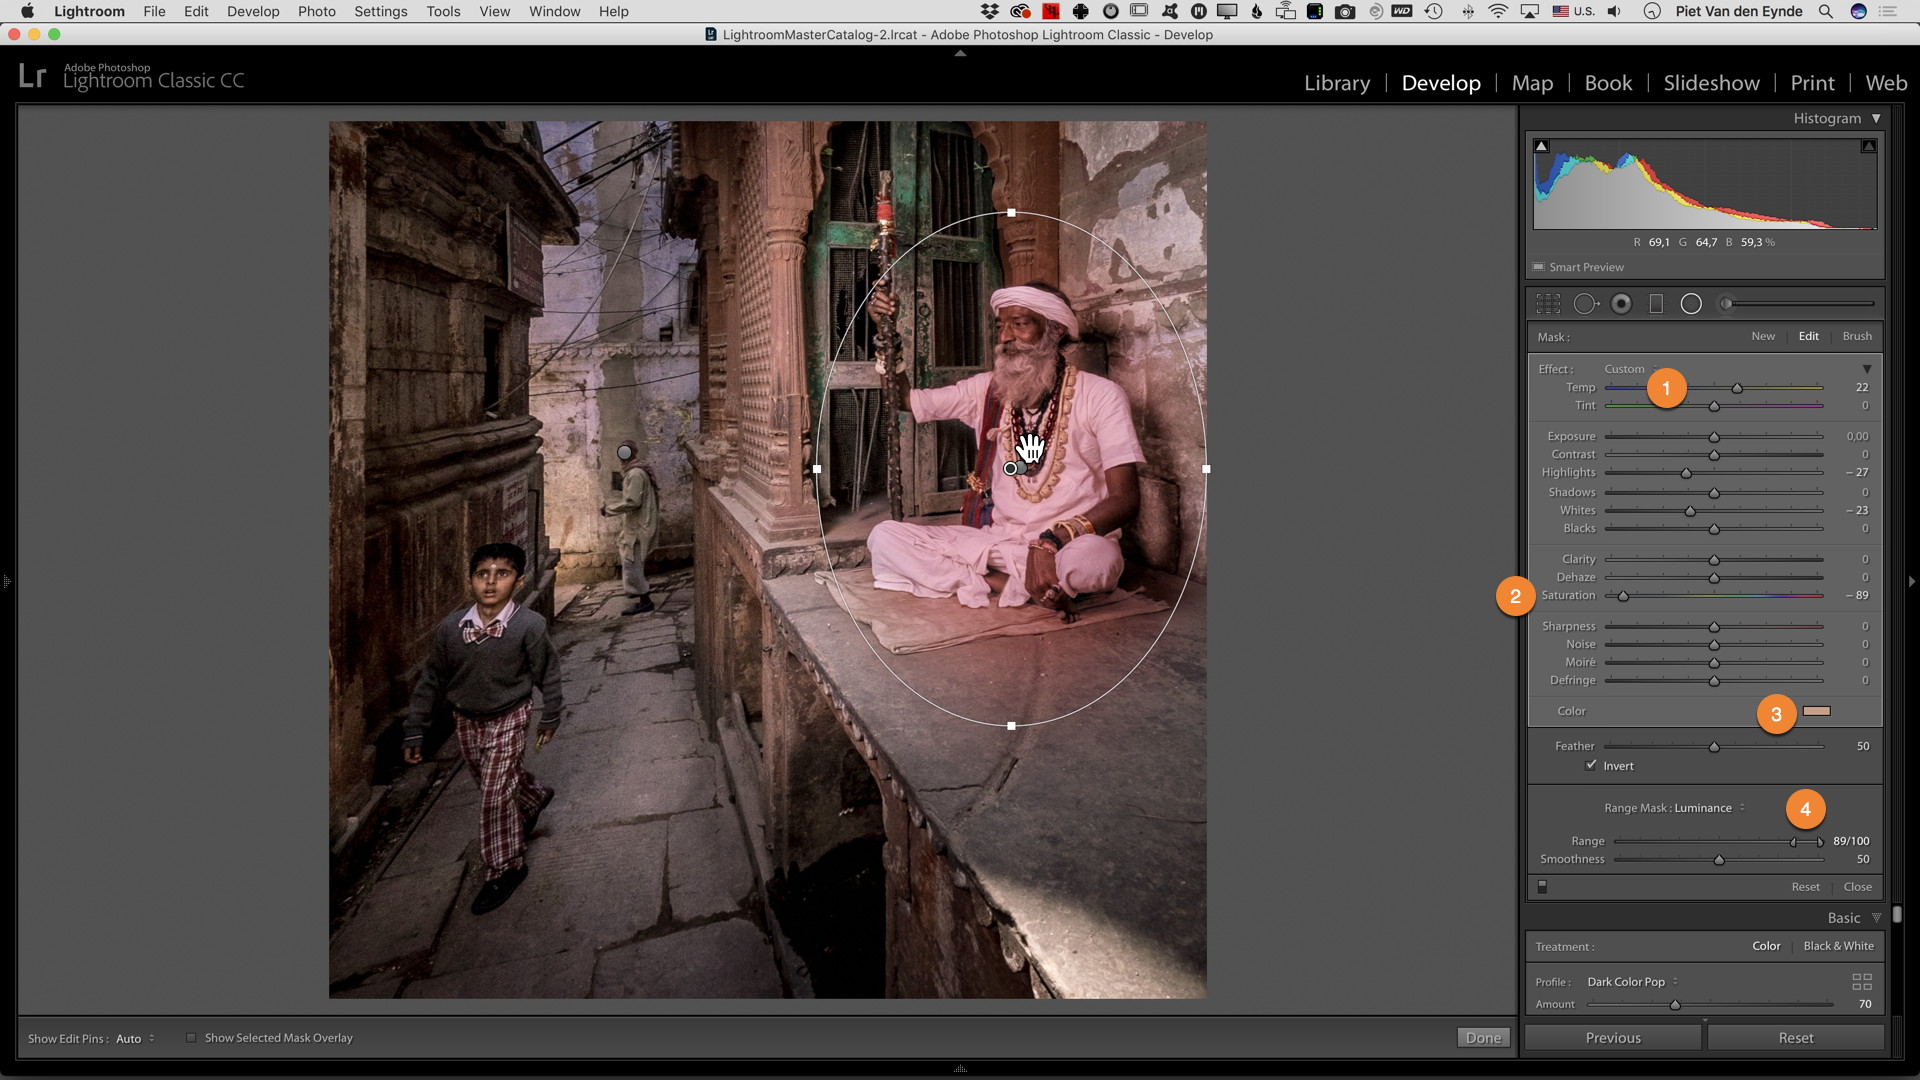
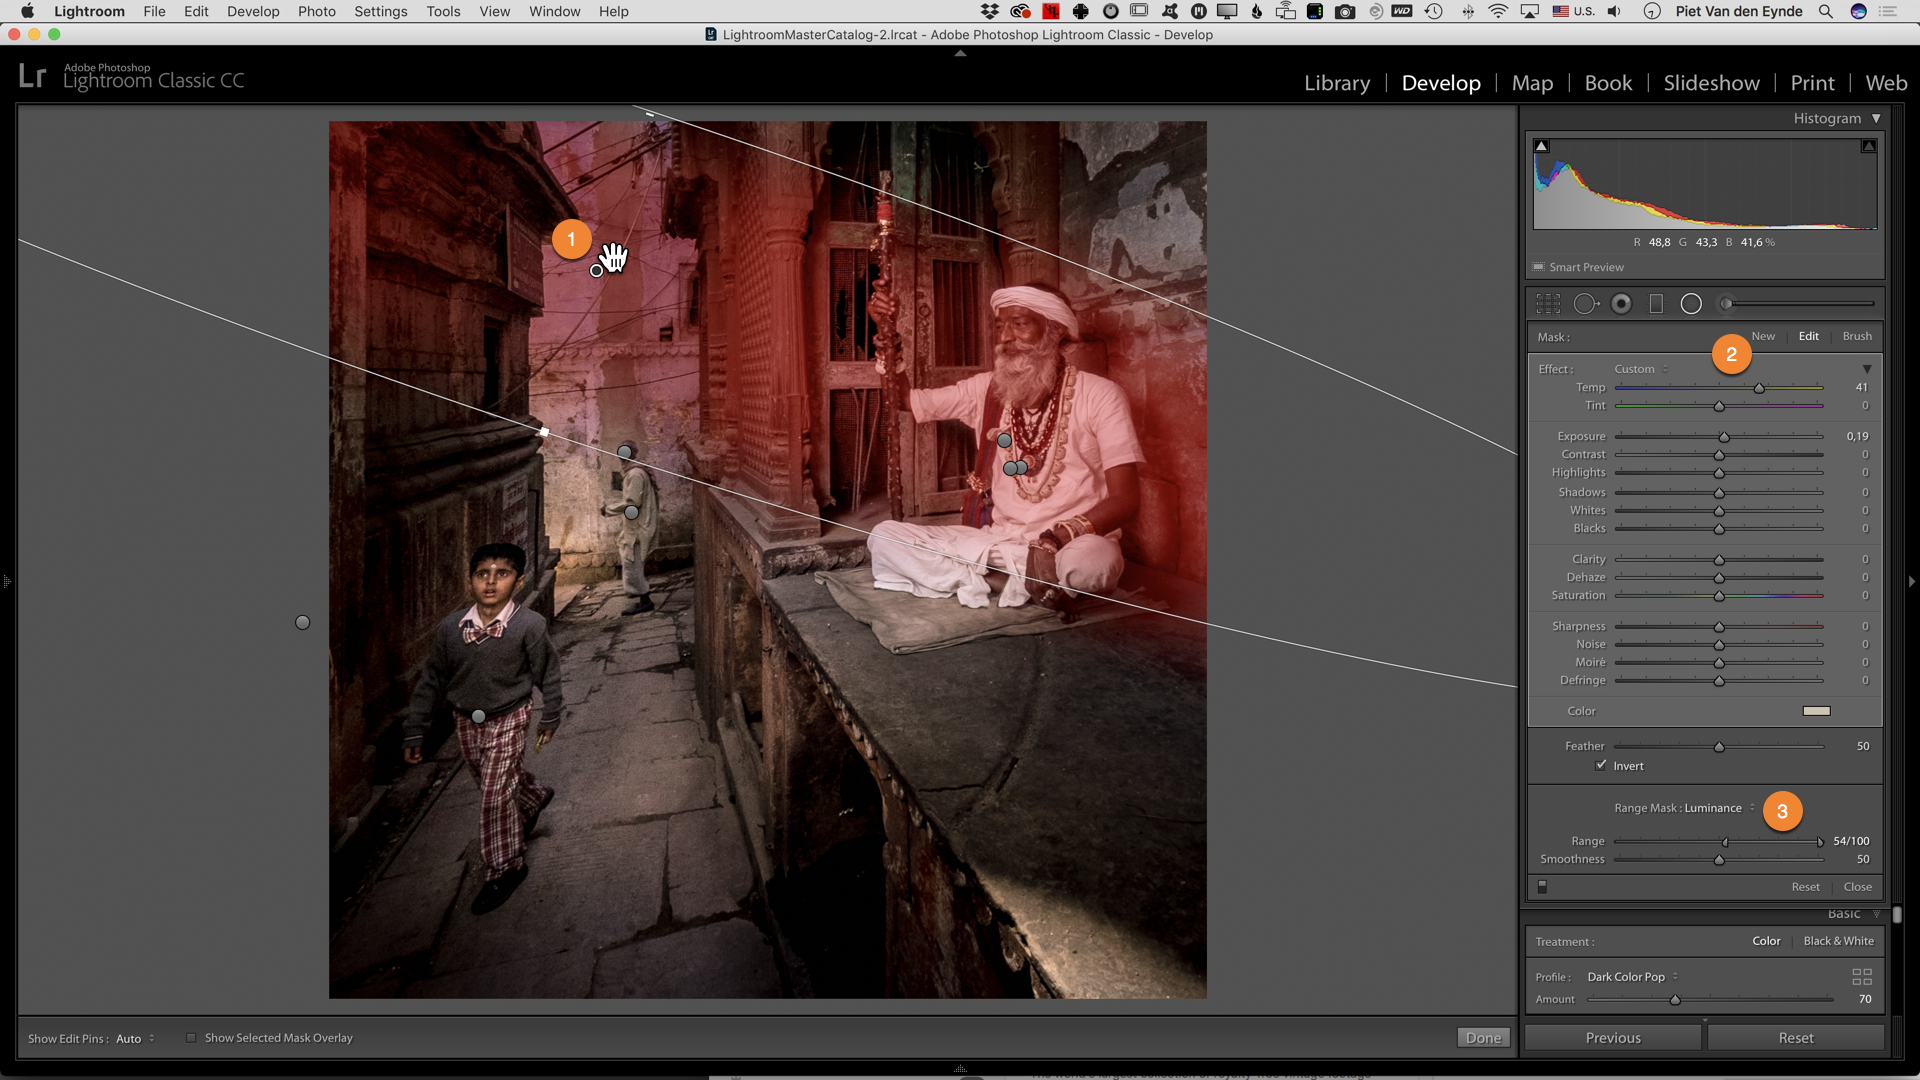
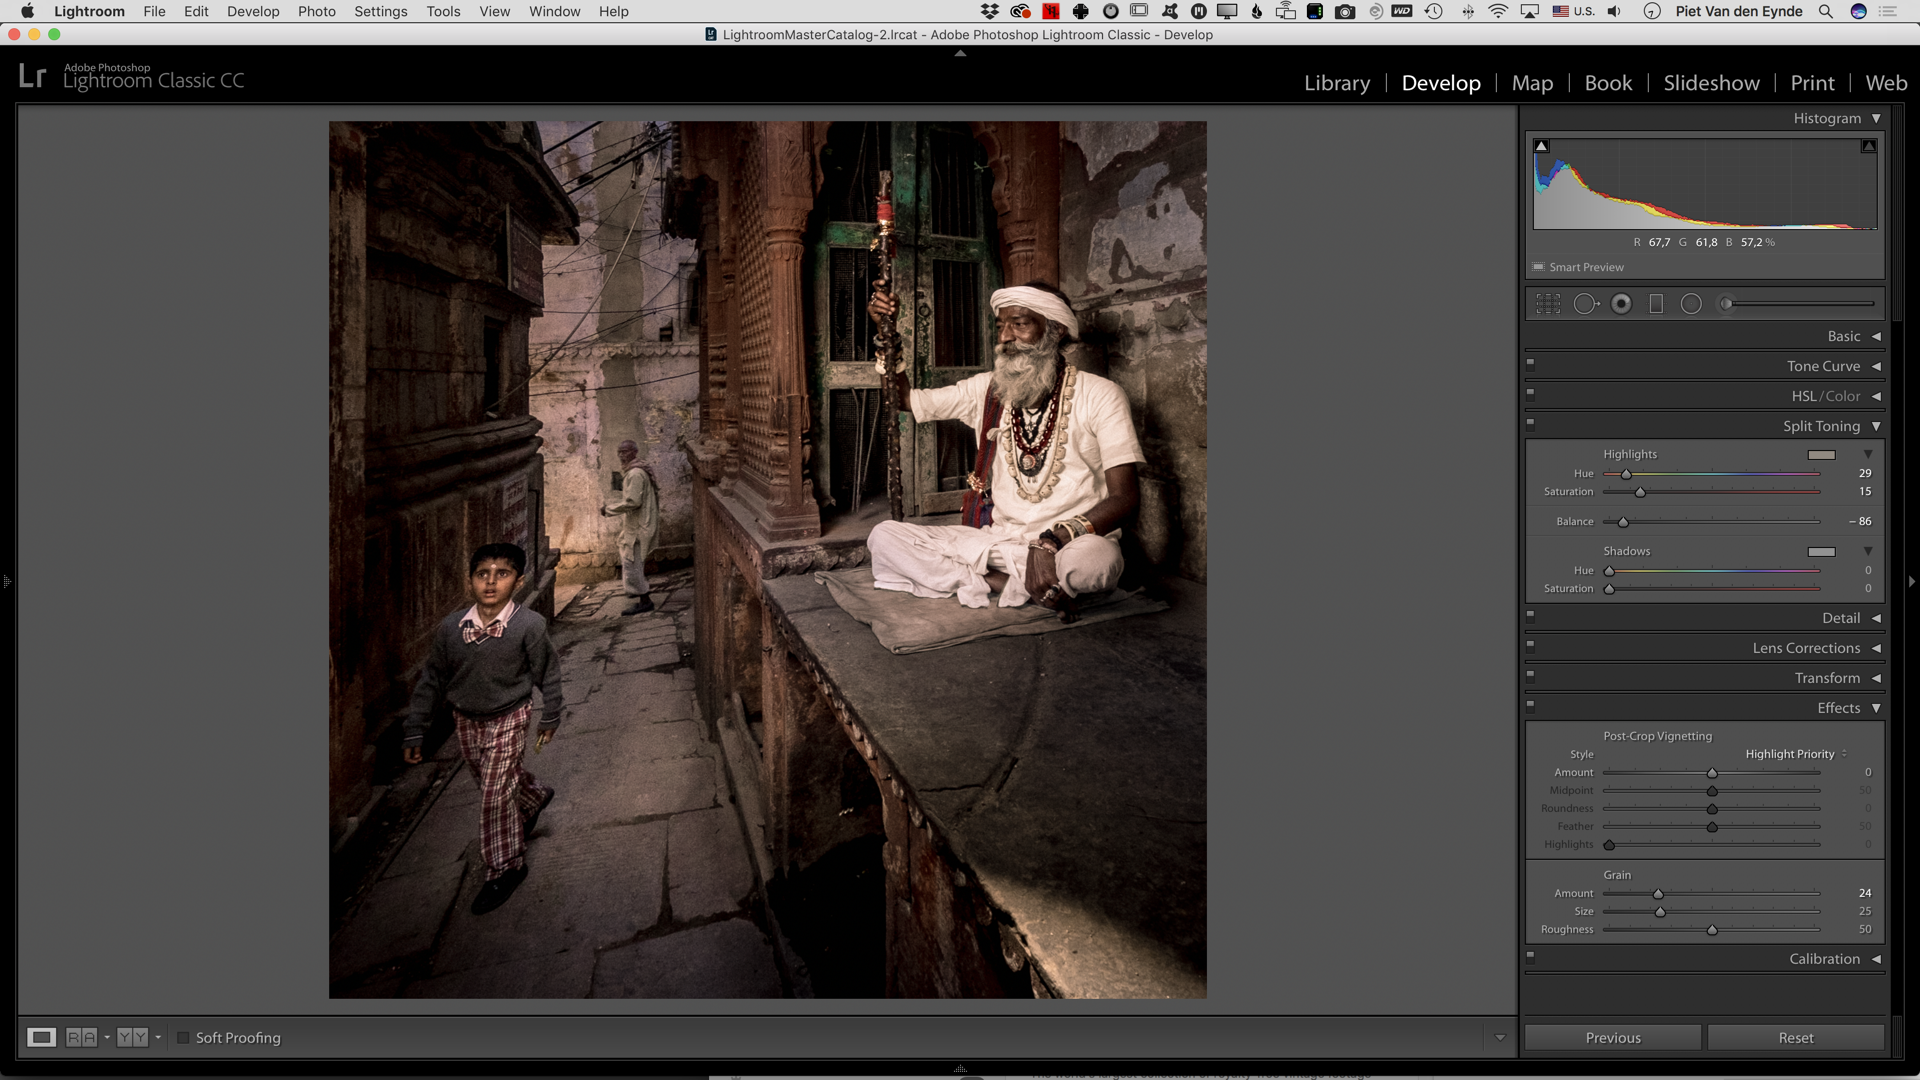
The second new feature are two new Range Masks found in the local adjustment tools: you can now refine a mask that you made with the Radial or Graduated Filter or the Adjustment Brush using a luminosity range slider or a color picker. I have a couple of examples in the video and I really love this new feature.
Other than that, there are a couple of minor improvements but those two features and the speed improvements are the real stars of this update. And, although they might not look as impressive as the CC2015 headliners (HDR, Pano and People View), they're features that really help to speed up your everyday workflow.
So, what do you think about the name change and its implications and... about the new features? If you're on Lightroom 6, will you upgrade to the subscription or will you turn to one of the competing raw converters? I would love to hear your thoughts in the comments.