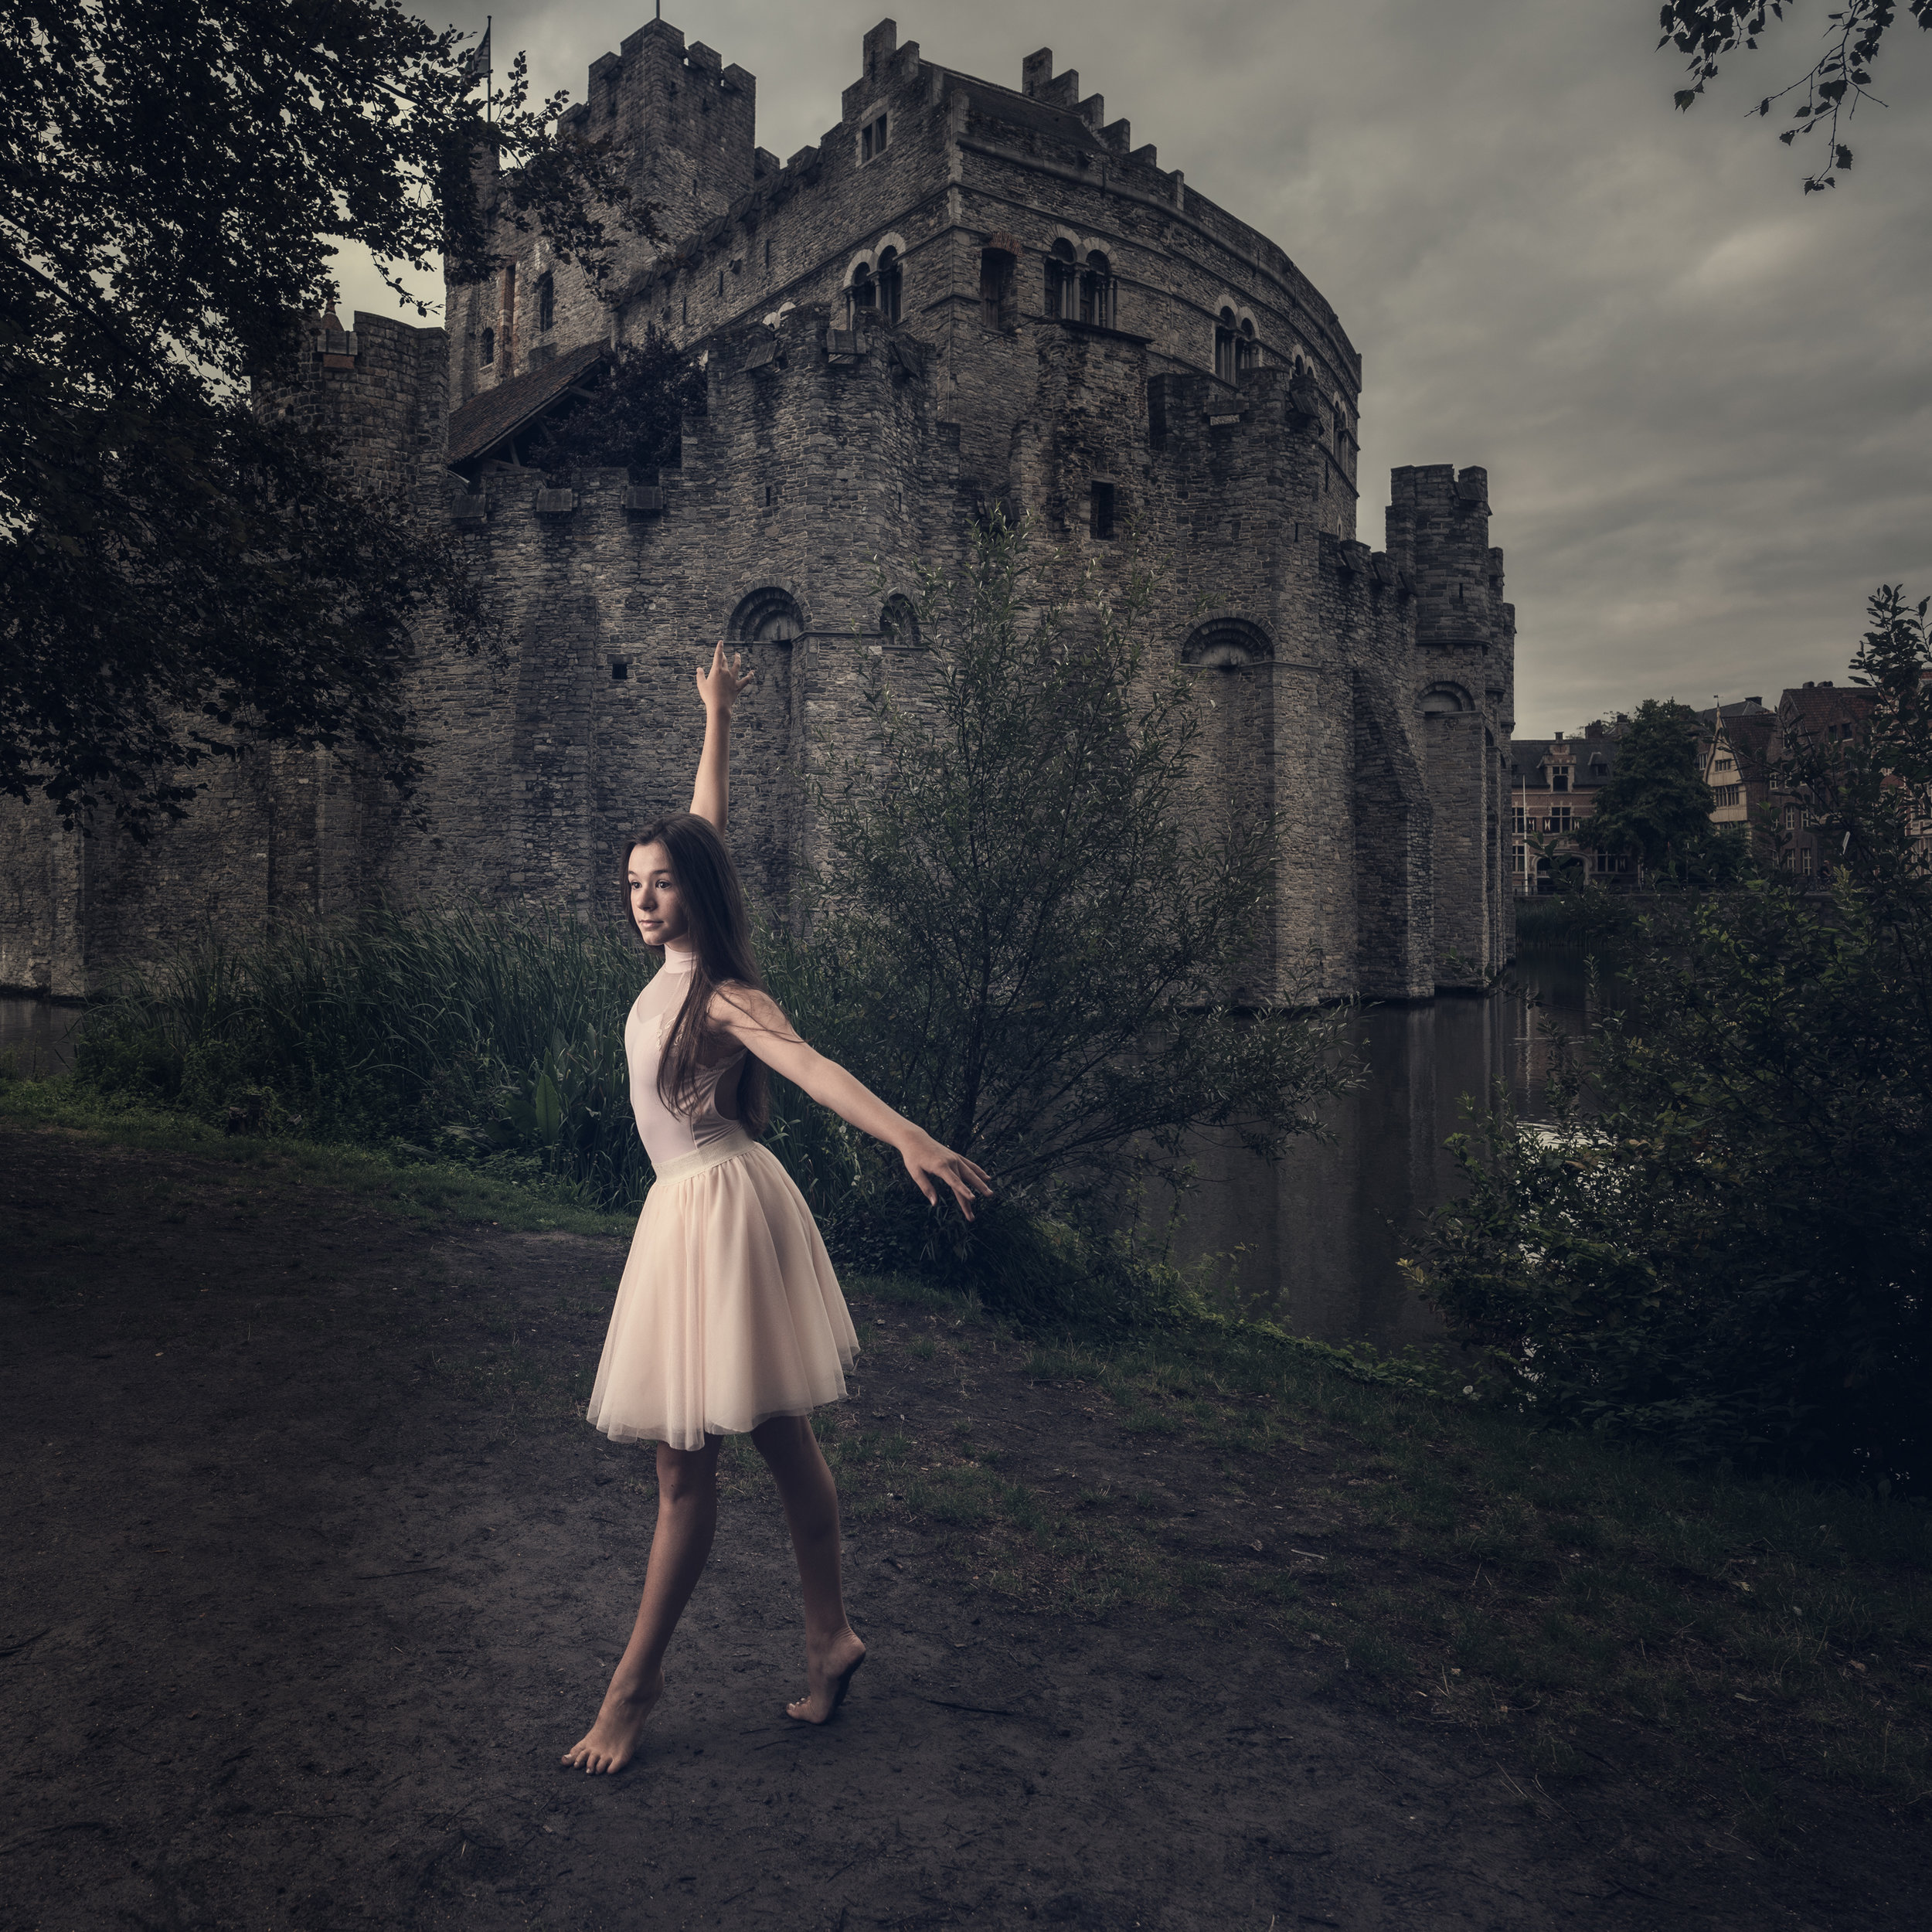
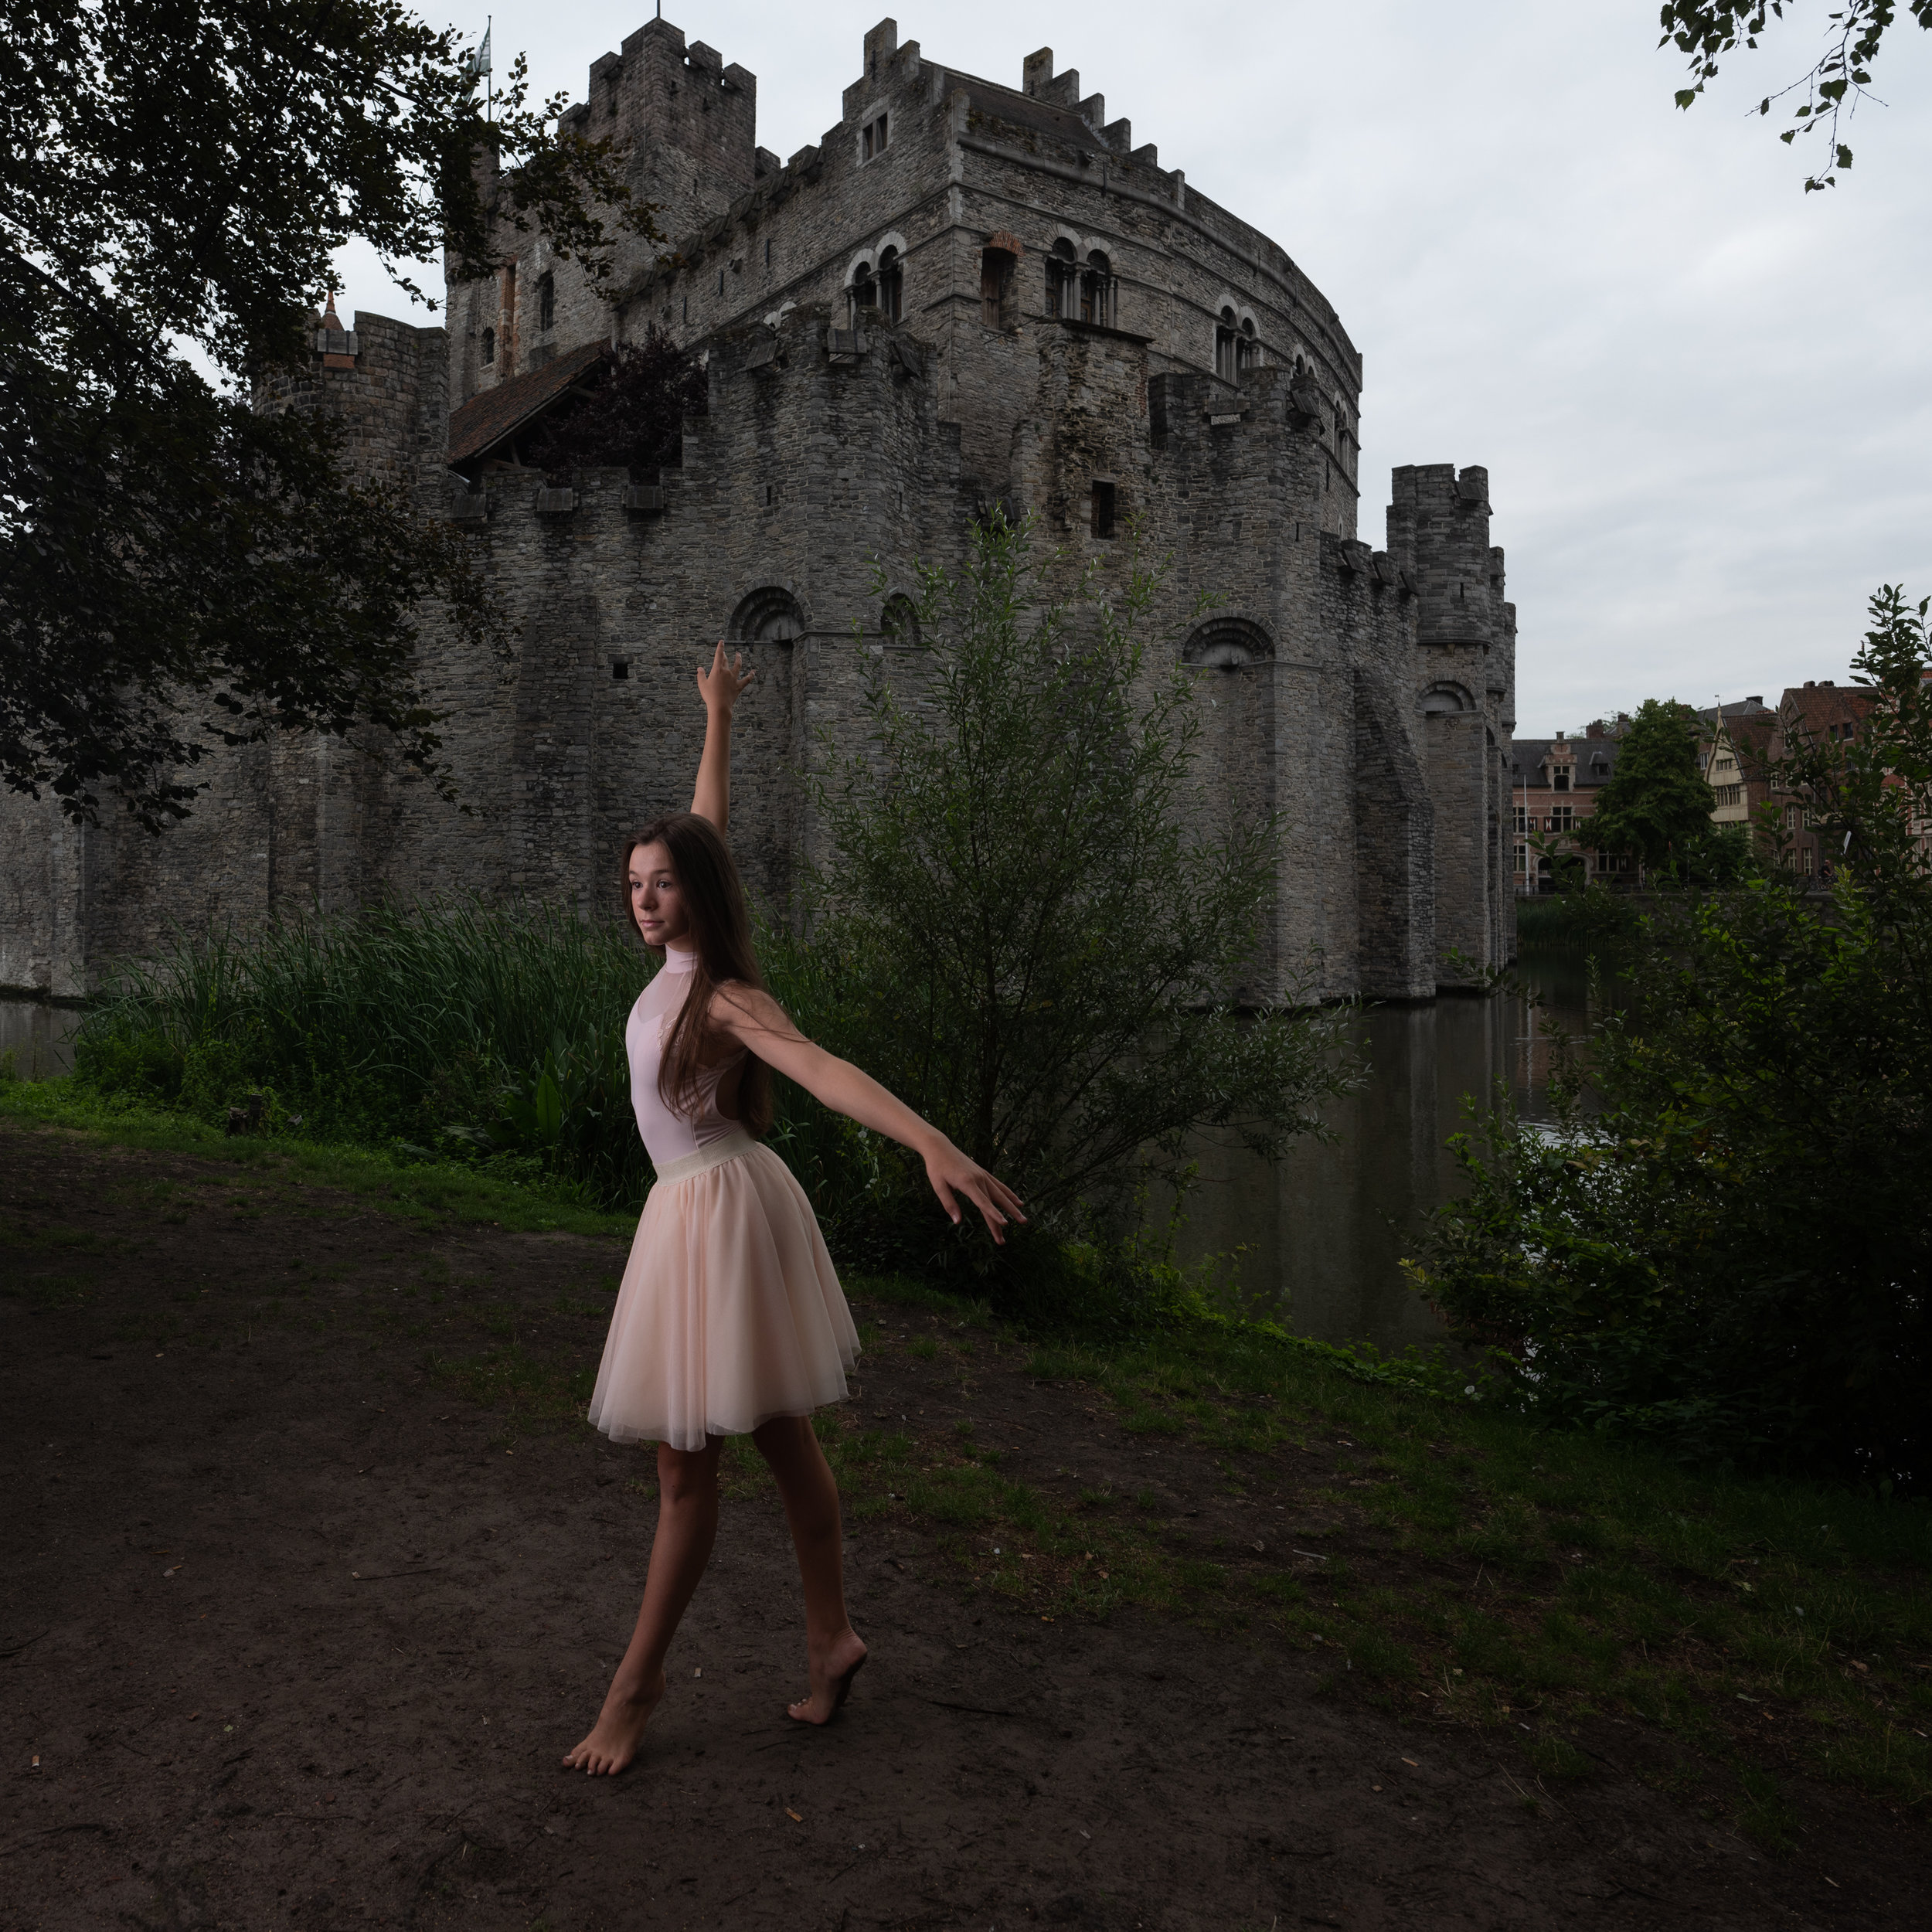
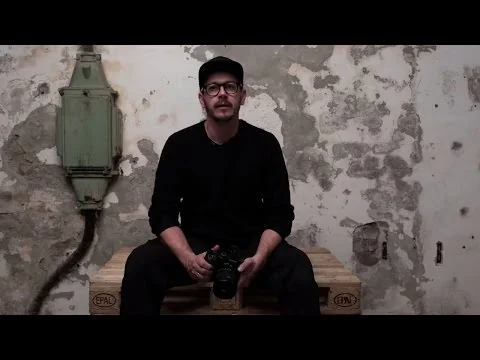
I’m connected to a lot of photographers on Facebook from all over the world. And as much as I like these virtual interactions, I like it even more when I get the chance to meet one of these Facebook friends in real life. This happened last week with David. David’s a Belgian photographer who lives in Thailand most of the year. He’s an amazing travel photographer and he popped over to Belgium for a couple of weeks. So we decided to go on a shoot together. I like doing these kinds of spontaneous, last-minute freestyle shoots with other photographers because I think we can all learn from each other.
Steampunk @ the factory
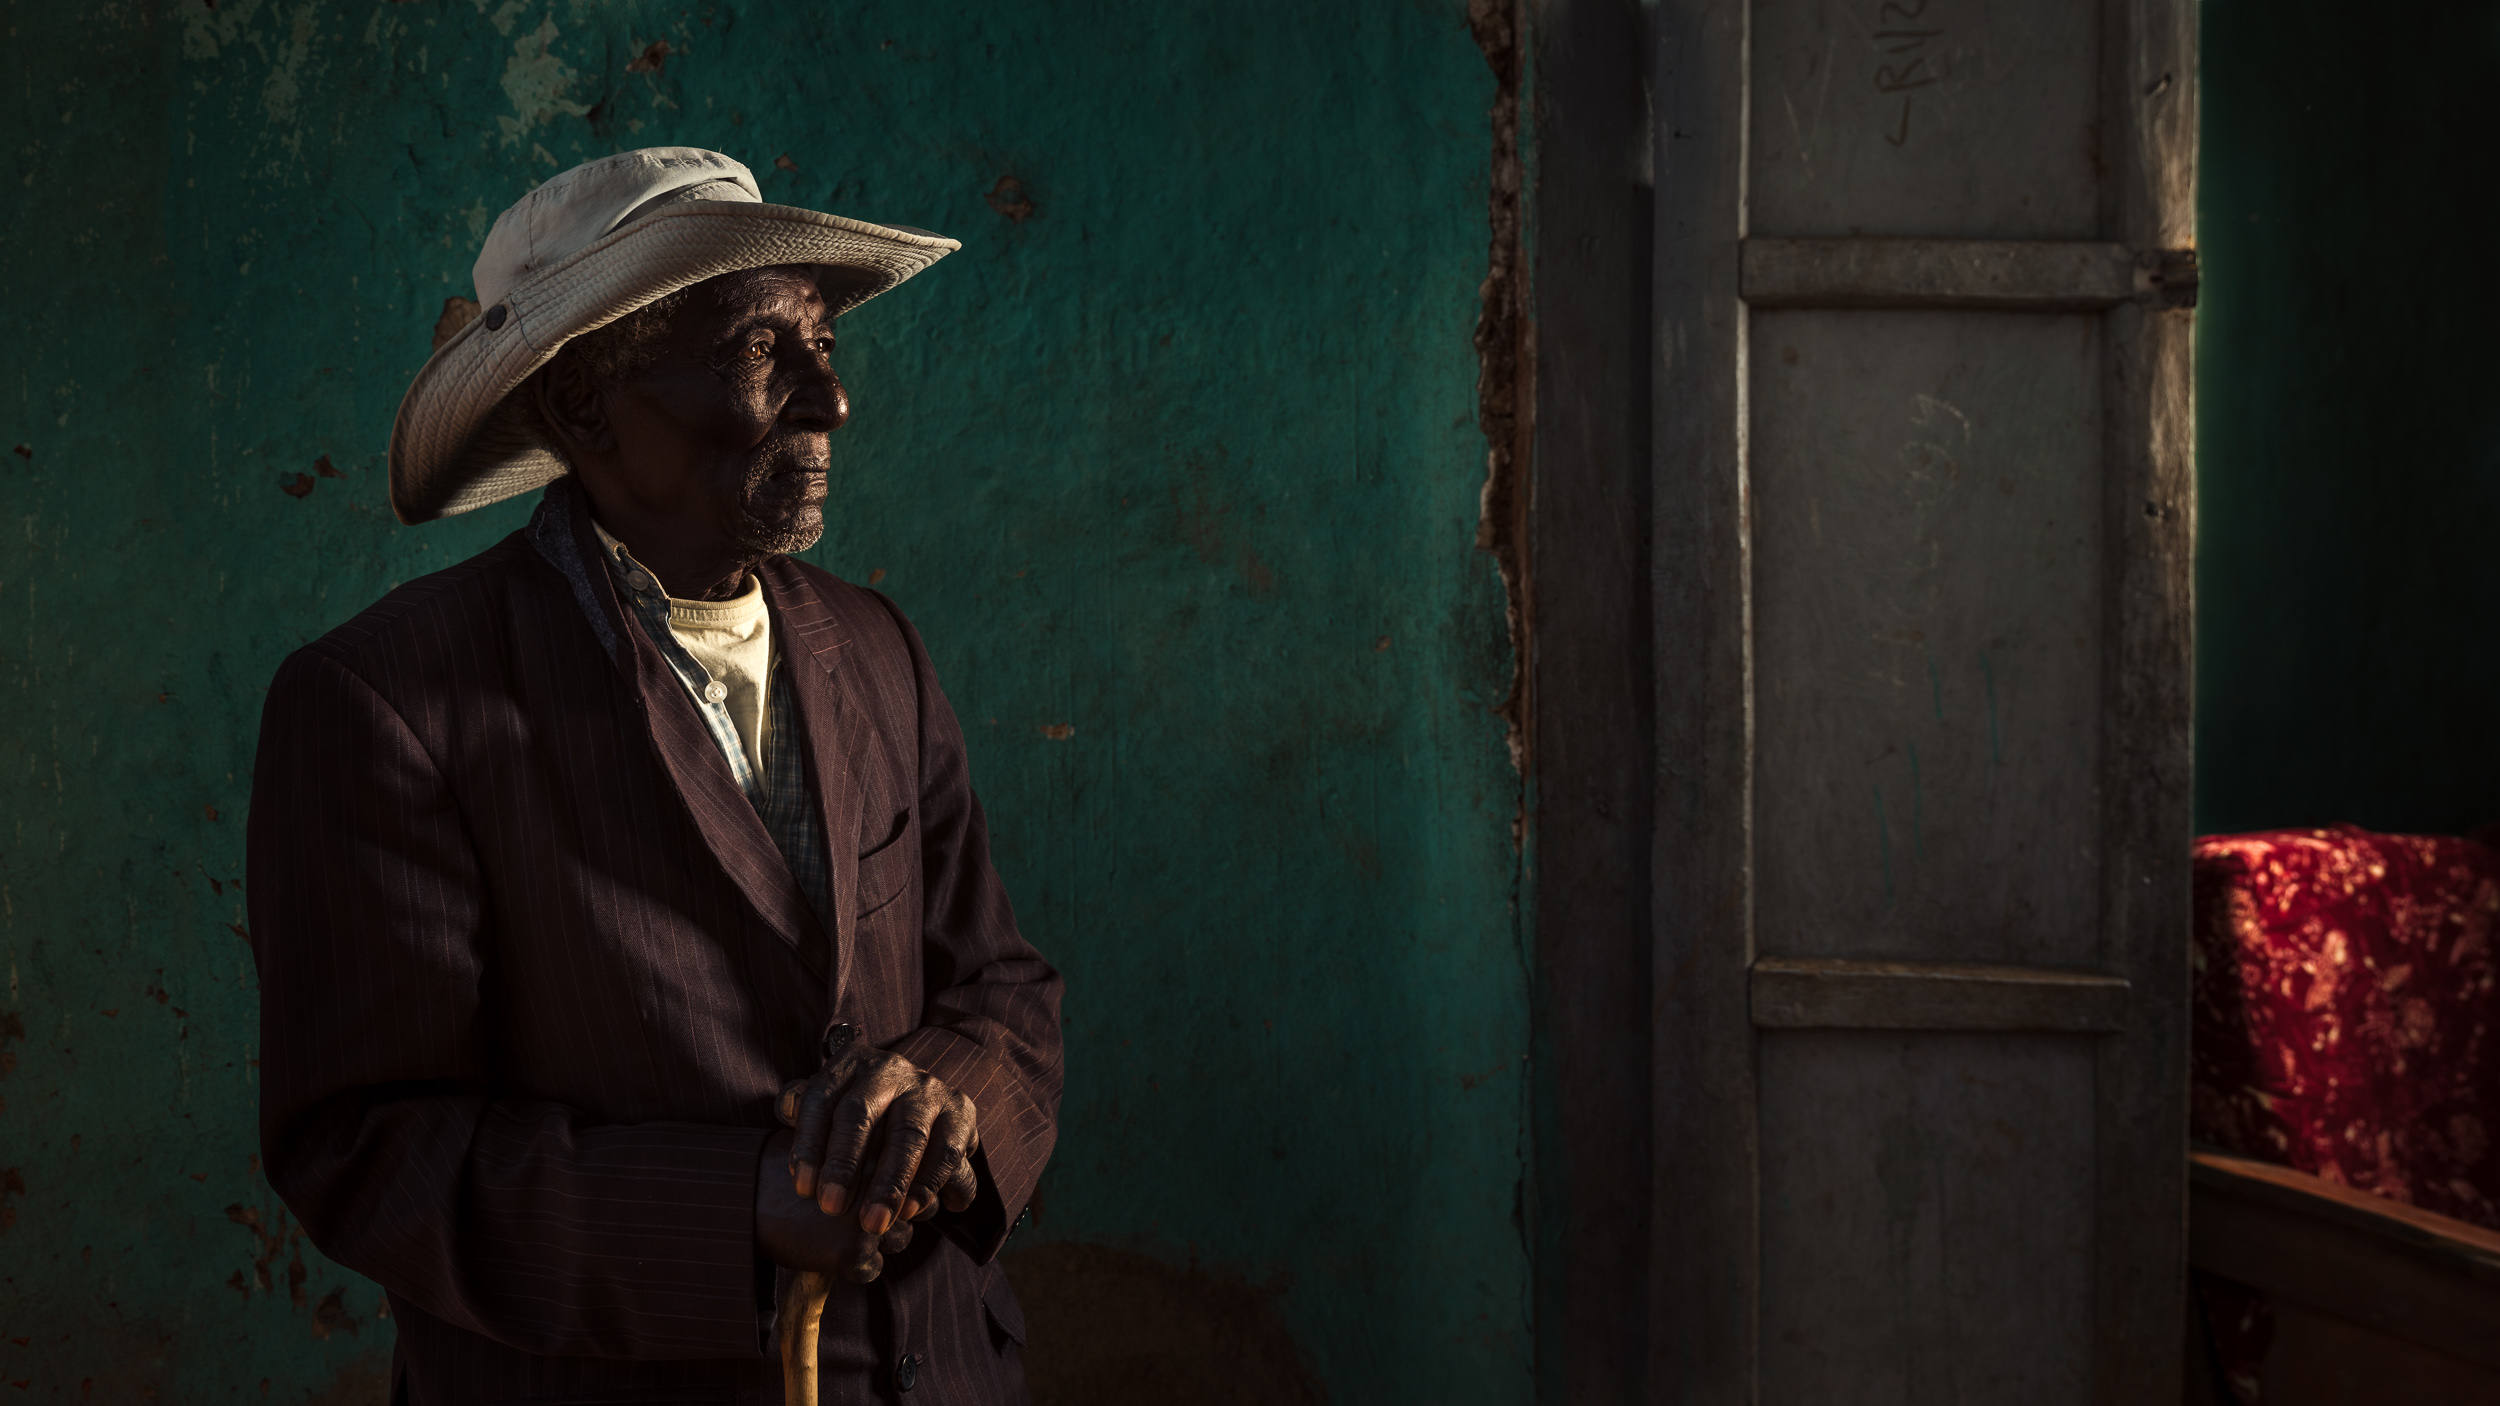
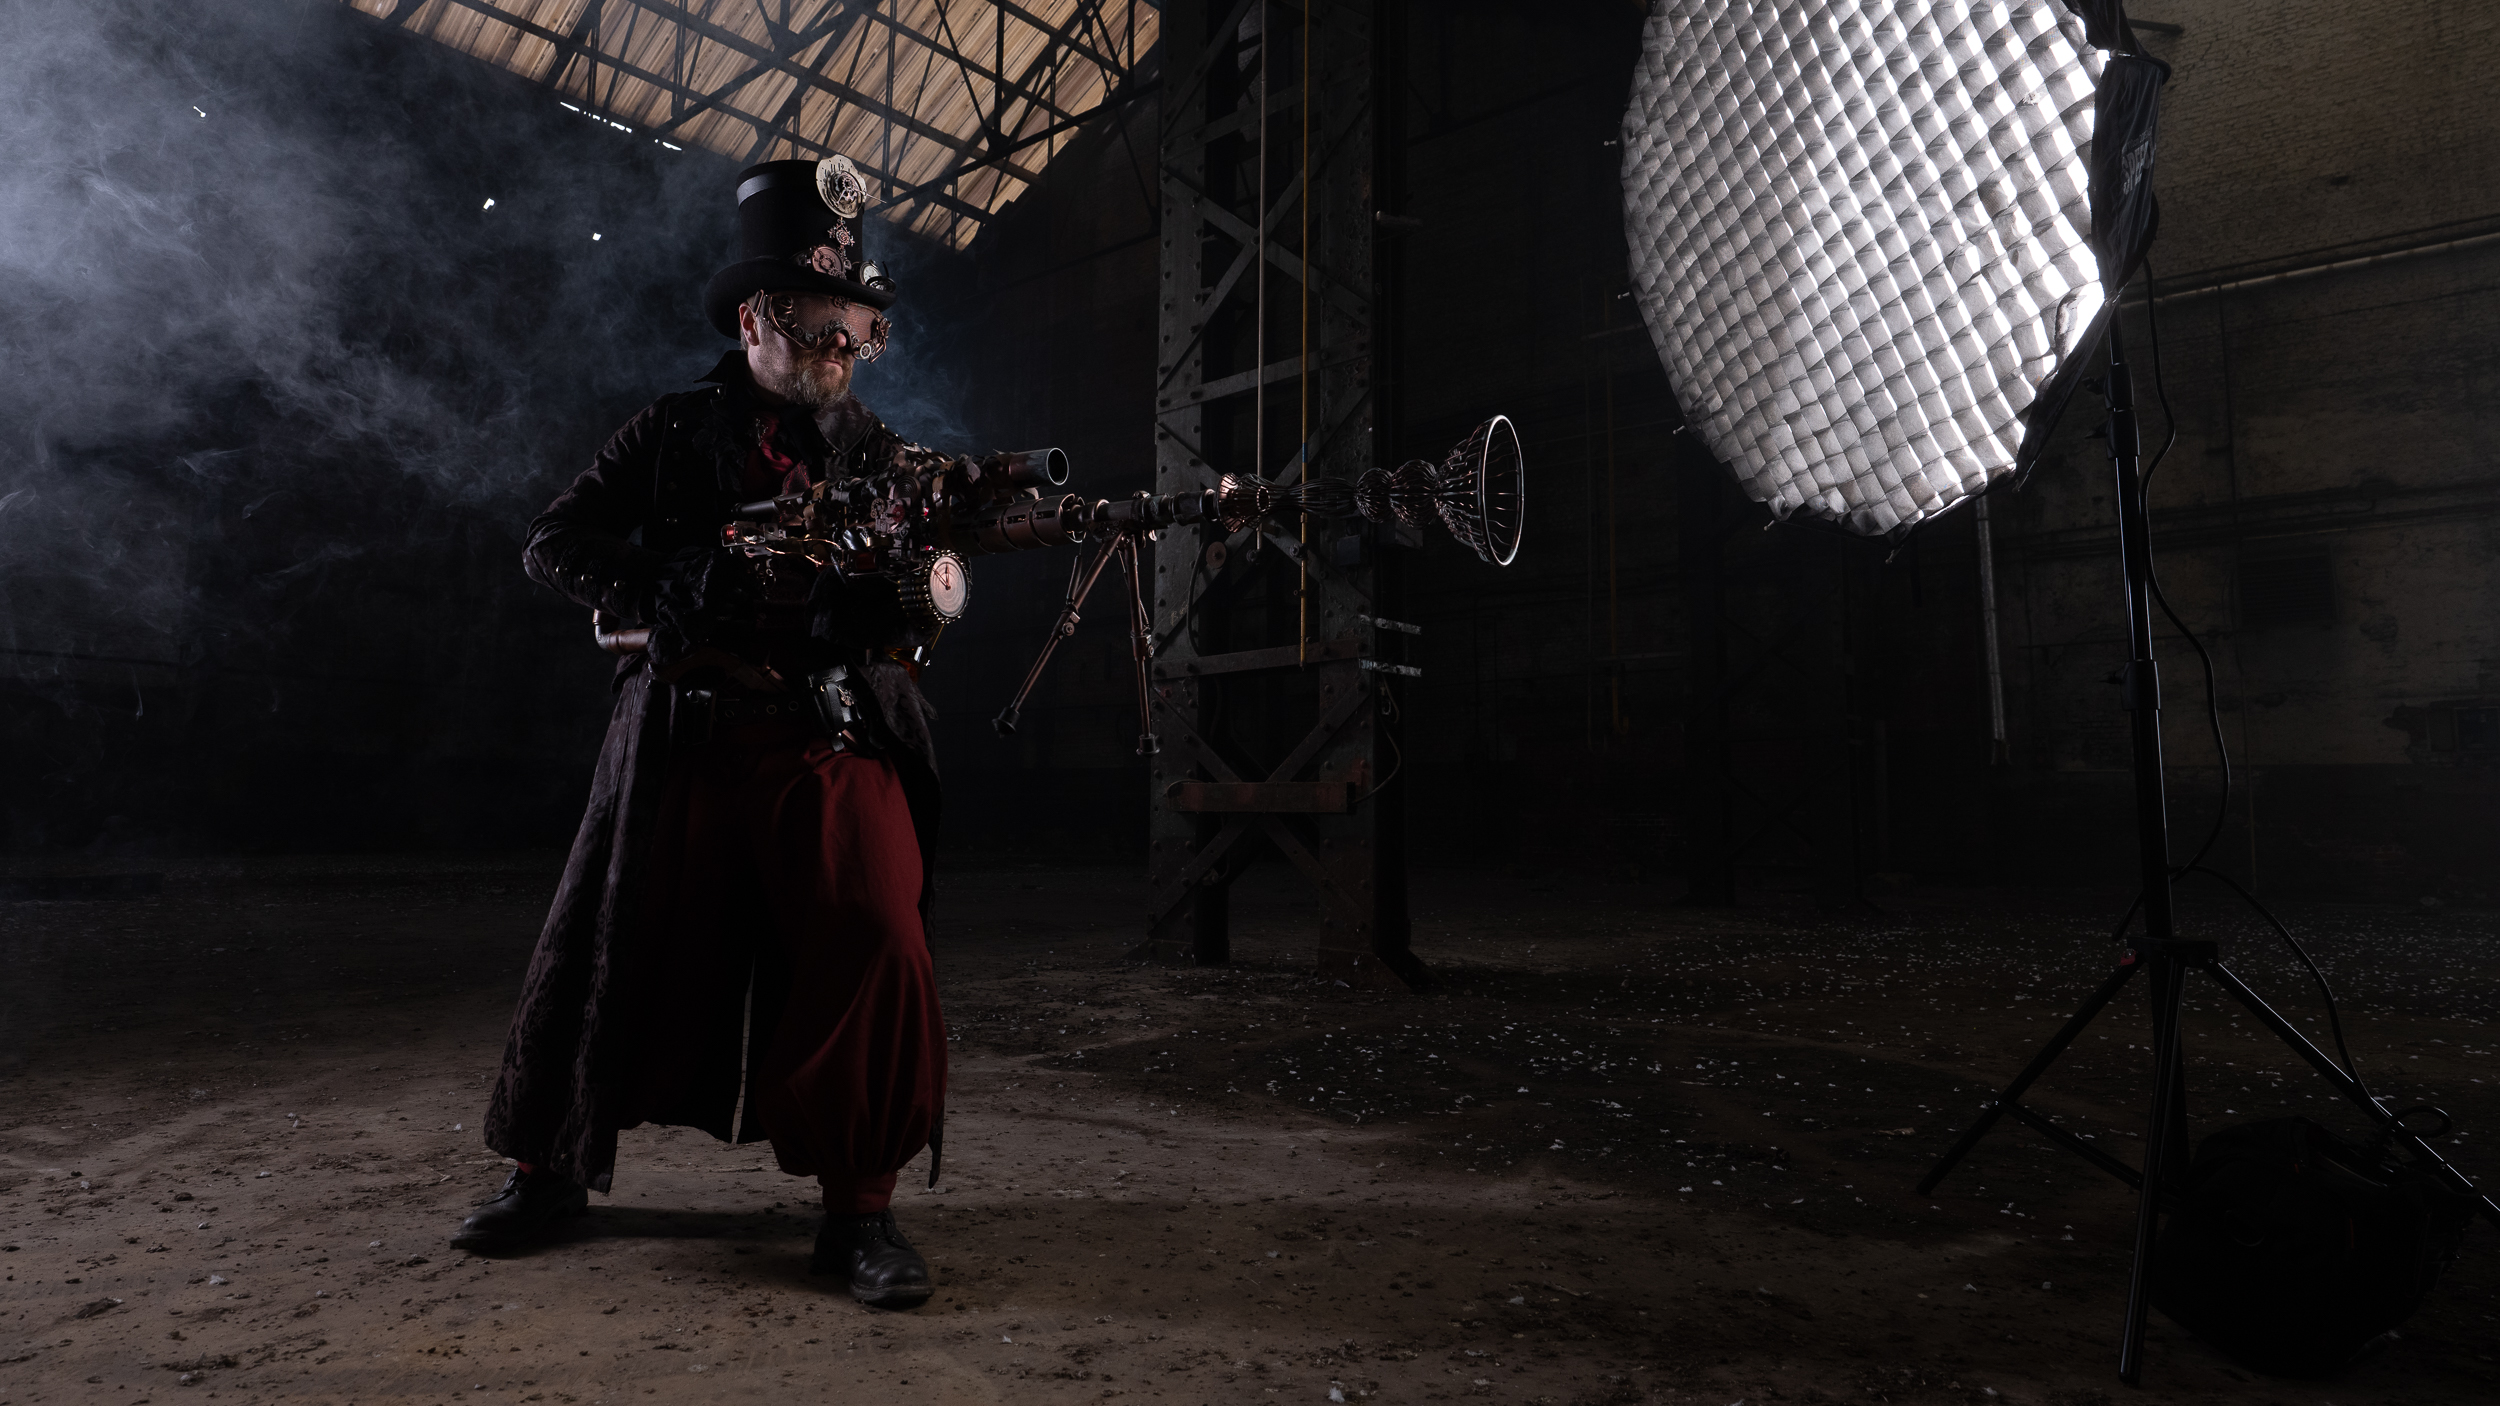
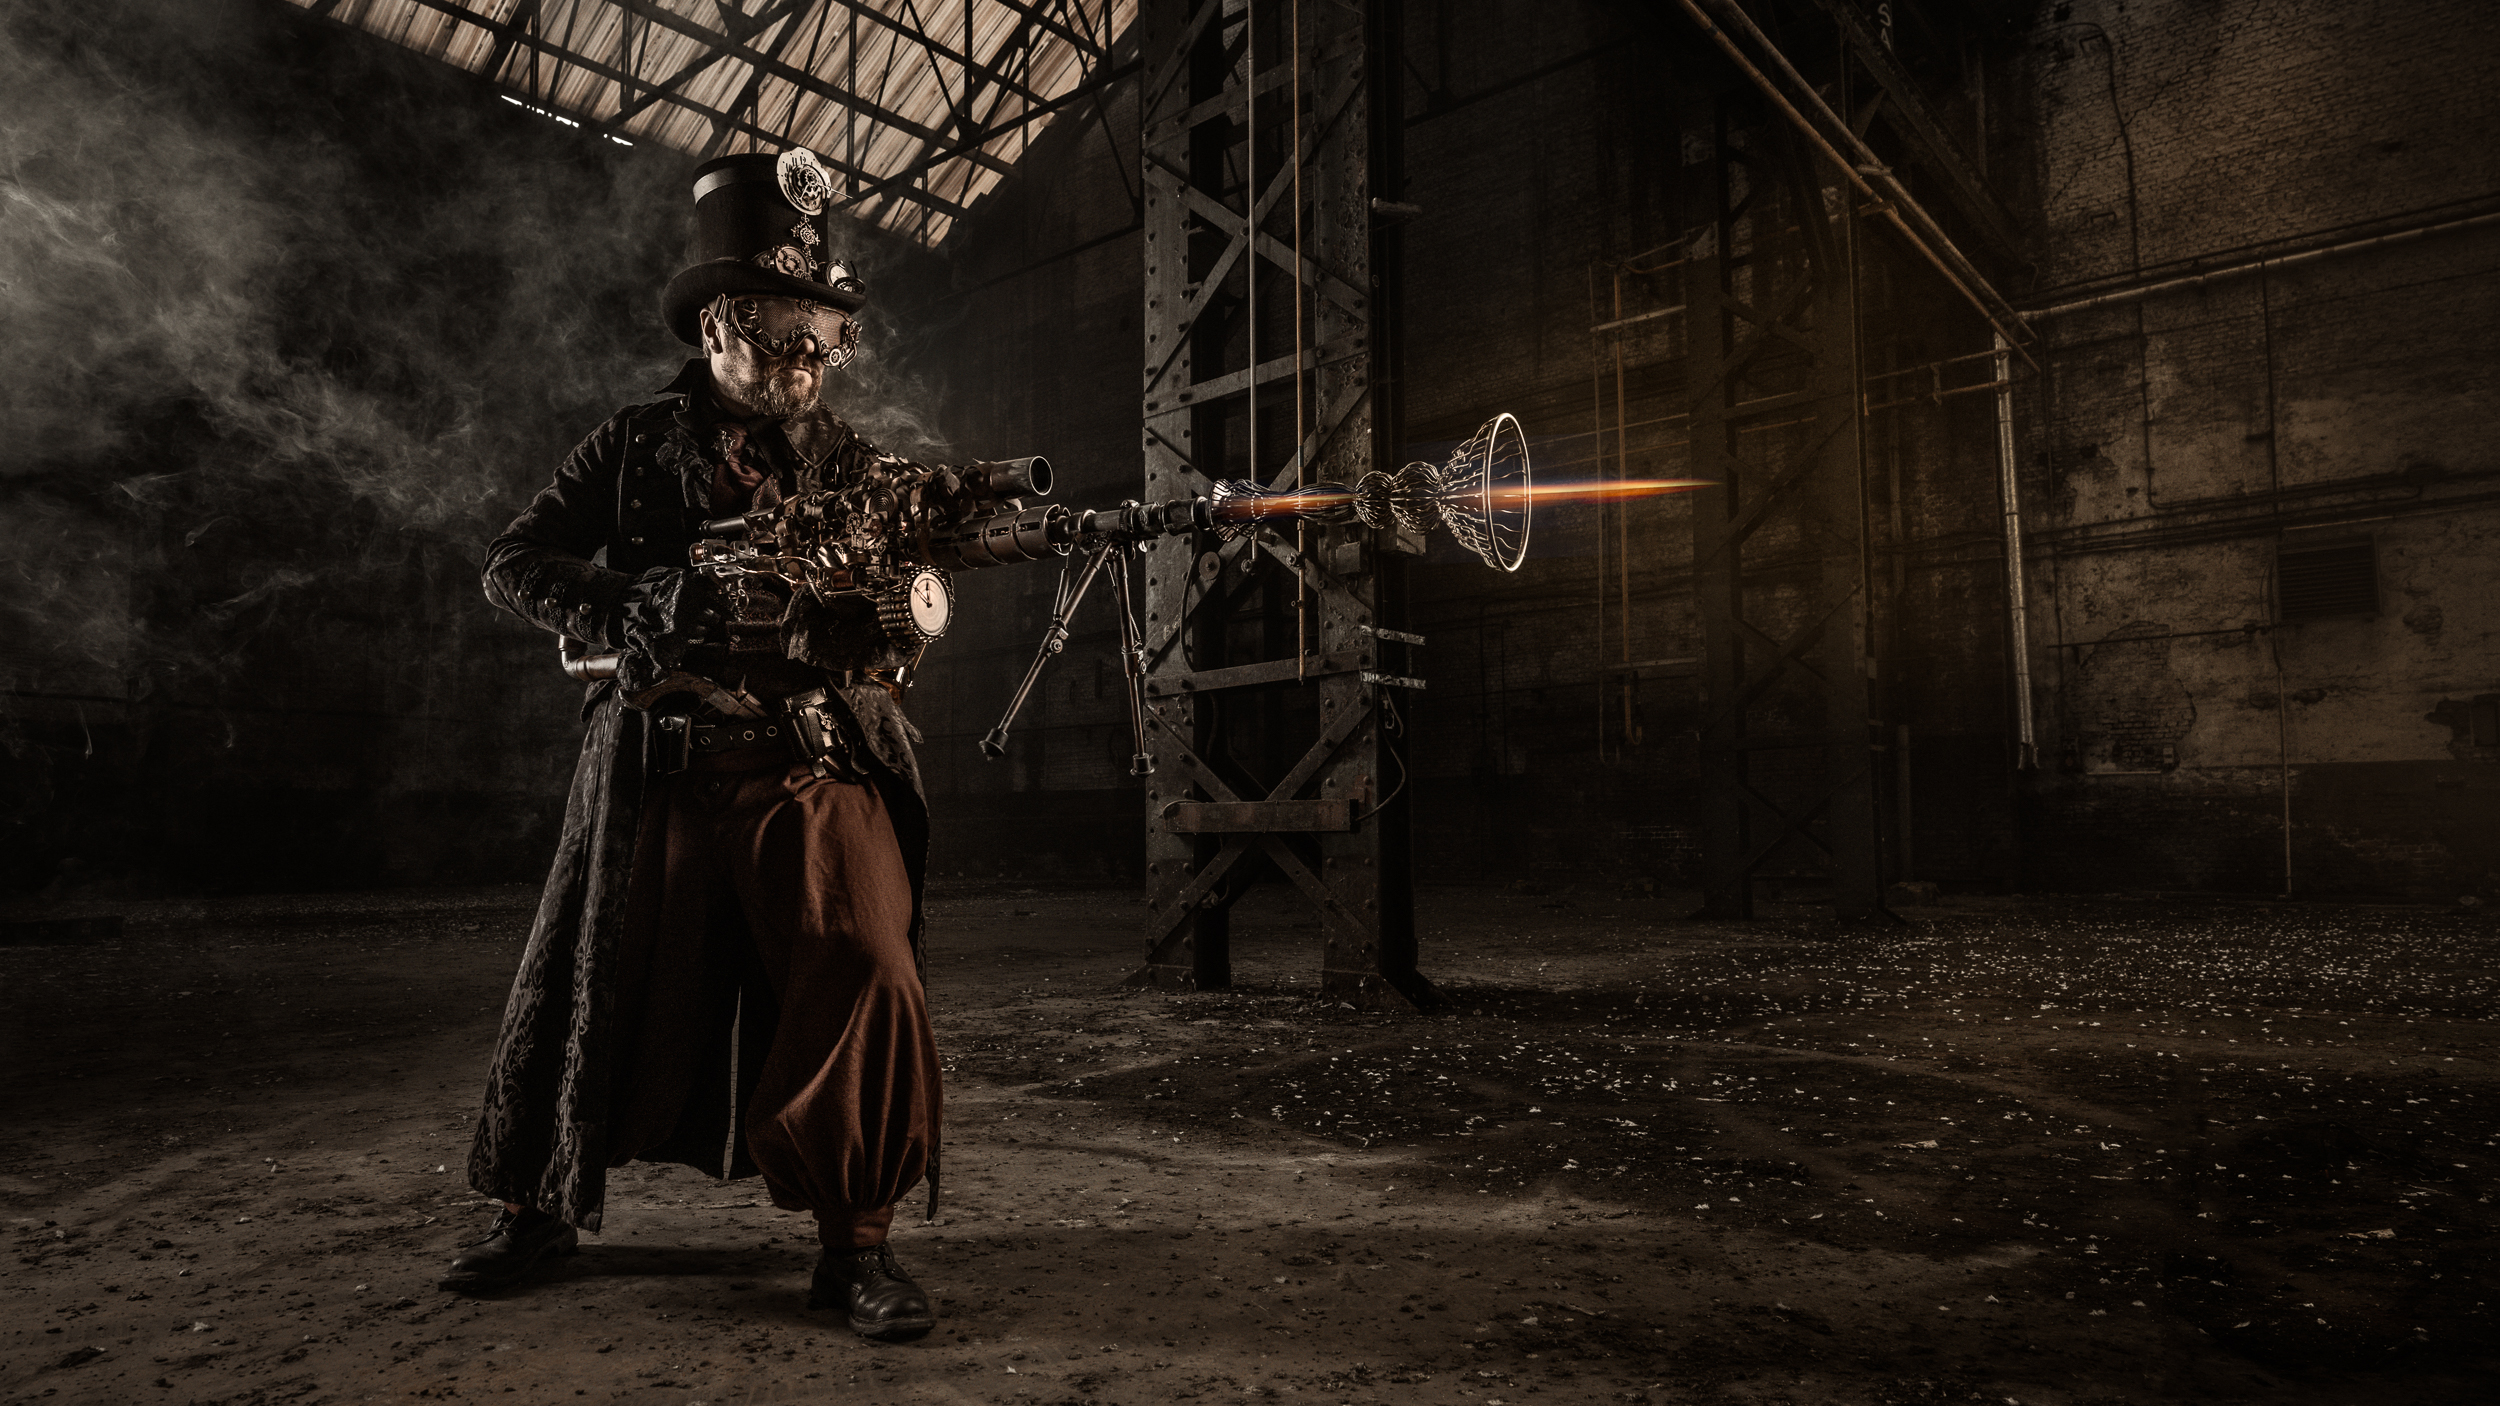
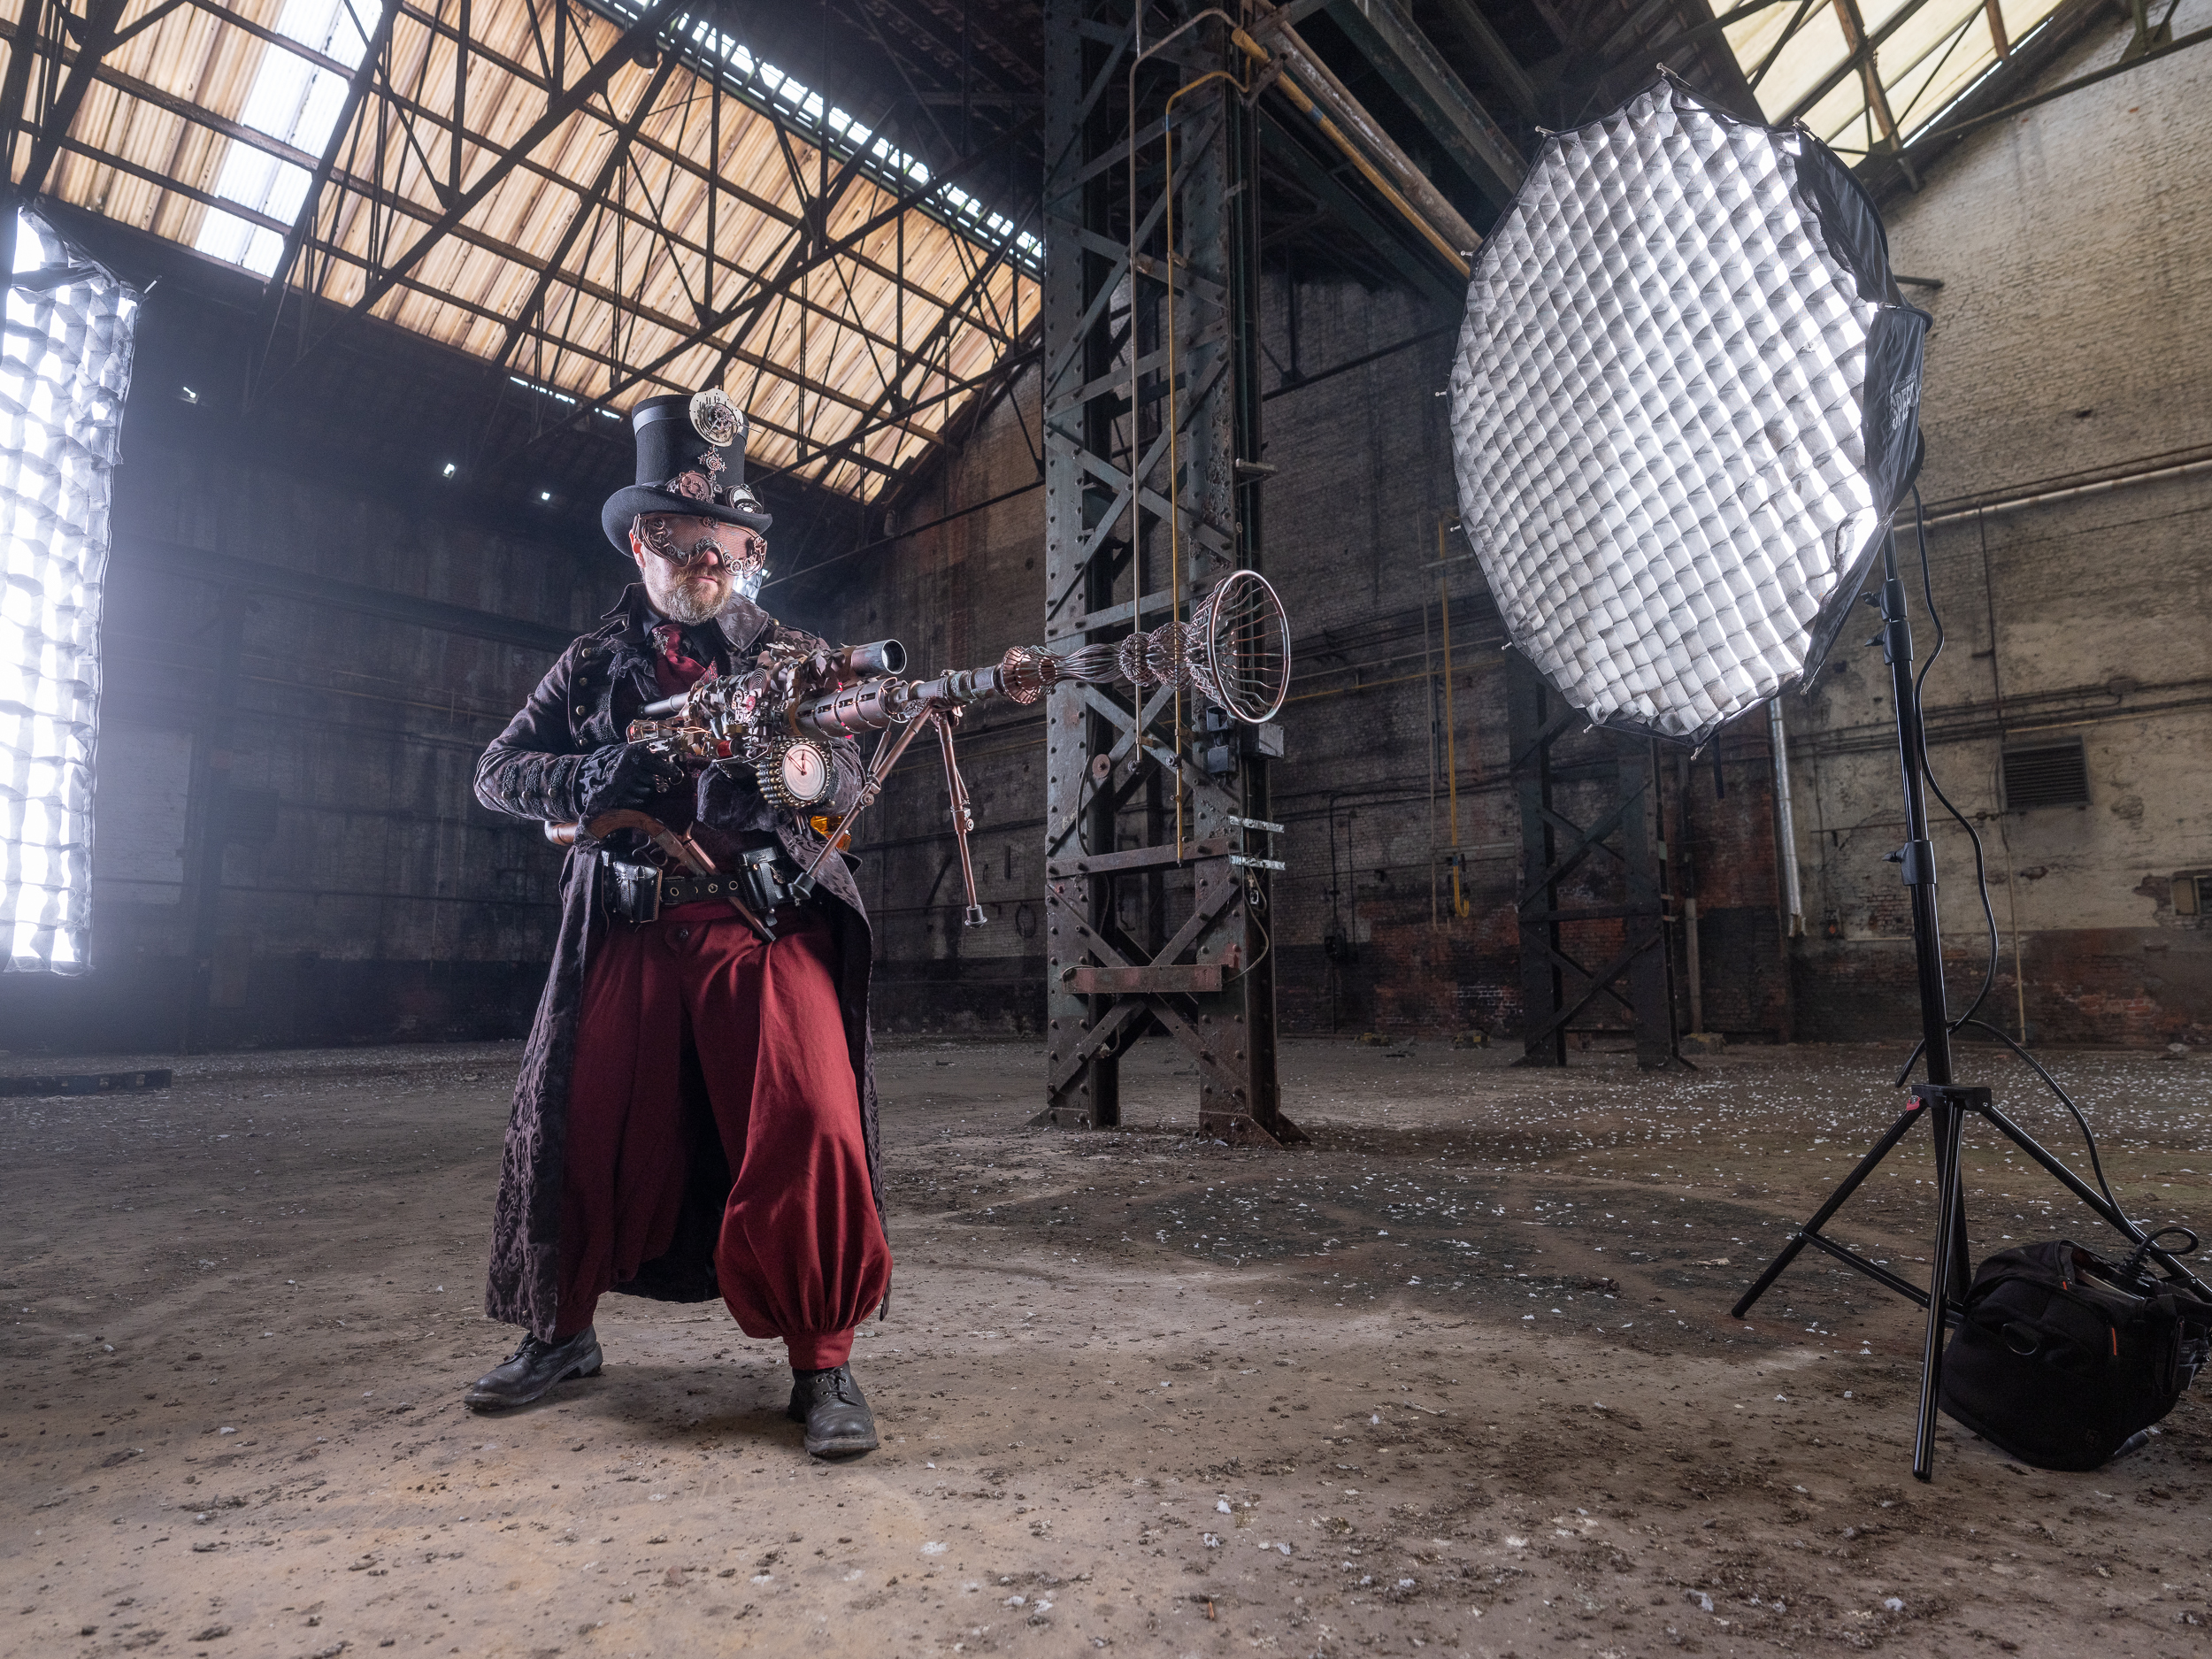
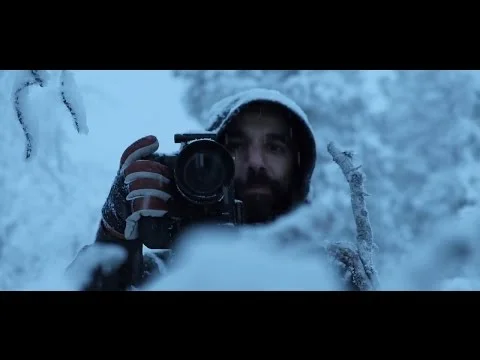
I love shooting in abandoned factories and lately, I’ve been into photographing steampunkers, too. These two subjects are a match made in heaven. So I called up Major TC Theodoricus, one of Belgium’s most passionate steampunkers and we all met up in an old paper factory about an hour’s drive from where I live. Another friend, Frank, came along to make some BTS shots.
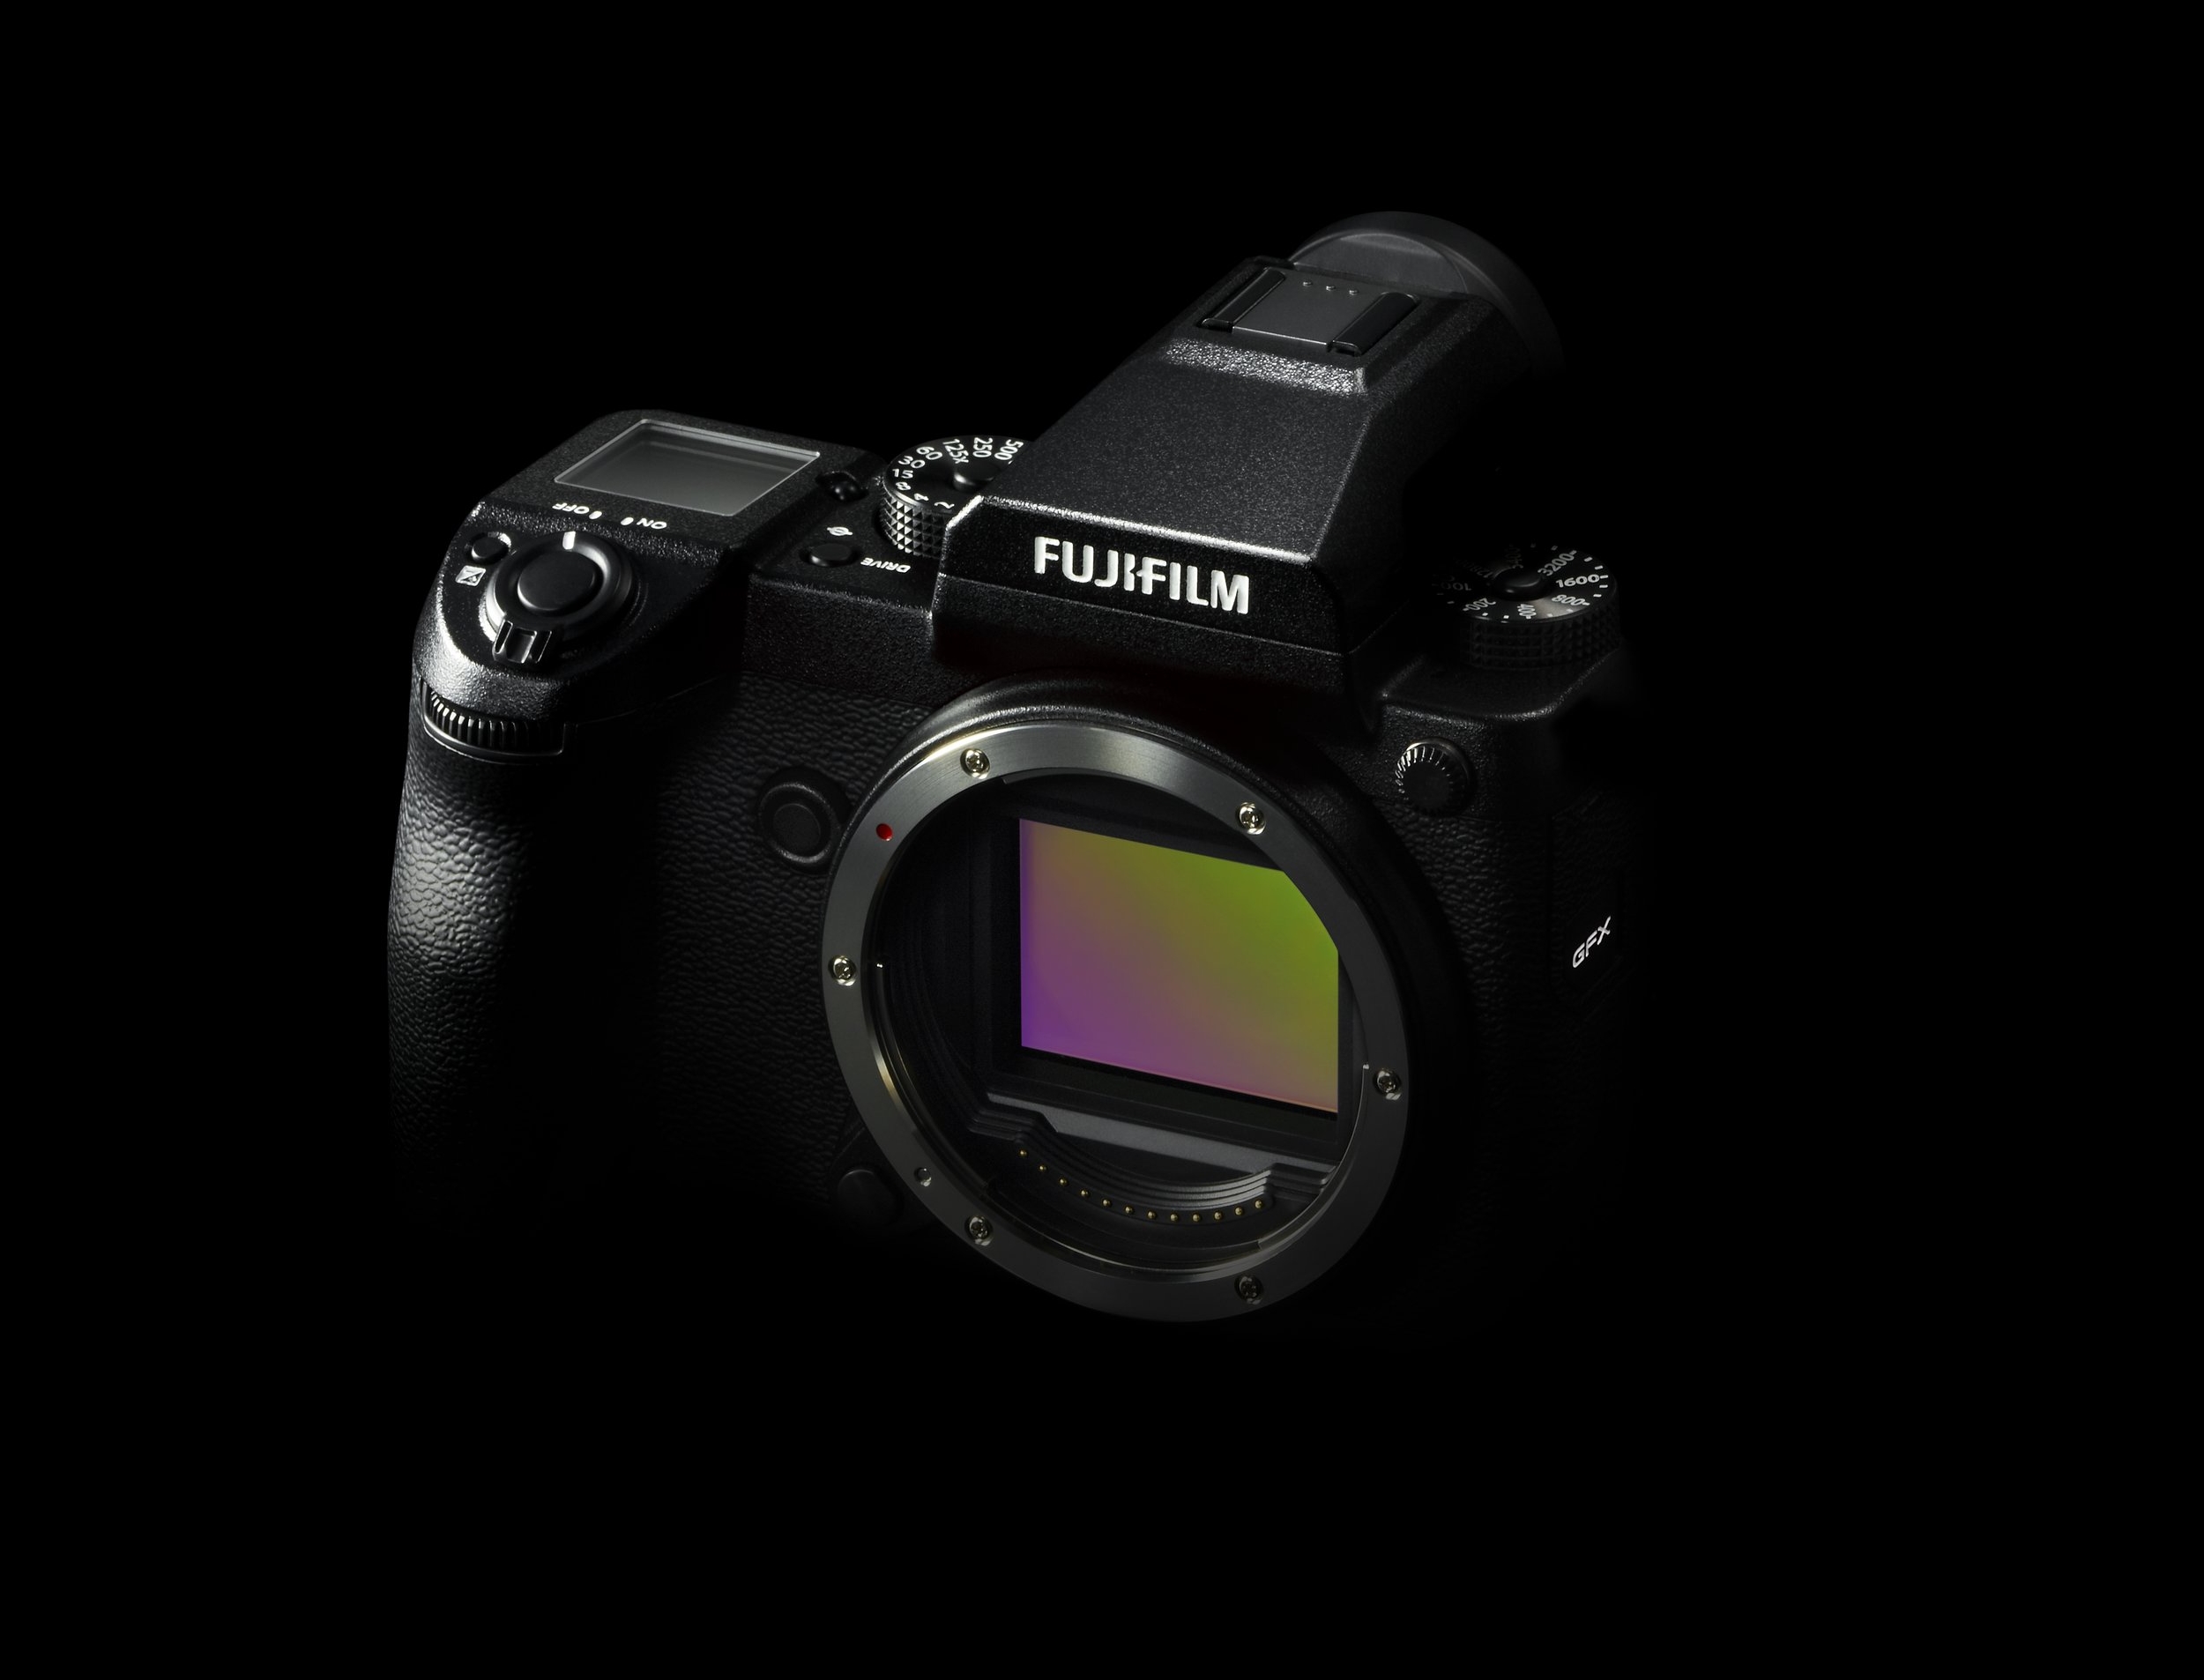
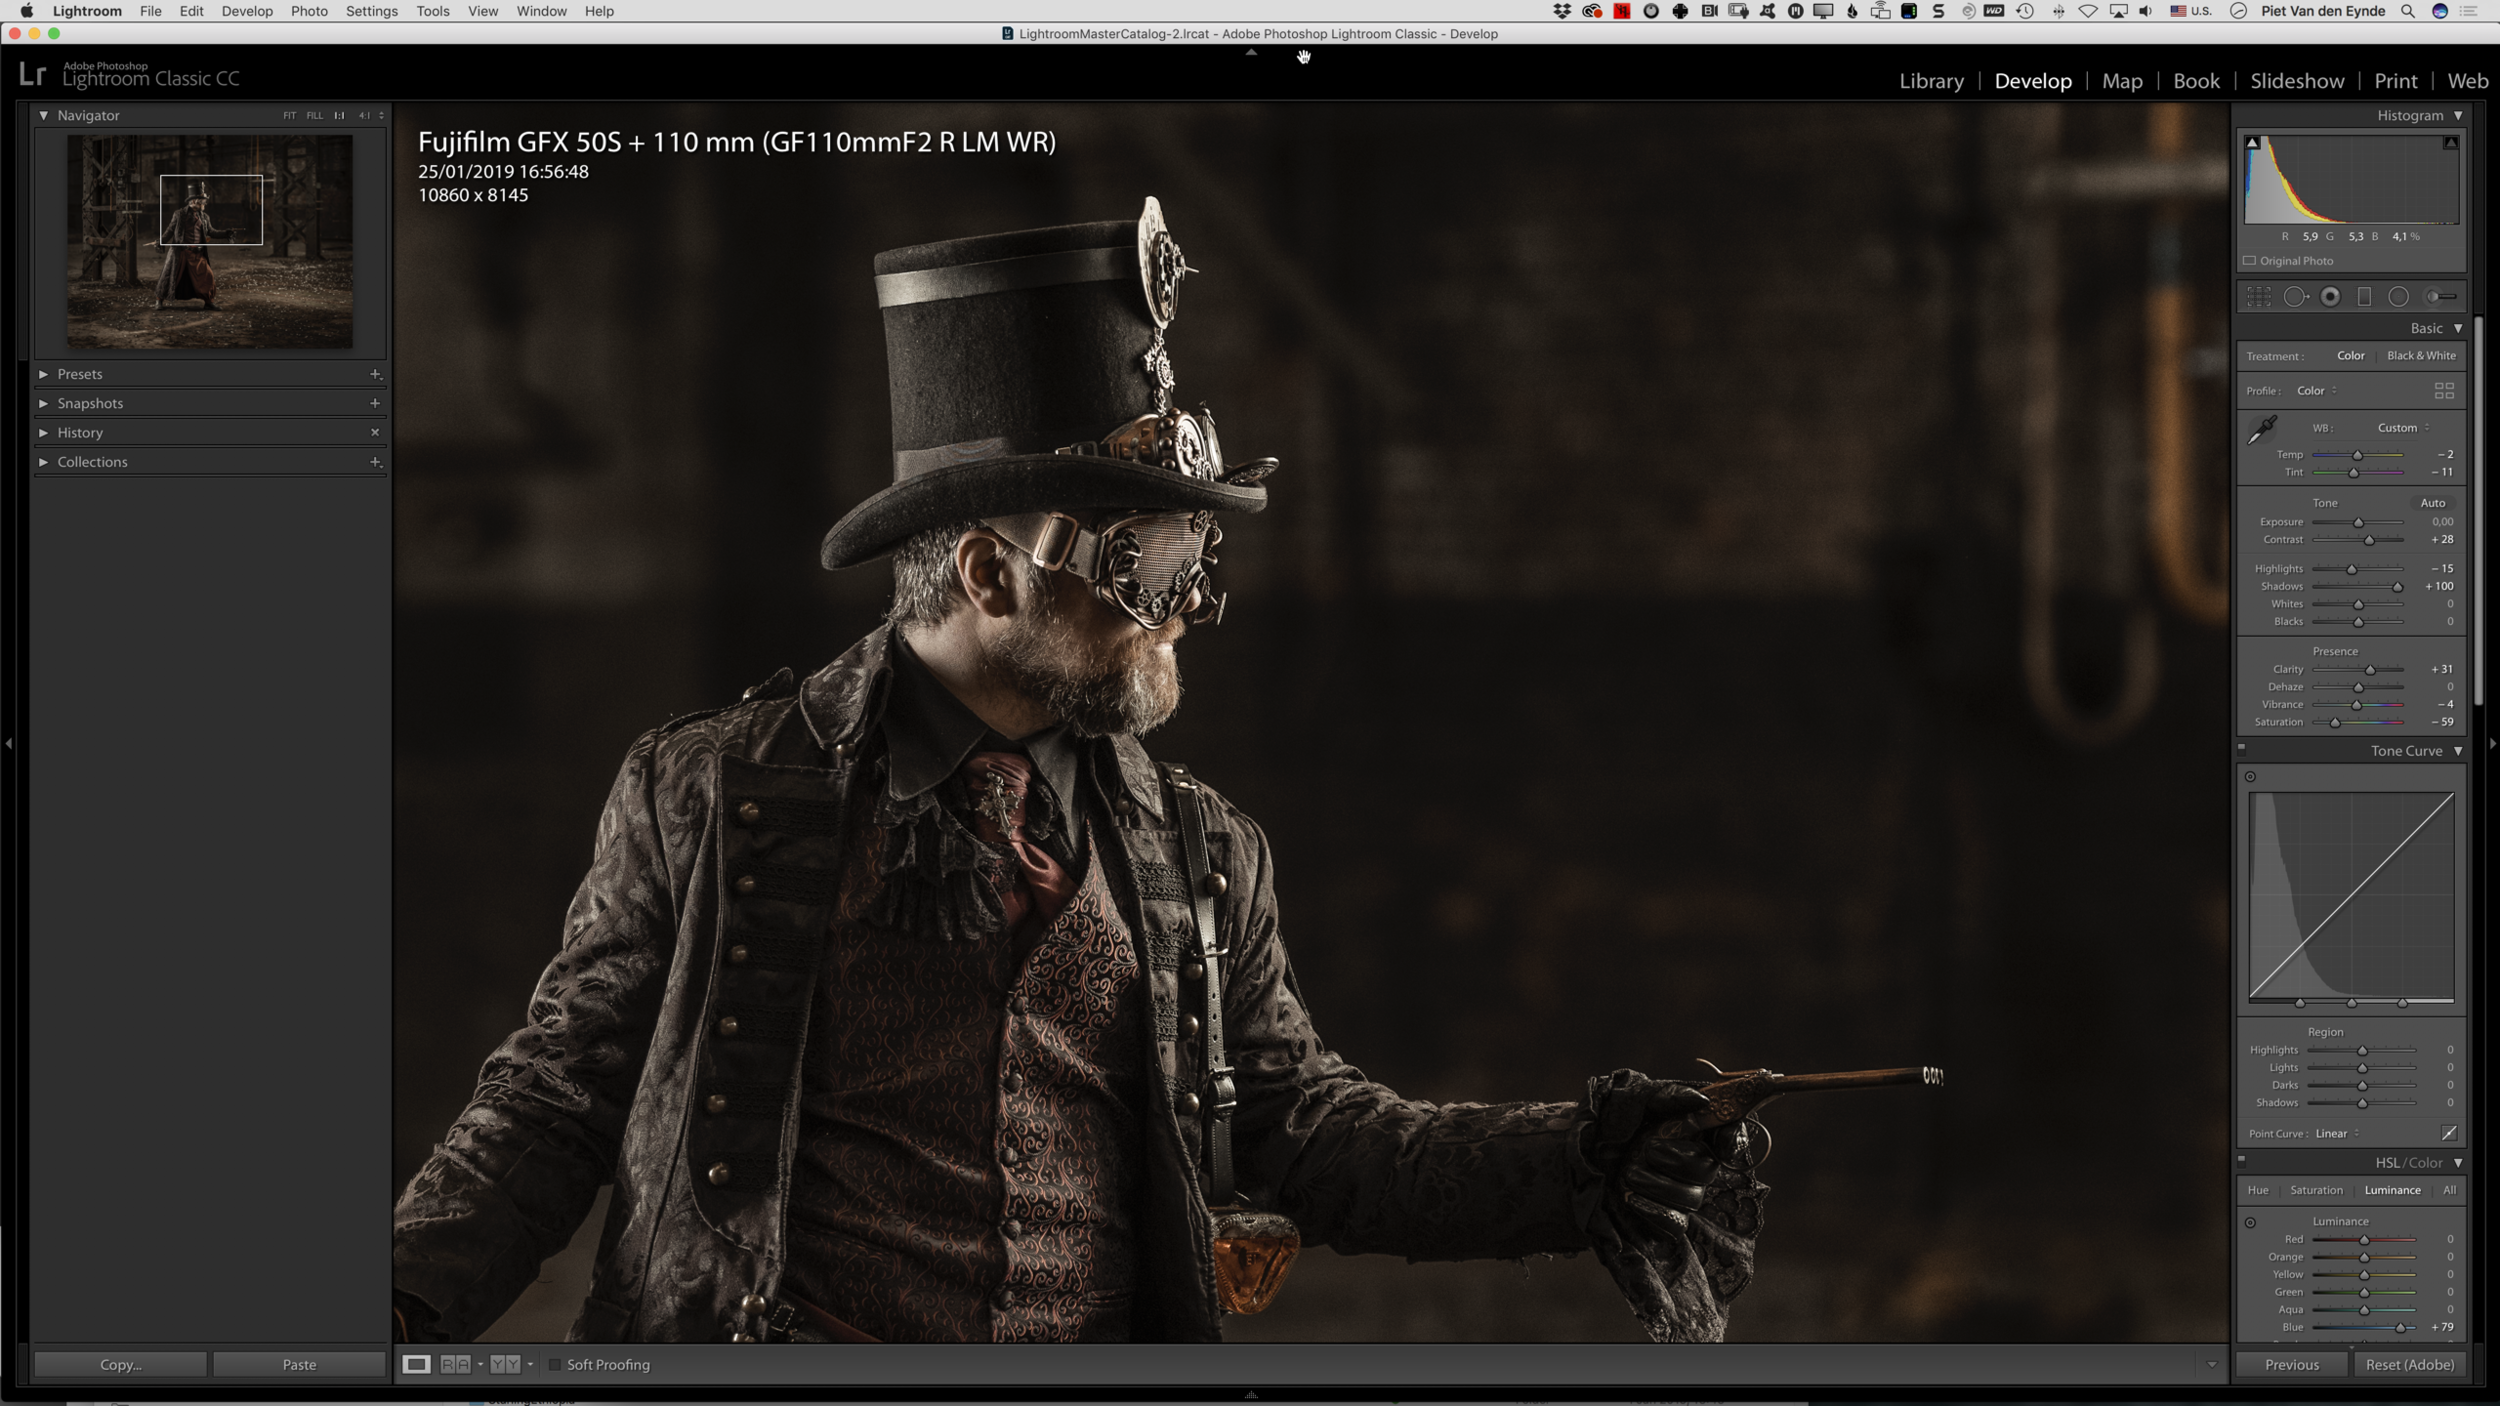
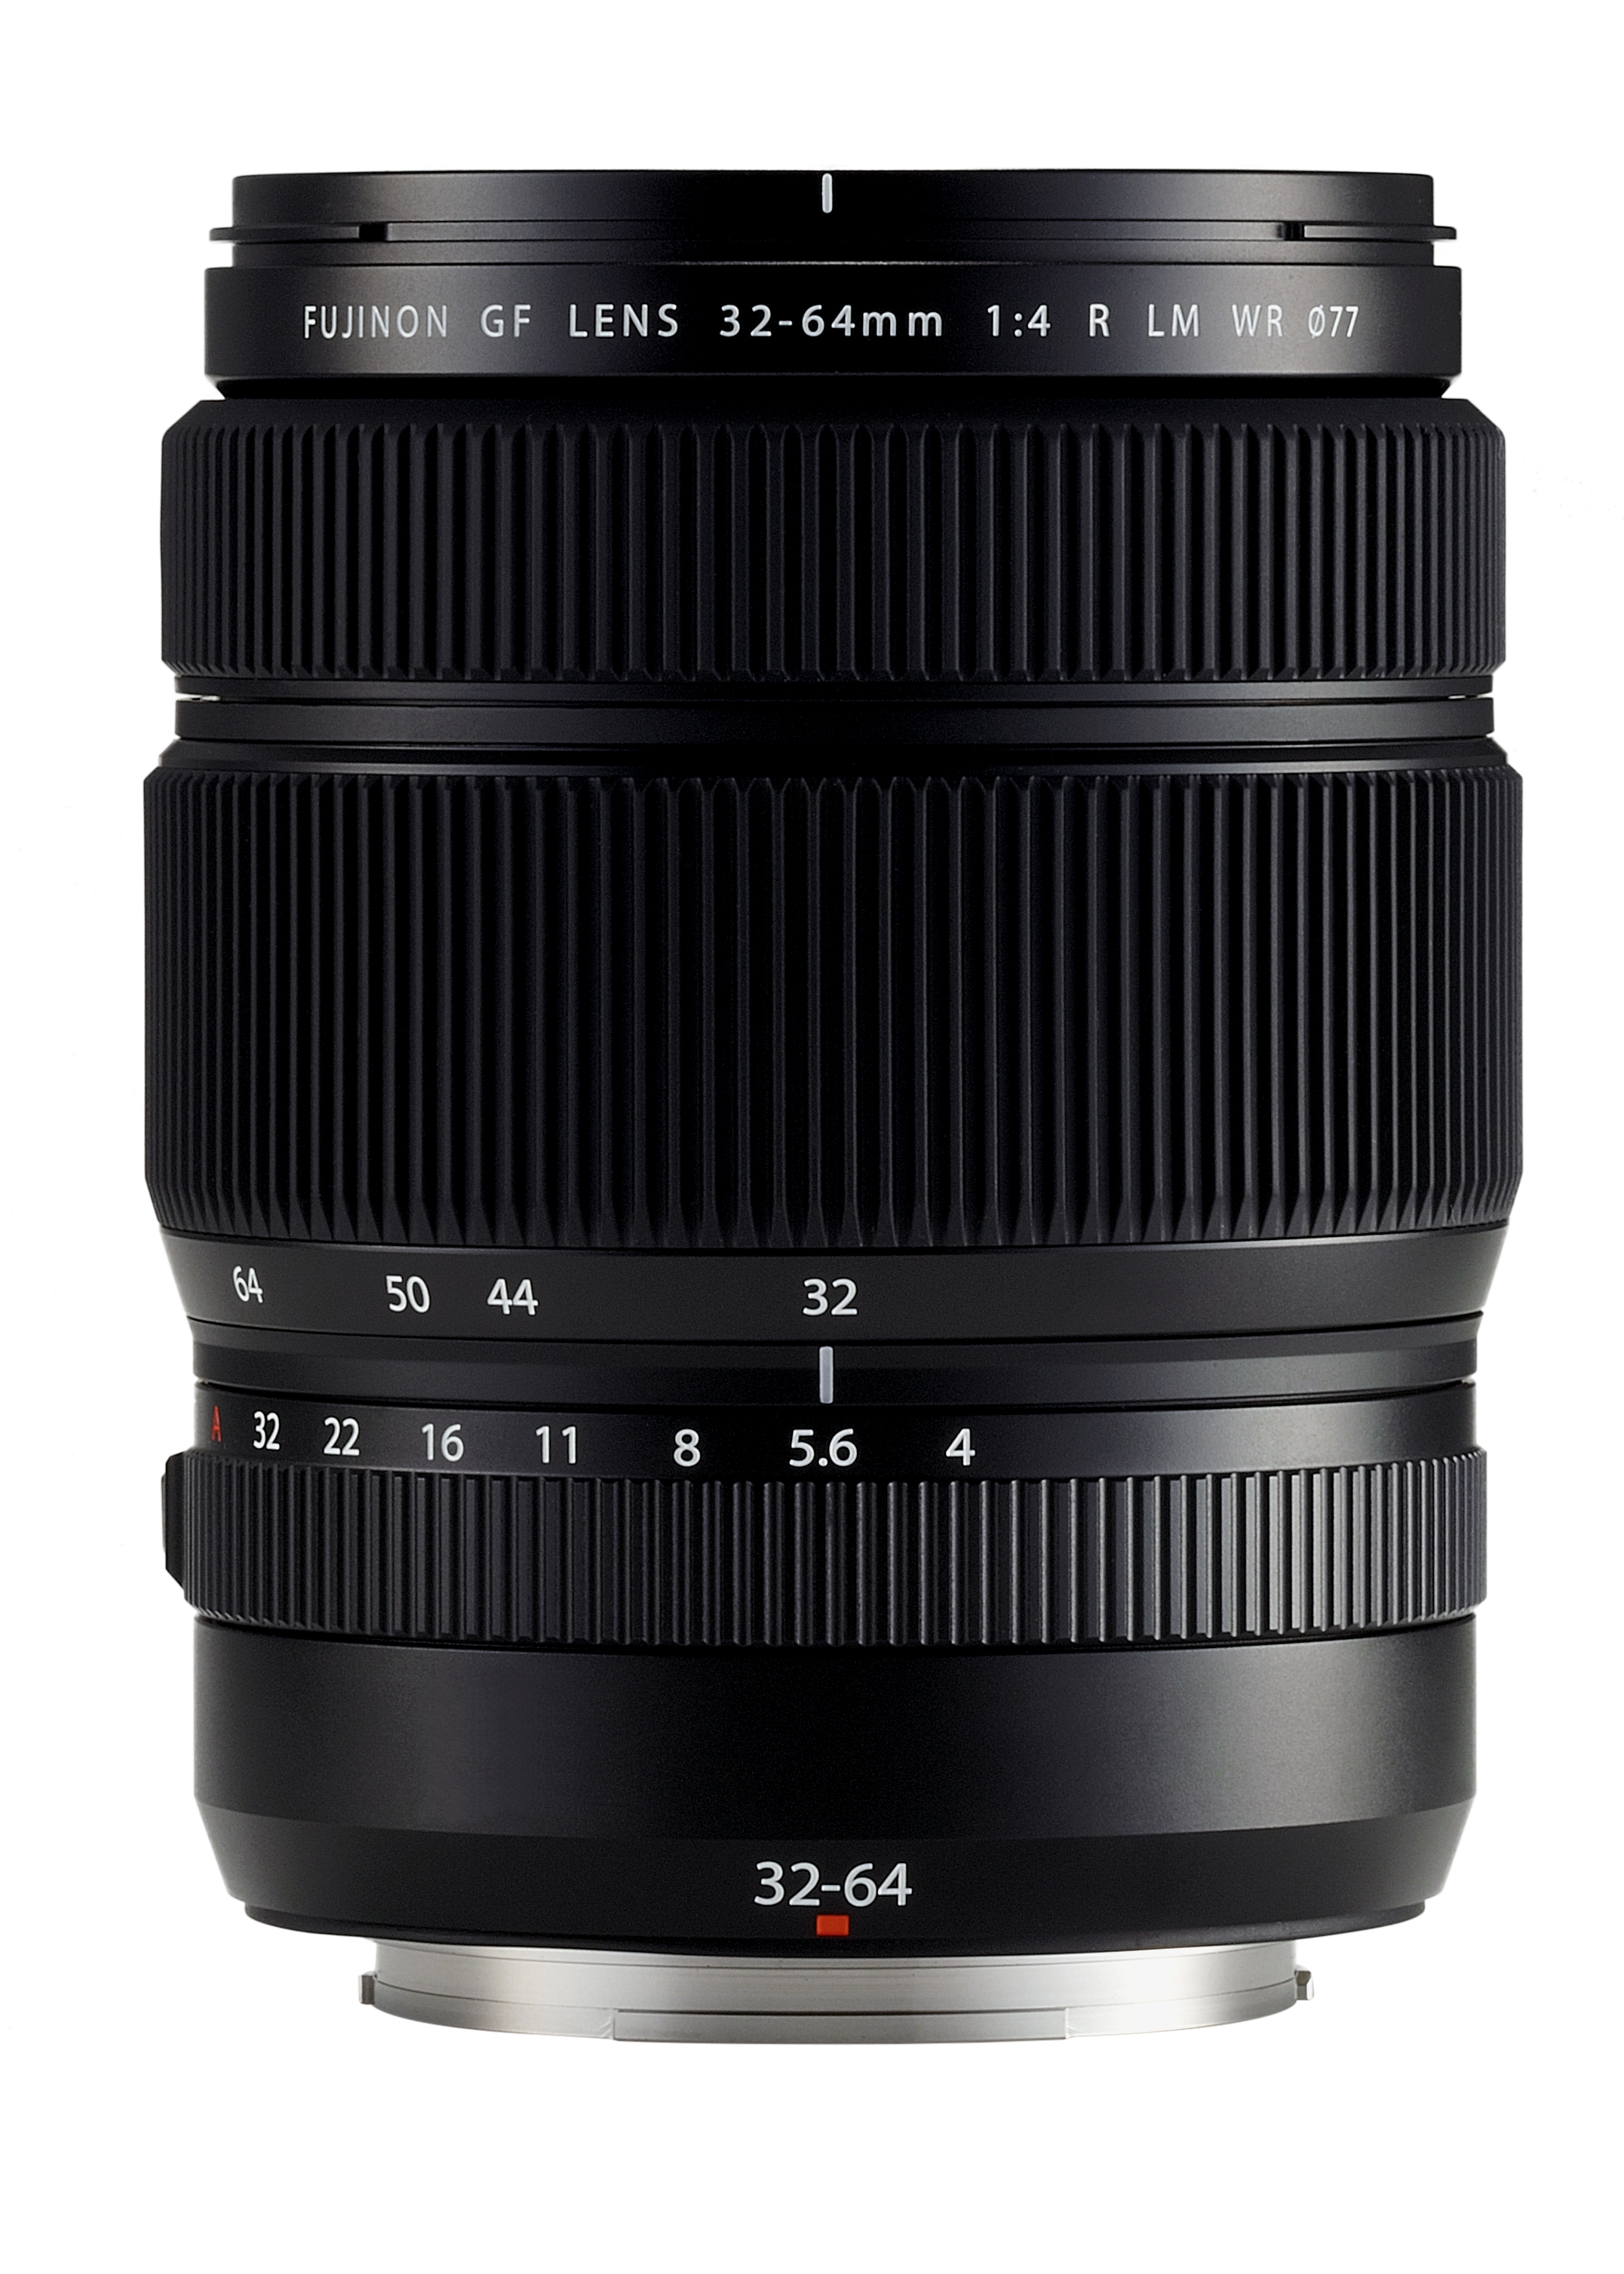
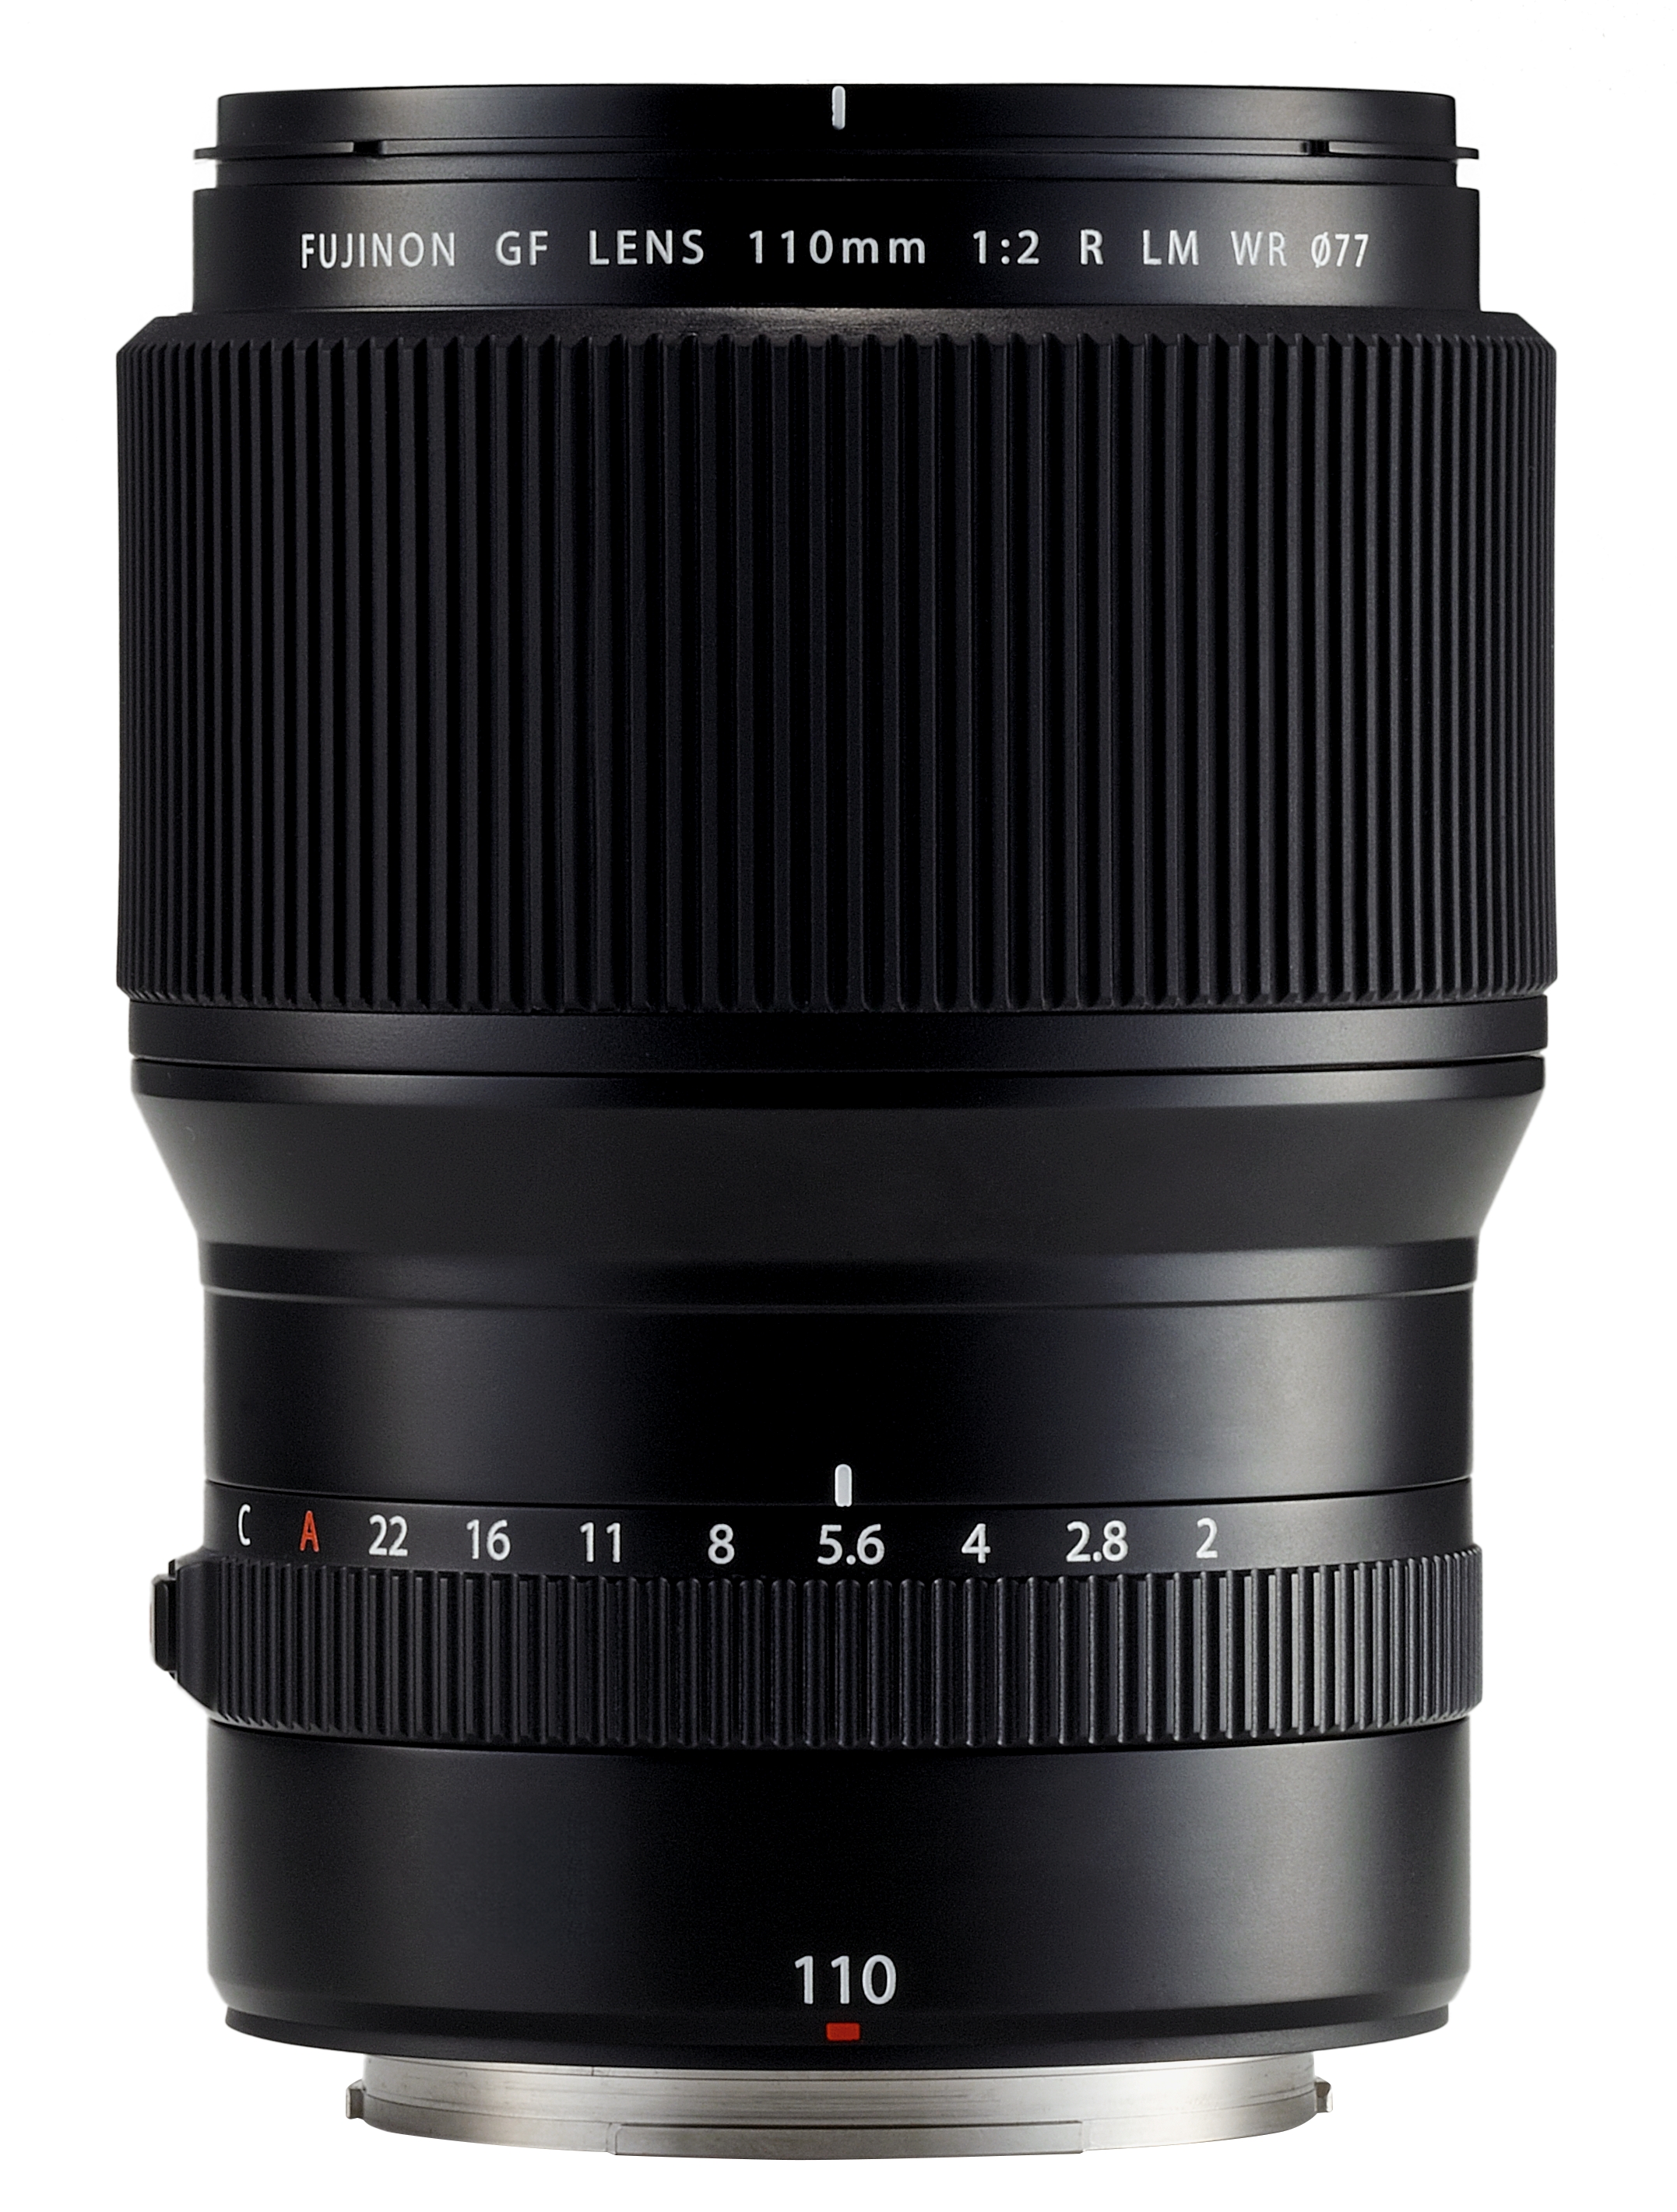
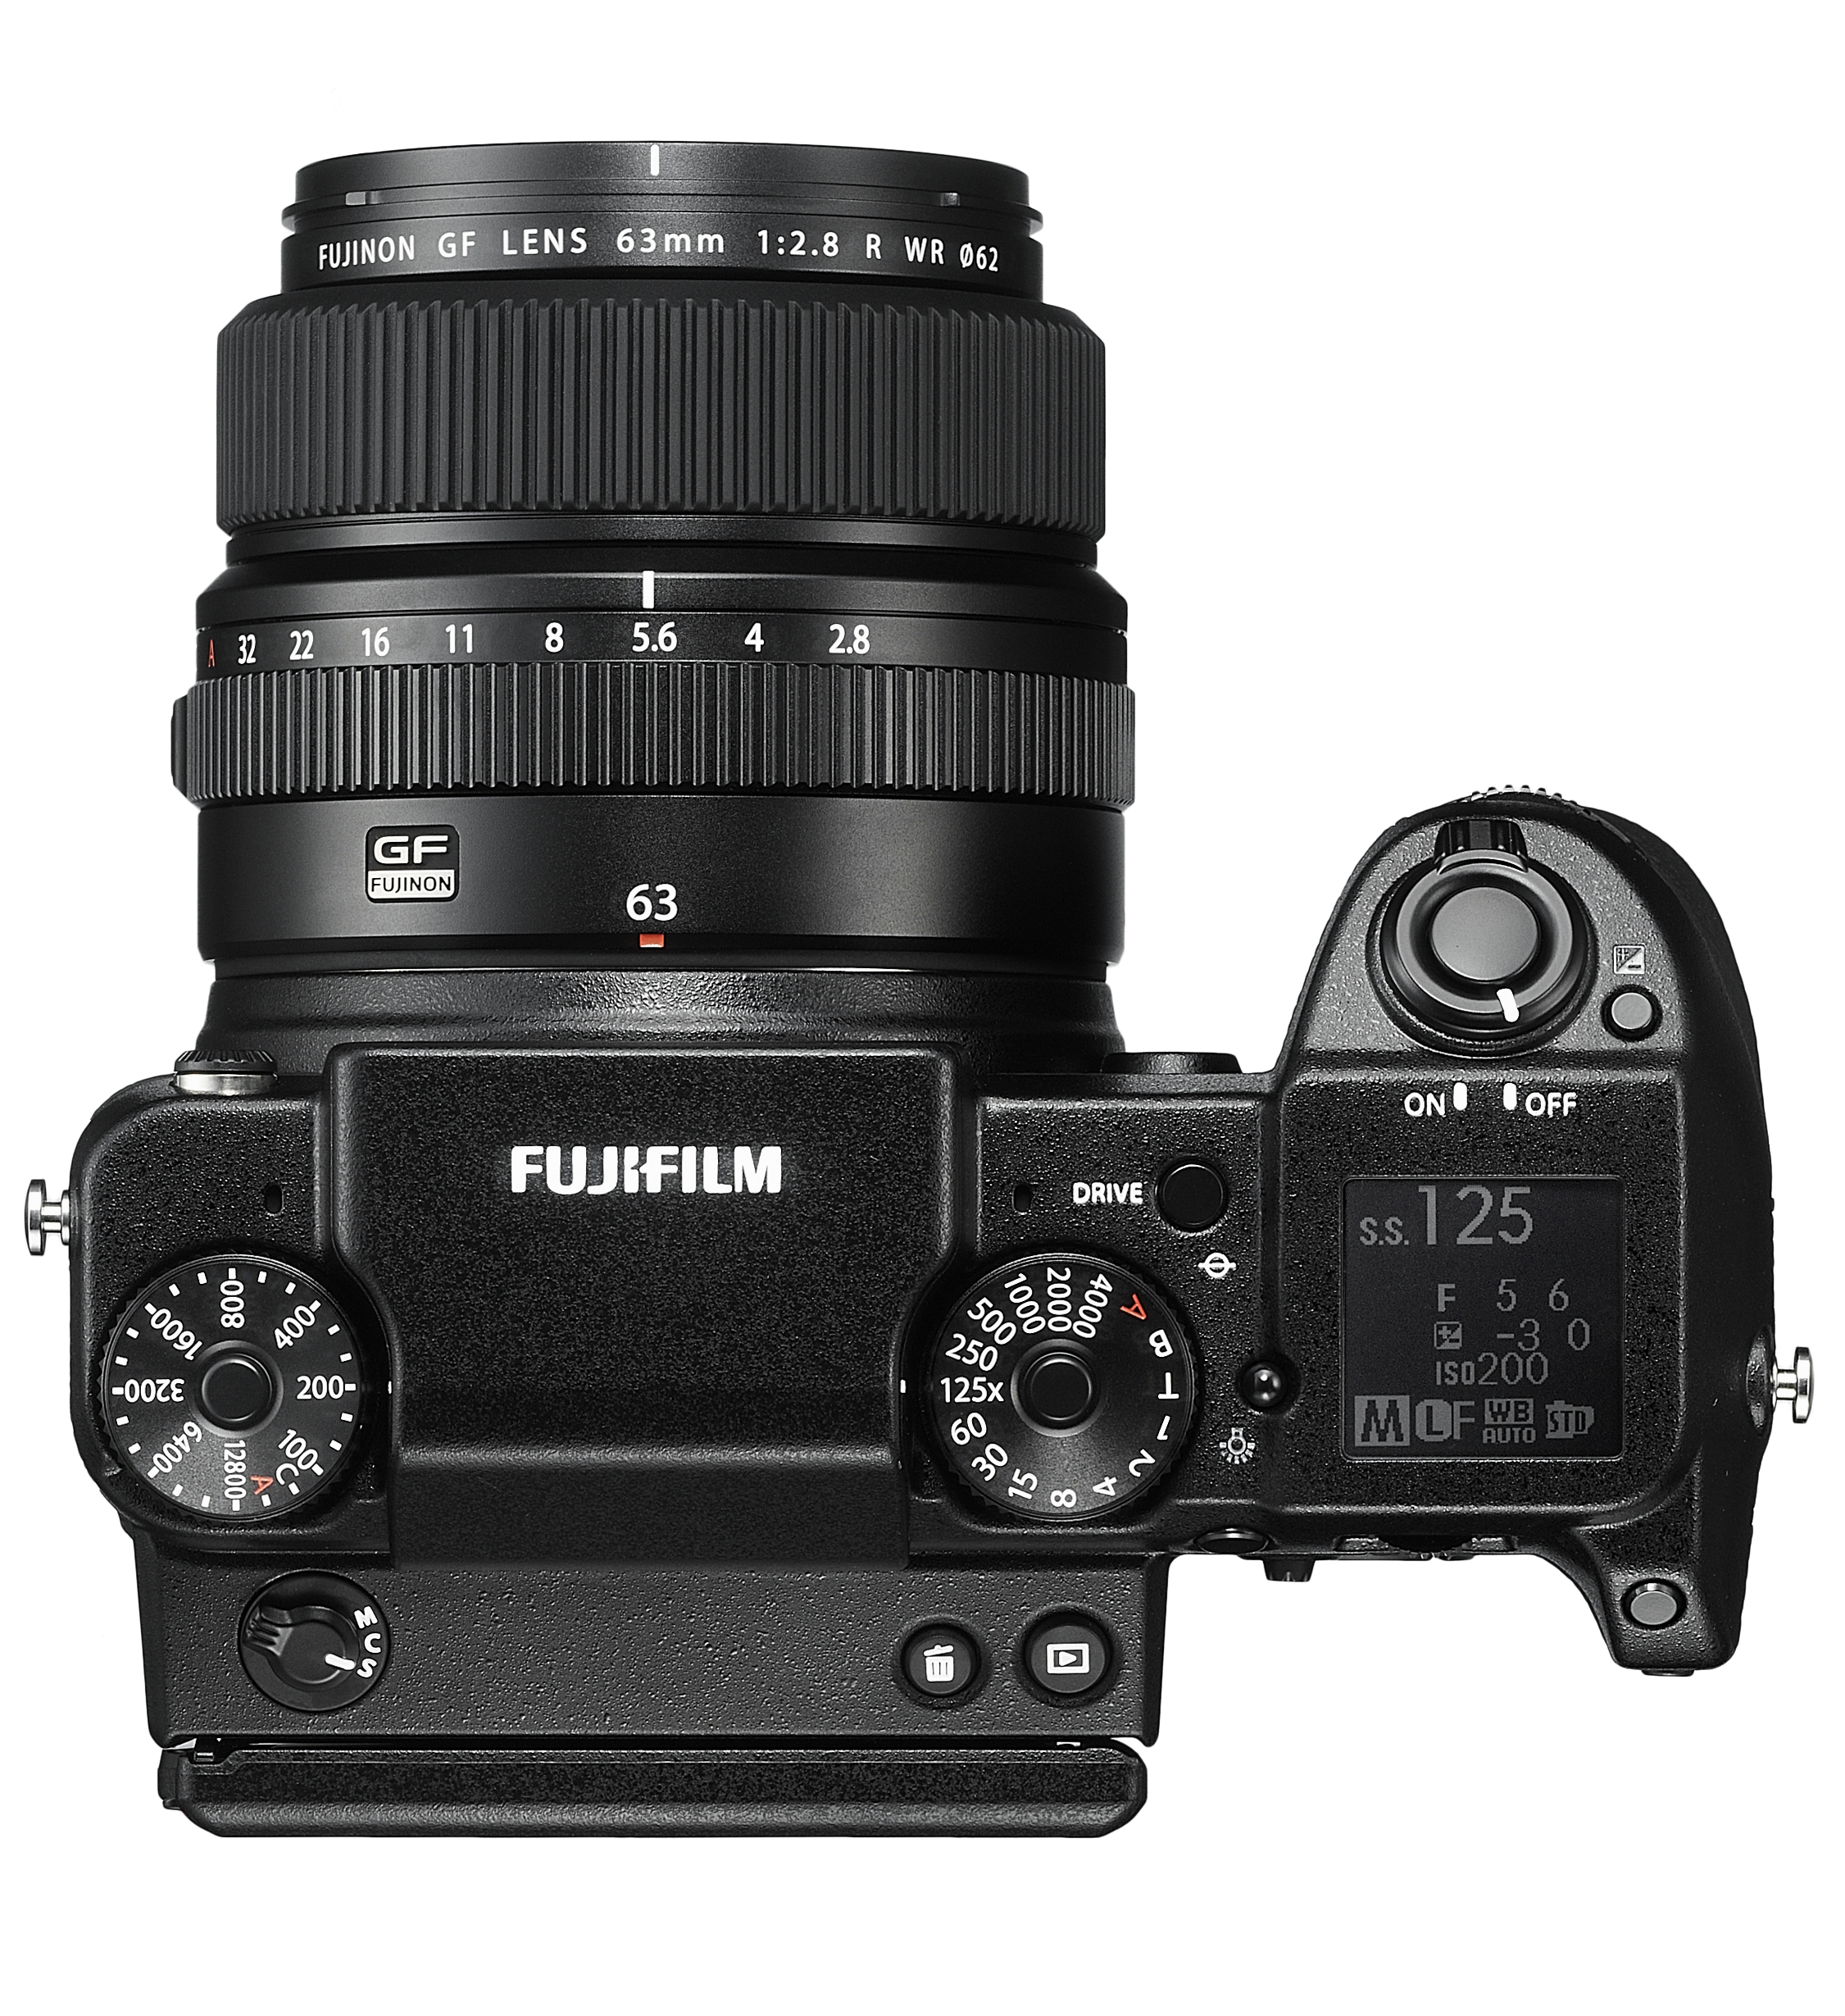
Gear-wise, I brought the Fujifilm GFX 50S, the GF 110 mm, GF 32-64 mm and the GF 23 mm. As for lights, I packed my three trusted Godox AD600B flashes, my SMDV Alpha 110 gridded softbox and my two Nicefoto strip lights, which have become an essential part of my lighting kit. Last noteworthy item was my Scotty II portable smoke machine. No steampunk shoot should happen without a smoke machine :-)
I was immediately struck by the vast hall with the cast iron pillars and thought they’d make great compositional elements in the frame. Now I’m a slow shooter and I prefer to get a couple of images that I’m really happy with.
In total, I got seven images I like in about five hours of shooting.
That’s actually a nice harvest for me. Here’s the first two in this blog post. With a dramatic subject and a dramatic backdrop like this, I think the lighting and the postprocessing needs to be dramatic, too. So I used a cross lighting setup and I positioned my main light in a way that The Major would be short-lit. I also wanted a moody, atmosphere so although I could have made the entire scene a lot brighter (I was only at 1/32nd power on the flashes), I went for a low-key look.