Did you sign up for my free travel photography webinar yet?
⬇ Click the link below! ⬇

To celebrate the launch of my new PDF ebook ‘101 Tips for Travel Photography’ and because July and August are top travel months worldwide, I’ll post 10 tips from the book over the month of July. This fifth tip comes from Chapter 8, which is all about composition. One of the more advanced tips - not so much in terms of difficulty but rather because you have to be “ready” for it as a photographer - is to use layers in your image.
SAVE US$20 ON THE DELUXE EDITION
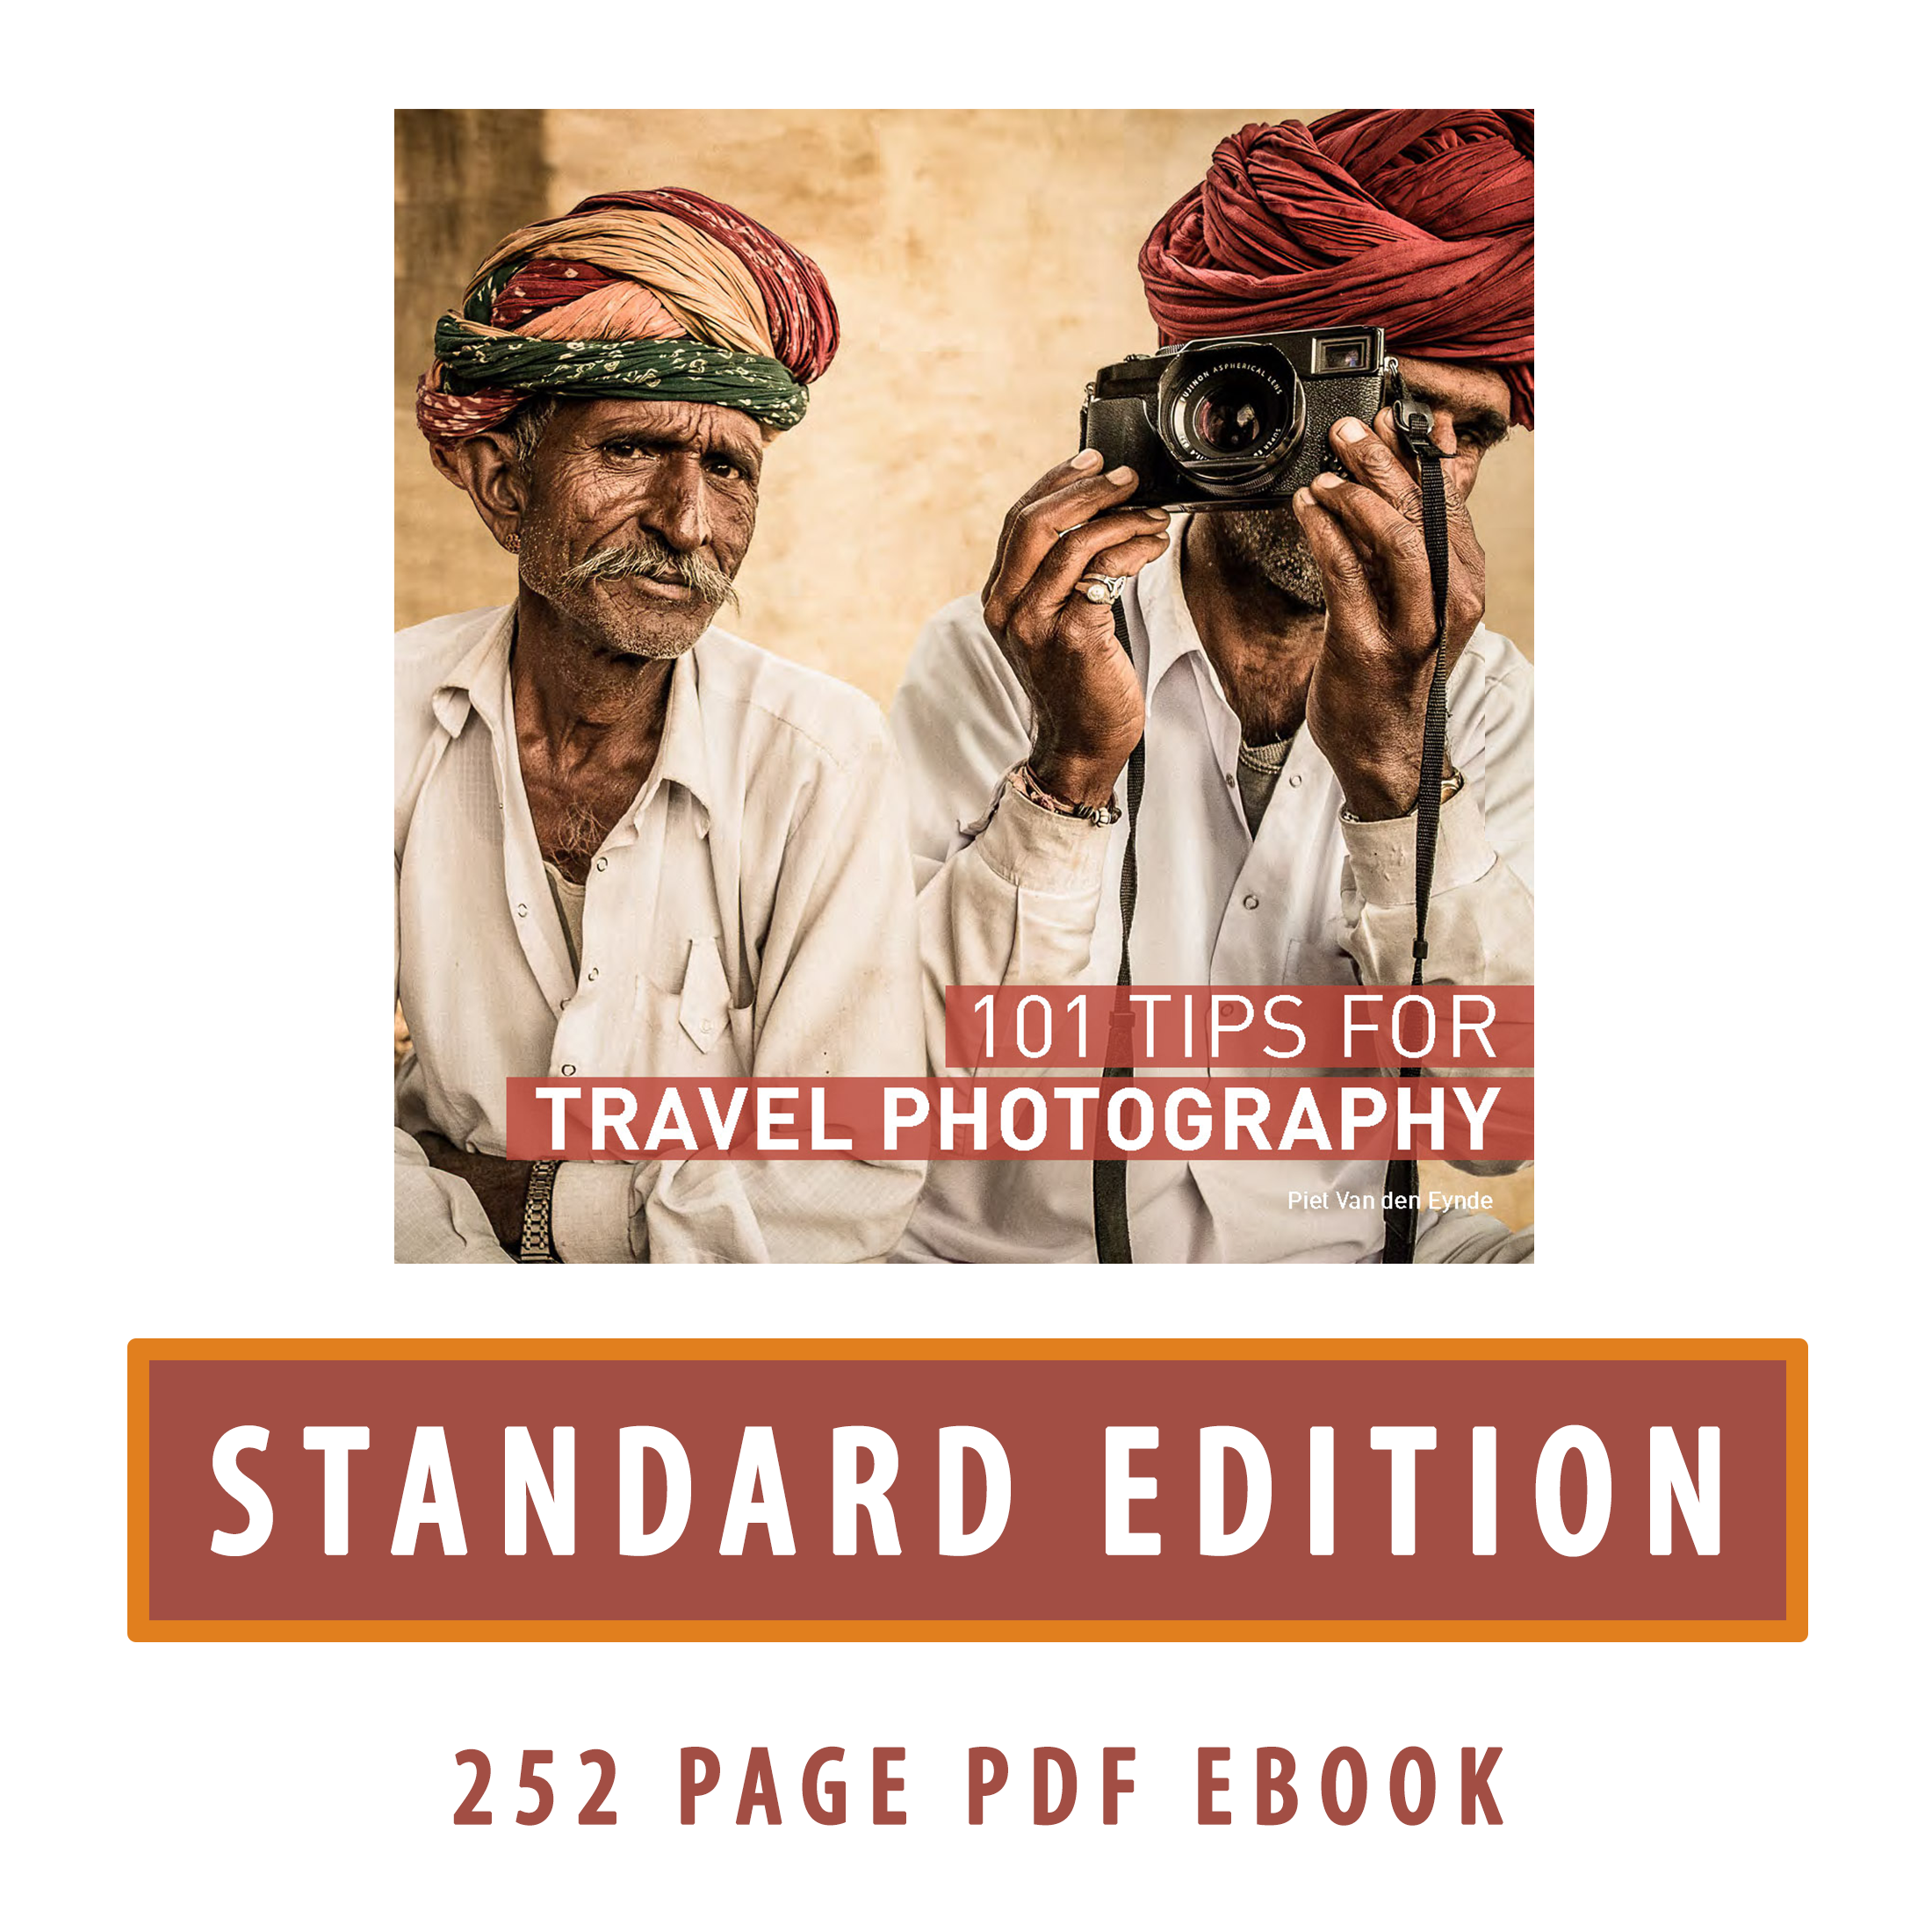
Save 33% on the Deluxe Edition. No discount code needed. Now only US$39.95 instead of US$59.95 for the 252 page PDF ebook + a 3 hour video tutorial detailing how I photographed and edited 10 of my favourite images from the book.


Layers aren’t only for clothes.
Make sure to have them in your images, too

This is tip #69 from the book ‘101 Tips for Travel Photography’: Layers aren’t only for clothing. Make sure you have them in your images, too…
A photo only has a height and a width, while the reality you are trying to capture in that photo is three-dimensional. One of the challenges for a photographer is therefore to try to convey that depth in the photo. There are various techniques for this. Some we discuss elsewhere in this book, such as using backlighting and working with a frame within a frame. A slightly more advanced idea is to work with layers. By “advanced” I don’t mean that this technique is difficult, but rather that as a photographer you need a certain creative maturity to start to include it in your photographic toolbox. I myself have experienced the power of layers almost accidentally. Until a few years ago I would have found the small photo on the right page to be the better one, and the large photo on the left, less strong. Now, my opinion has changed. The small photo is a nice registration. But the big photo on the left page is much more immersive: it gives you the feeling of being there. And that’s what travel photography is all about. The primary layer in this photo is still the background, but the secondary layer, the foreground, helps to frame the subject, literally and figuratively. To ensure that your secondary (and sometimes even tertiary) layer does not become too dominant, you can do the following:
Make the secondary layer smaller than the primary – I obviously didn’t do that here!
Darken the secondary layer.
Make sure the secondary layer is not completely visible. By not including the front man’s face, the viewer’s eye is automatically sent to the faces in the back anyway.
Make sure that the secondary layer is not the sharpest part of your photo, for example by working with motion blur or shallow depth of field. To help your luck a hand, you can set the camera to continuous shooting (“burst”) mode.
A flash just outside of the frame to the right, parallel to the wall, also helped to ensure that the rickshaw wallah in the back was put in the spotlight.
“I’d like to add one tip to the 101 tips: buy this book!”
Did you like this tip? In my new ‘101 Tips for Travel Photography’ you can find 100 more! This PDF ebook is available in two editions: with the Standard Edition, you get the 252 page PDF ebook as a download but 90% of buyers opt for the Deluxe Edition. The Deluxe Edition is currently on sale (US$39.95 instead of US$59.95). So, for only US$ 10 more than the Standard Edition (US$29.95), you’ll also receive access to a 3 hour video tutorial in which I show you how I photographed and edited 10 of my favourite images from the book.

Here’s a sampler of the layout and the contents of this 252 page PDF ebook.

Included in the Deluxe Edition is this three hour video tutorial in which I explain my approach to and the editing of 10 of my favourite images from the book.