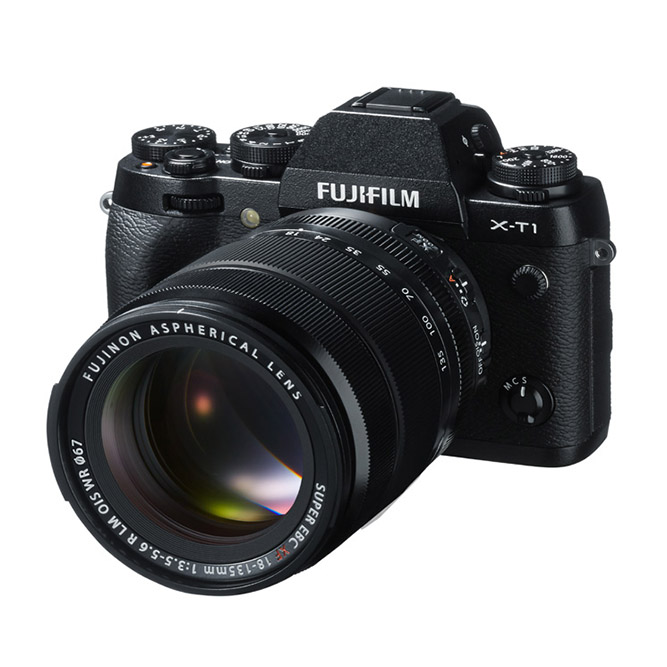
As most of you know, I’m an avid mirrorless camera user. In my case, that mirrorless camera is a Fujifilm, well, actually a couple of them! I often talk to DSLR users who want to switch to a lighter, mirrorless system, but the fear that they will miss the Optical Viewfinder (OVF) of their DSLR is holding them back. I can relate to that feeling, as I had it too, when I took the plunge almost five years ago. But you want to know something? After years of shooting mirrorless, I have come to love the Electronic Viewfinder (EVF) on my Fuji’s so much that my only fear now is not having one. Luckily, this happens only rarely, like when I'm writing a magazine article or a blog post about an accessory that's only available for DSLRs.
So for all of you still on the fence about EVFs, let me tell you what you’re currently missing out on by not using one. If you’re already using an EVF, I hope you can get some tips from this article as to how to get the most out of it and I’m looking forward to reading your own tips in the comments.
1. An EVF is WYSYWIG, an OVF is WYSIWYTYG
Back in the early days of Desktop Publishing, WYSIWIG (What You See Is What You Get) was all the rage: finally, you could see your layout as it would come rolling out of your printer. An EVF is just the same: it shows you what you’re going to get. An OVF on the other hand is WYSIWYTYG: What You See Is What You Think You Get. And that can lead to quite some disappointment when you finally get to view your shots on your monitor. After all, we all know that the human eye can see a lot more dynamic range than a camera sensor can (regardless whether that sensor is in a DSLR or in a mirrorless camera style body). An EVF shows you what your camera makes of the dynamic range in front of you, and lets you adjust your settings accordingly before you take the shot.

An EVF shows you the image you're going to wind up with, not the image you think you're going to get. Image © Fujifilm
If you’re shooting RAW, you can even tweak your in-camera settings so they are as close as possible to showing you what your RAW file is capable of. For example, by setting the Film Simulation to Pro Neg Standard and dialing down the Highlights and Shadows to -2, I get a relatively flat looking image in the viewfinder. Using one of the more contrasty film simulations like Velvia would unnecessarily make me underexpose my shots to preserve highlight detail.
Have you ever shot with a DSLR with the intent to crop your images to a square afterwards? You just have to imagine that crop while you’re shooting. Not so with the Fuji: set it to a square crop in the Quick Menu and … what you see is what you get. This makes it much easier to accurately frame your shots in-camera. Best of all, while the JPEG you record will indeed be square, if you shoot RAW + JPEG, you’ll still have the full image data in the RAW file in case you want to change your mind later on. By default, the RAW will appear as a square crop in Lightroom but if you reset that crop, you’ll get the full image back. The best of both worlds!

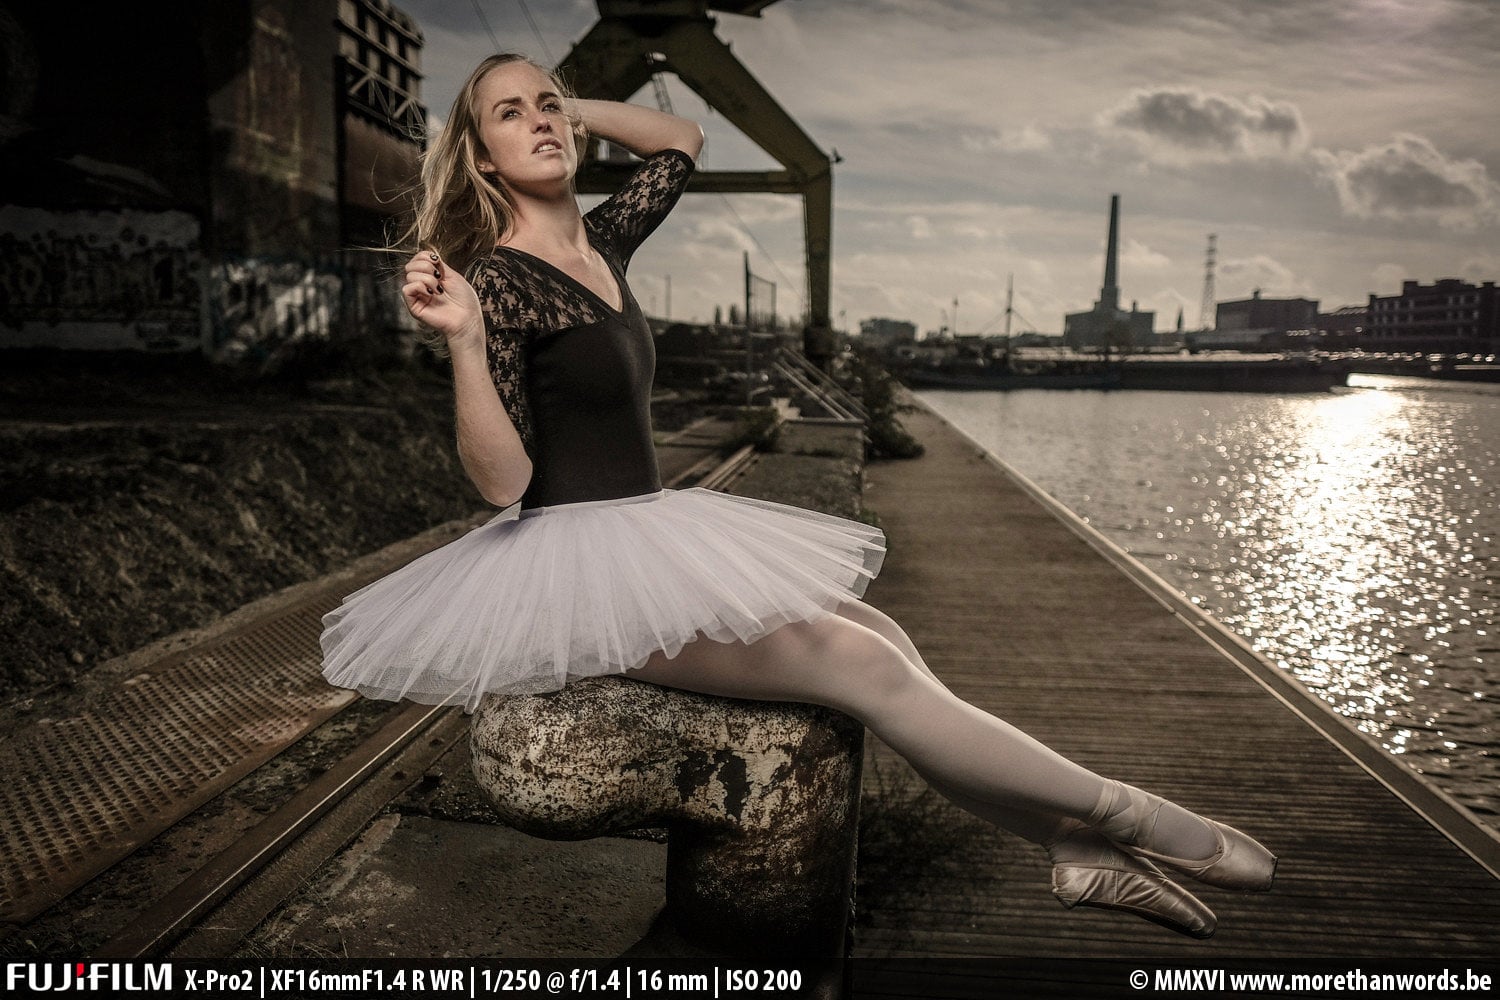
If you love to shoot Black & White with a square aspect ratio, just choose those settings from the Quick Menu and what you see is what you'll get. This is a tremendous advantage in determining the right composition and subject matter. Here, I chose ACROS with a Yellow Filter. By shooting RAW + JPEG, you'll still be able to go change your mind afterwards if you prefer color and/or a different aspect ratio!
The same goes for film simulations. In addition to square, I also love Black & White. And while I have created my own set of dramatic Lightroom presets for B+W, I love the fact that I can set the camera to black and white (on the X-T2, there’s no less than 8 settings to choose from - I’m deliberately not counting Sepia!) so I already get a feel for how a particular scene would work in Black & White. Just like with the square crop, if I shoot RAW + JPEG, I keep my options open if ever I want to process the image in color, too. With a regular DSLR viewfinder, you have to ‘imagine’ the black and white the same as you have to imagine the crop.

FUJIFILMX-T1 | XF10-24mmF4 R OIS | 1-320 sec. @ f/16 | ISO 400
Being able to already preview the scene in Black & White with a 1:1 aspect ratio through the EVF is a tremendous advantage. With an OVF, you'd have to imagine the square crop and the absence of colour. The in-camera film simulation gave me an idea of whether the scene would work in Black & White. In postproduction, I used one of my Black & White Lightroom presets for an even grittier feel.
2. All the info you want in a heads-up display
In cars, HUDs (Heads-Up Display) are becoming increasingly popular: all essential information like speed, traffic warnings and so are projected on the windscreen in front of you, so you don’t have to take your eyes off the road. An OVF only gives you a very limited amount of information in the viewfinder. In the EVF of my Fujifilm cameras, I have complete control over what information I want to display: Level indicator? Check! Live histogram? Check! Distance scale with depth-of-field information? Check! I even have two settings to choose from: pixel-based or film based, the latter being more tolerant.

Did you know that when I turn my camera to portrait mode, the info on the EVF like the histogram rotates 90 degrees as well so I don't have to read it at a 90 degree angle... Image © Fujifilm

The EVF on the X-T2 is so huge and widescreen, that some people prefer to set it to Normal mode, which makes the image slightly smaller and surrounded by a black band. When in capture mode, pressing the DISP/BACK lets you switch between these two options. When you're in Manual Focusing Mode, you have a third option: DUAL. This mode shows you a split view with the 100 percent view of your image to the left and the area your focusing on smaller and to the right with the focus aid of your choice, e.g. Focus Peaking or Digital Split Image as in this example. Image © Fujifilm.
All this information is available to me without having to take my eye of the scene, resulting in a more informed decision and therefore in less wasted shots.

You can add as much - or as little - information in the EVF as you want. In this case, the bar at the bottom is the distance scale. It displays a white bar (at 1.8 m) where the actual focus point is. The blue bars left and right indicate the range of acceptable focus. This is ideal for zone-based focusing. Image © Fujifilm
What I also love - in fact I love it so much I have dedicated a function button to it - is the ‘Preview EXP/WB in manual mode’ setting. This does the following: when I’m in Manual Exposure Mode, I can set this so that the EVF reflects the exposure I have manually set on the camera. When I’m mixing flash with available light, very often I’ll underexpose the ambient light by up to two stops. When Preview EXP/WB in manual mode is set to 'on', it lets me preview the available light component of my image, without having to take a test shot like I would have to on a DSLR. However, in that mode, my subject (which I’m about to light with flash), will generally be underexposed. Simply by toggling the function button and switching the setting to off, I can tell the EVF to increase its brightness (the actual exposure will remain unchanged, of course!) so that I can actually see my model's face and the way he or she is posing.

In the camera's settings, you can choose what info you want to be displayed on the EVF. You can do this separately for capture and playback. During playback, you can press the DISP/BACK button to cycle through a couple of other screens, including one without any overlays that lets you focus on the actual picture.

An overview of all the info you can choose to display in your EVF and LCD. I just would not display it all at once! Image © Fujifilm and Masami Tanaka.
3. My EVF sees better than my eyes can!
I am finding that I get sharper pictures with my mirrorless camera than I used to with my DSLRs. The reason is twofold. First of all, the AF system on my Fujifilm cameras is hybrid: it uses a combination of a faster but slightly less accurate phase detection system (which is the same system DSLRs are using) with a slower but more precise contrast detection system. Yet where an EVF really shines is in manual focus: first of all, you have two manual focus assist systems to help you. The first is the Digital Split Image, which is similar to how we used to manually focus back in the day. Your image is virtually split in two and by turning the zoom ring, you can move the two halves to the point where they are in line. That’s when your focus is optimal.

The digital split-image function, here on the X-E2: turn the focus ring on the lens until the four blocks in the middle perfectly align and your image is in focus! Image © Fujifilm
As retro-cool as it is, I rarely use this feature, though. I prefer Focus Peak Highlight. What this does is display a fringe in the colour of your choice (Blue, White or Red) around the areas of your image that are in focus.
Add to that the option to zoom into the area you’re focusing on by pressing the rear command dial. If you then turn the dial, you can switch between a 3x and a 10x magnification. I don’t know about you, but I don’t have a 10x zoom built into my eyes when I’m using an OVF!
While I am still predominantly an AF-guy, I have recently set up my X-T2 and X-Pro 2 to AF + MF for this exact reason: this lets me manually override the AF and as soon as I turn the zoom ring on the lens, I get the all the MF assist goodies in my viewfinder, like the Focus Peaking and the magnification options.
4. No more chimping
The advantages so far were all about helping you before you take the actual shot. But perhaps the biggest advantage lies in reviewing what you just shot. As a DSLR user, you probably know how annoying it can be to review a picture you just took on the LCD on the back of your camera, especially in the glaring sun. If anything, your reflection is usually clearer than the actual photo! On top of that, chimping makes you lose the connection with the scene in front of you: if something shoot-worthy happens, you have to bring the camera back to your eye first. None of that with an EVF. On my Fuji’s, I have two ways I can take advantage of the EVF: first of all, I can set the camera up that it always briefly displays the image I just shot in the viewfinder. Because the viewfinder is much more shielded from the ambient light than the rear LCD is (especially on the X-T1 and X-T2) I get a much better idea of what the image will look like on my monitor. The Fujifilm menu gives me a choice between off, continuous, 0.5 seconds and 1.5 seconds. Regardless of those settings, you can always go straight back to shooting with a half press on the shutter release.

The obligatory kitten shot! An EVF only has one disadvantage: it's really hard to take a picture of the EVF itself :-) Here's a crappy iPhone attempt! When in playback mode, pressing the rear command dial automatically zooms in to 100 percent at the focus point you used when you made the shot. No need to take your eye of the viewfinder.
Then, there’s the playback button. This gives me even more options of reviewing my images, whether on the rear LCD or in the EVF. The one I use most is to check for sharpness: simply press the rear command dial in playback mode and the image will zoom to 100% on the focus point you used. Ideal for judging sharpness post-capture. By the way, this is also the reason I shoot RAW + Large JPEG: the larger the JPEG, the more zoomed-in view you get because you’re actually looking at the JPEG, not the Raw. If you’re shooting RAW only, the EVF will only be able to show you the (smaller) embedded JPEG preview that’s inside the RAW. If you’re like me and you’re generally only shooting RAW + JPEG for that reason, it might be a good idea to use two cards and set card slot one up to hold your RAW files and card slot two to store the JPEGs. That way, you only have to import your first card in Lightroom.
5. Shooting sports with an EVF

The Vertical Power Booster Grip VPB-XT2 not only triples your mileage by adding two extra batteries, it also has a Boost button which revs up the EVF's refresh rate from 60 to 100 frames per second. Image © Fujifilm
There was one area where traditionally OVFs had a clear advantage, and that was in sports photography. Yet - did you note the use of the present imperfect in the last sentence - even that last stronghold is now under EVF-attack with the advent of the X-T2 and the optional Power Booster Grip. By switching the grip to Boost mode, the EVF refresh rate increases from 60 frames per second to 100 frames per second. For general photography, 60 fps is more than enough, but when you want to shoot fast action, 100 fps can make a difference: I’m no sports photographer, but I tried the feature in a moving train: looking outside through the EVF at 60 fps, the image was choppy. At 100 fps it was one continuous, uninterrupted flow. The Boost mode also significantly reduces viewfinder blackout.
So, it shouldn’t come as a surprise that people like fellow X-Photographer Dirk Bogaerts use the X-T2 even to photograph car races like Francorchamps and Le Mans!
The best of both worlds

On the X-Pro 2 with its unique hybrid viewfinder, you can set up the OVF as the main viewfinder but still have the EVF displayed in the bottom right corner. You have 3 zoom levels available: 100% field of view, 2.5x magnification and 6x magnification. This is handy for checking focus, real-time exposure, white balance and what not. It's really the ultimate viewfinder experience. Image © Fujifilm
So, if you’re on the fence about getting a mirrorless camera in general (and a Fujifilm one in particular), the absence of an optical viewfinder should not hold you back, on the contrary! If you want to go EVF all the way, it’s hard to do better than the X-T2. The X-T2 has a bright and large viewfinder and the slightly longer eyecup does a great job of shielding the ambient light. However, if you really want the best of both worlds, you should consider the X-Pro 2: it’s got a unique Hybrid Electronic Viewfinder that marries an EVF with a rangefinder-style Optical Viewfinder: the latter is great for street photography, because unlike the viewfinder of a DSLR, it shows you more than the actual frame you’re going to get (the actual frame is approximated in the viewfinder by a white frameline). So you can anticipate on people or things entering your frame much more easily, which is ideal for those decisive moment shots. Even better: you can overlay a miniature EVF in the bottom right corner of the OVF so you have the benefits the EVF as well, all at once. And of course, you can switch from one viewfinder to the other, as well by using the lever on the front of the camera.
So, I hope this article will have relieved you from any fears you might have of shooting with an Electronic Viewfinder, at least a state-of-the-art one as is included in any of the recent Fujifilm cameras. Try one out in a camera shop near you and when you return to your old OVF, you'll know all the good stuff you're missing out on!