I am pleased to announce that the incomparable travel photographer Matt Brandon and yours truly have teamed up again for the second edition of the Location Portraiture and Lighting Masterclass in Varanasi, India.

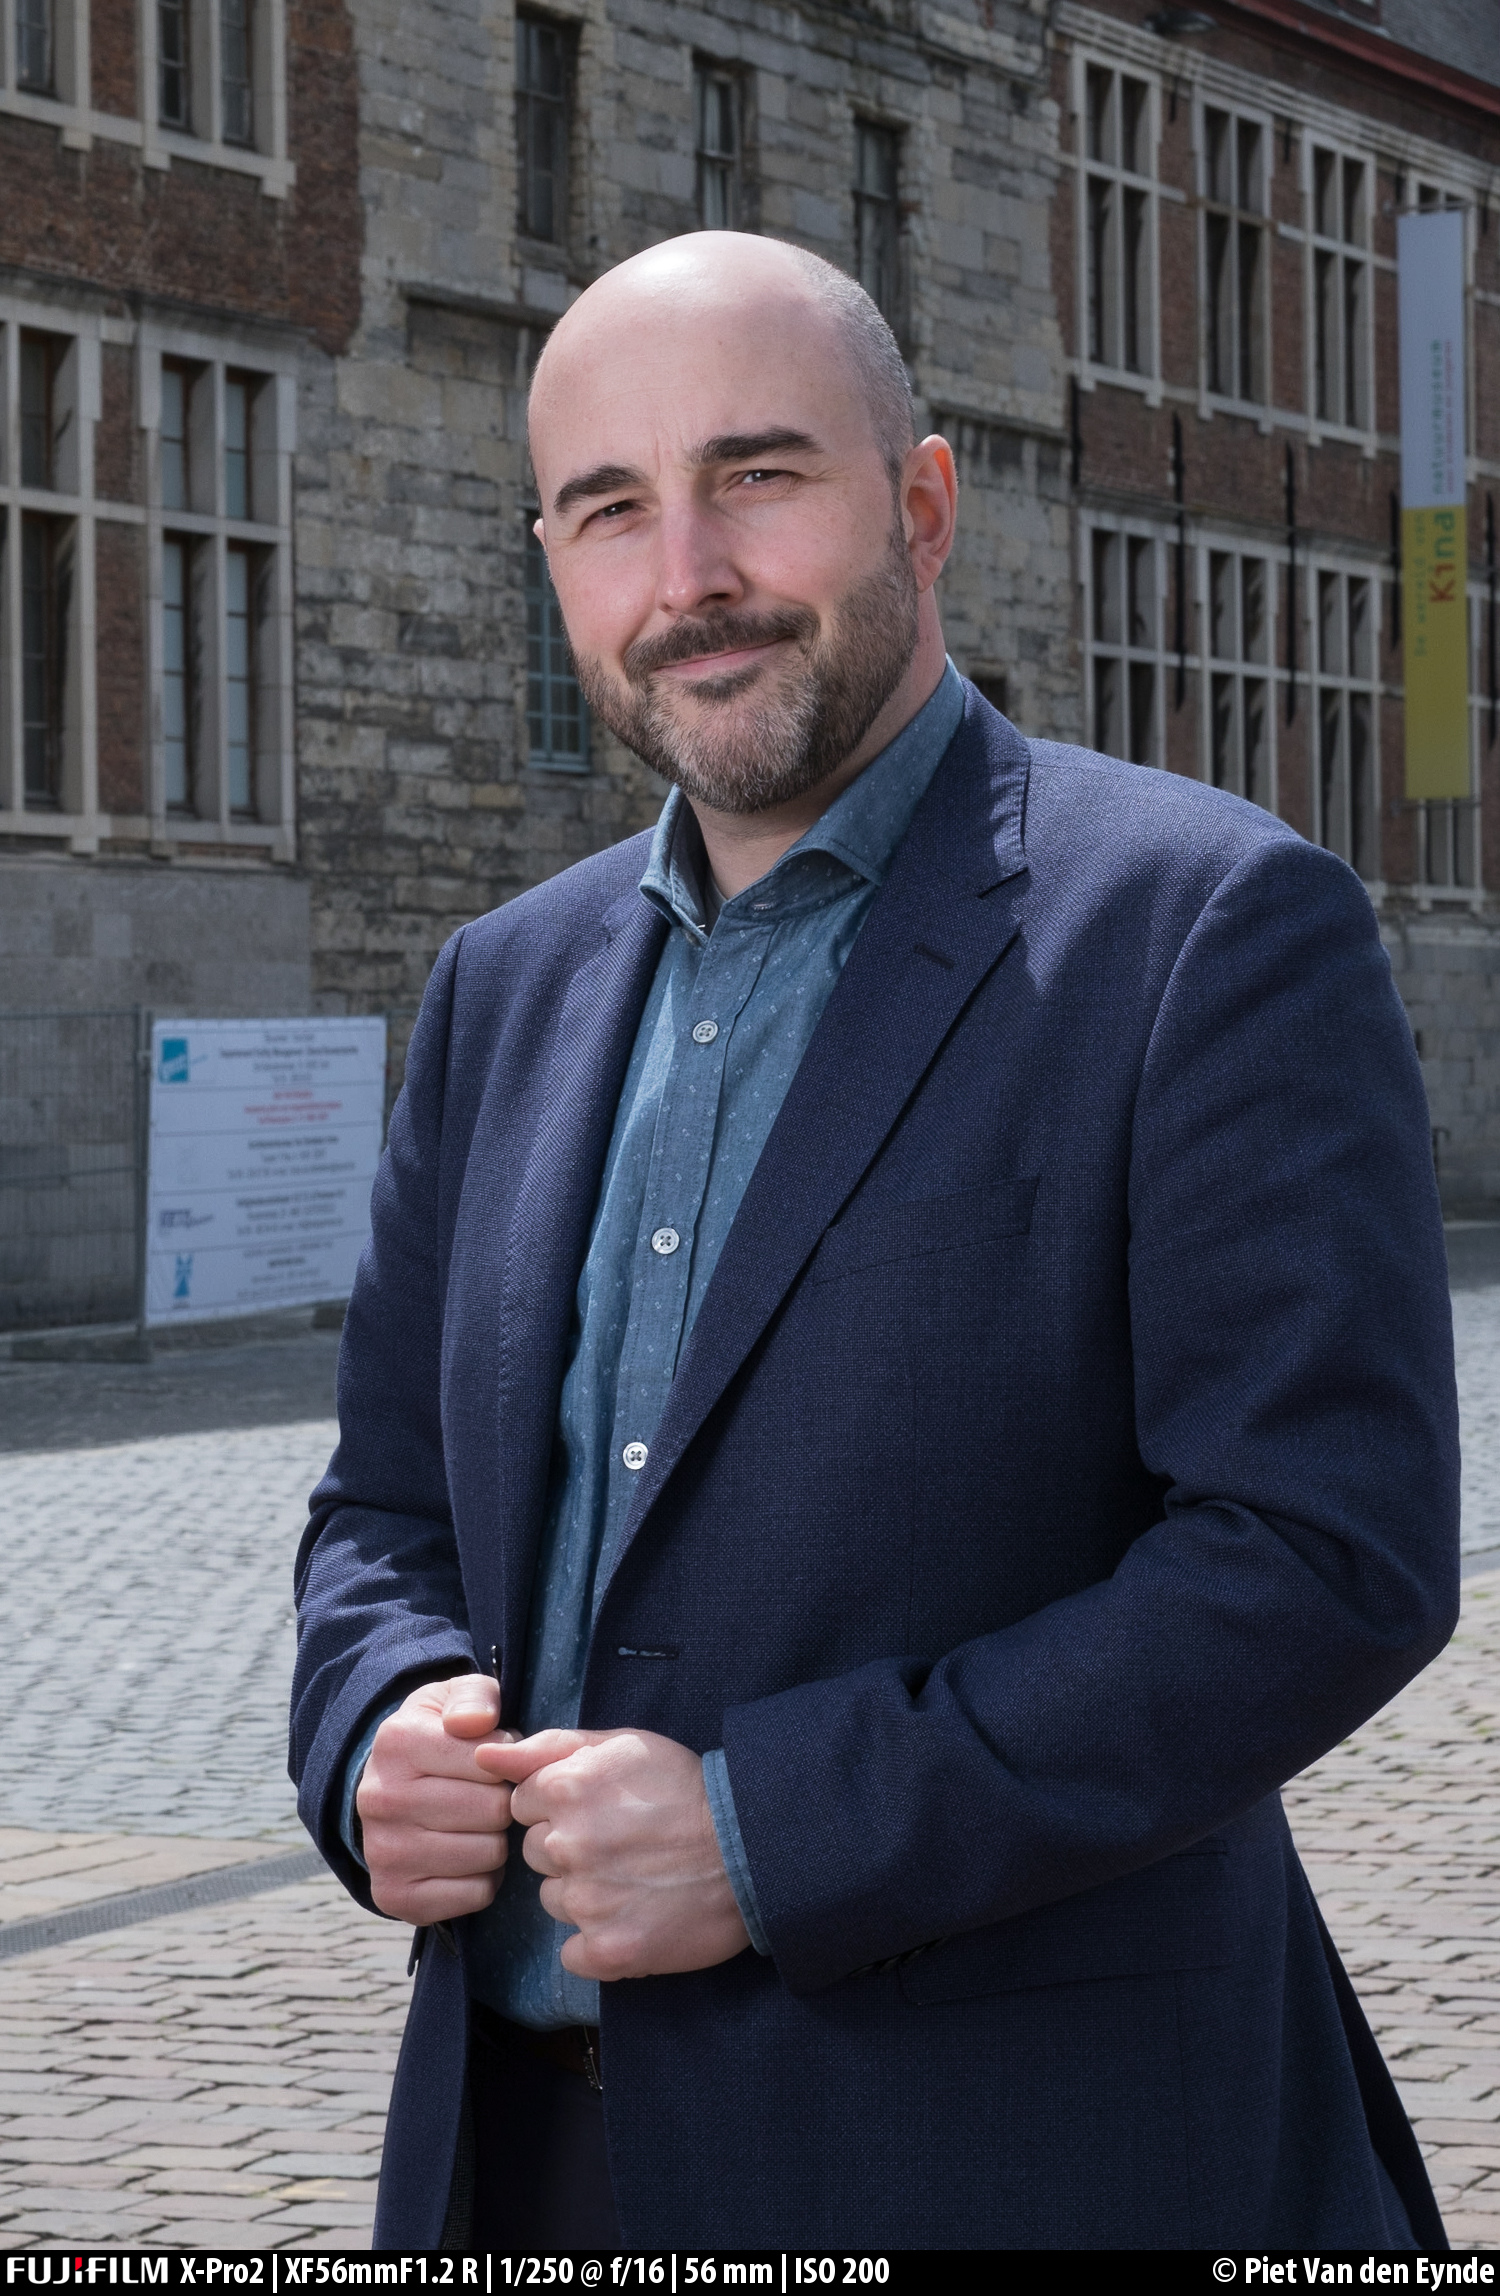
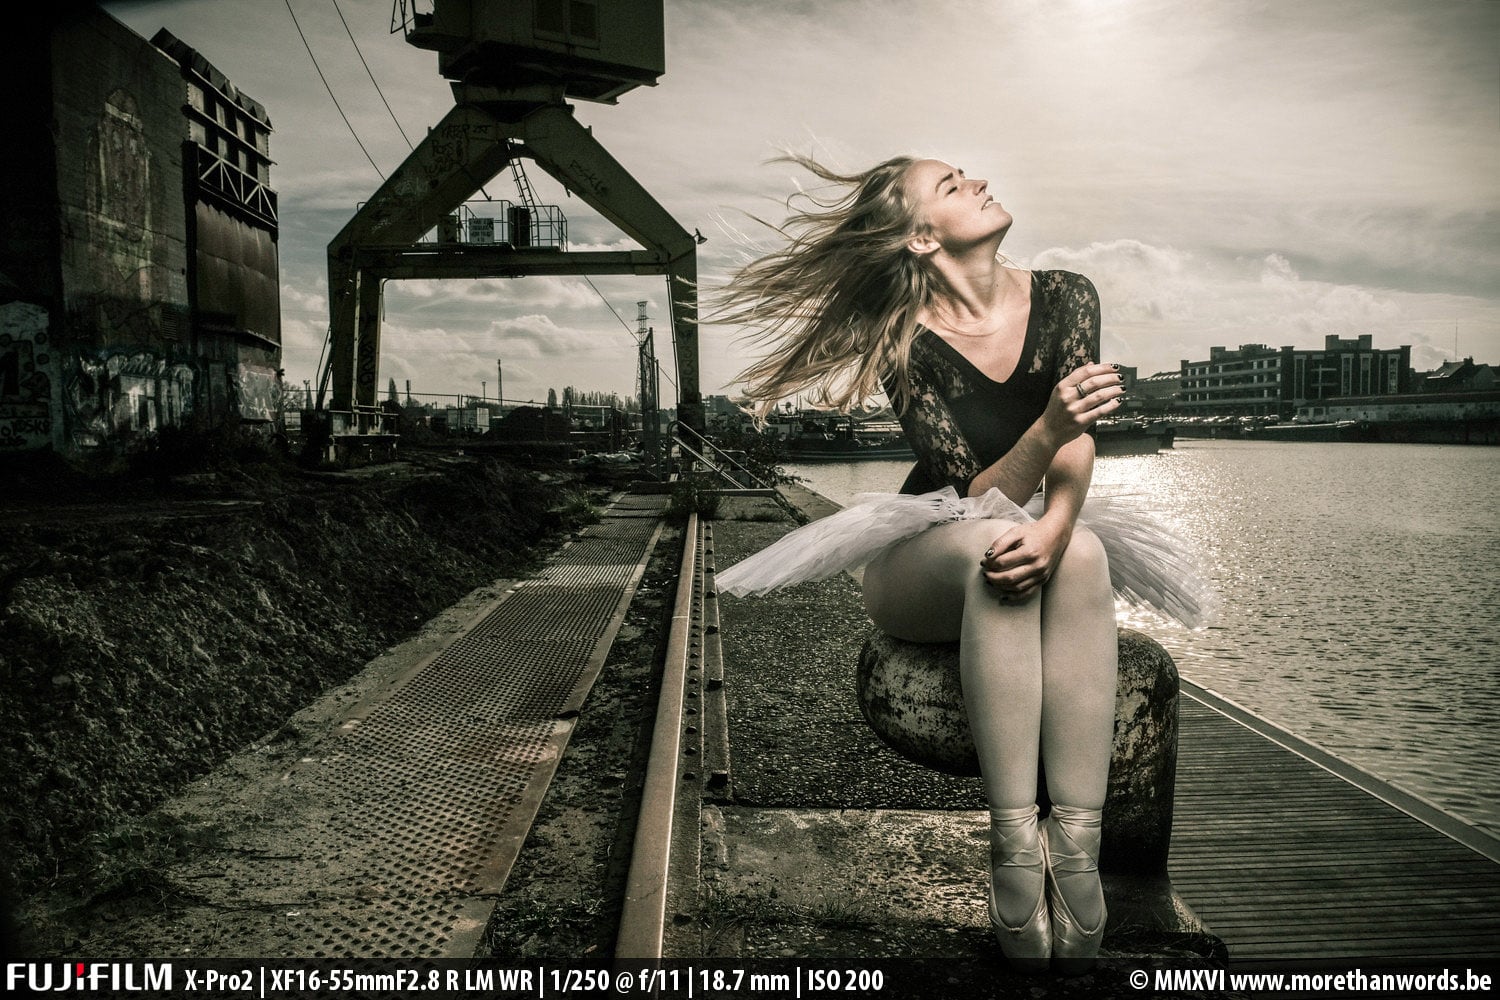
You'll learn how to create impactful, cinematic 'environmental portraits' by combining wide angle lenses, shallow depth-of-field and some extra light. At night, there will be plenty of time to discuss the images' catch of the day and suitable postproduction techniques.
Full details will follow in a couple of weeks - UPDATE: full details can be found here - but here's the lowdown: this is not just a travel workshop nor only a portrait workshop. It's not merely a street photography nor just a lighting workshop and it's definitely not only a postprocessing workshop. In fact, it's all five of those elements blended together in an incomparable mix, pretty much like the Indian chai we'll be having when we're discussing images at the end of the day. In short, if you're into any of the above, you should seriously consider coming. If you're into most or all of them, you have no excuse not to come!
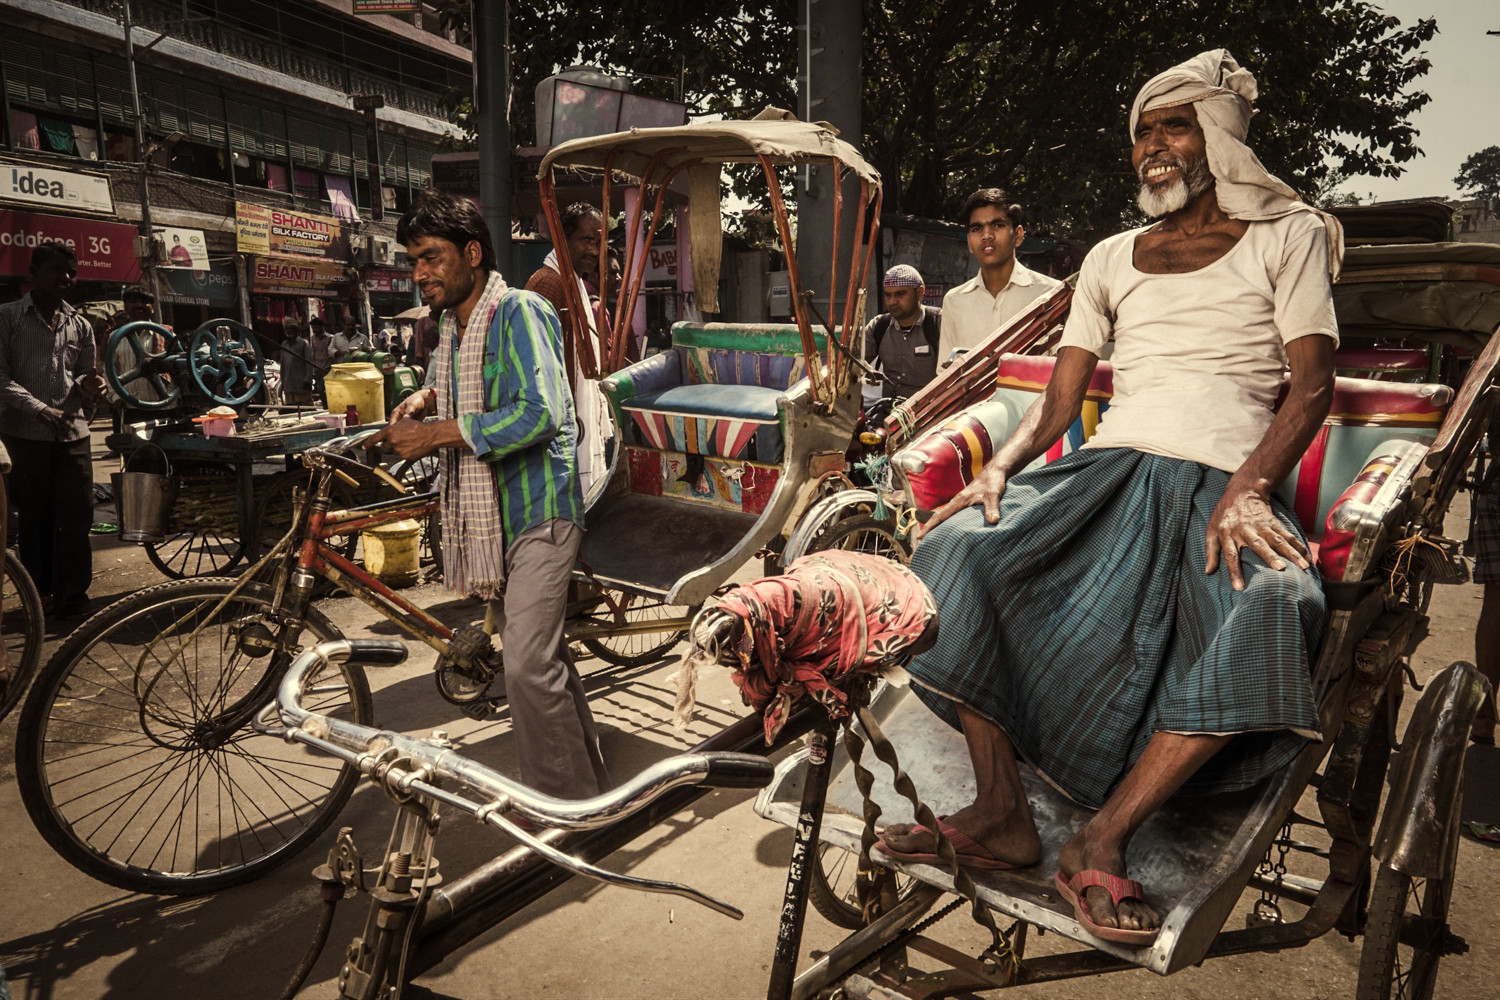
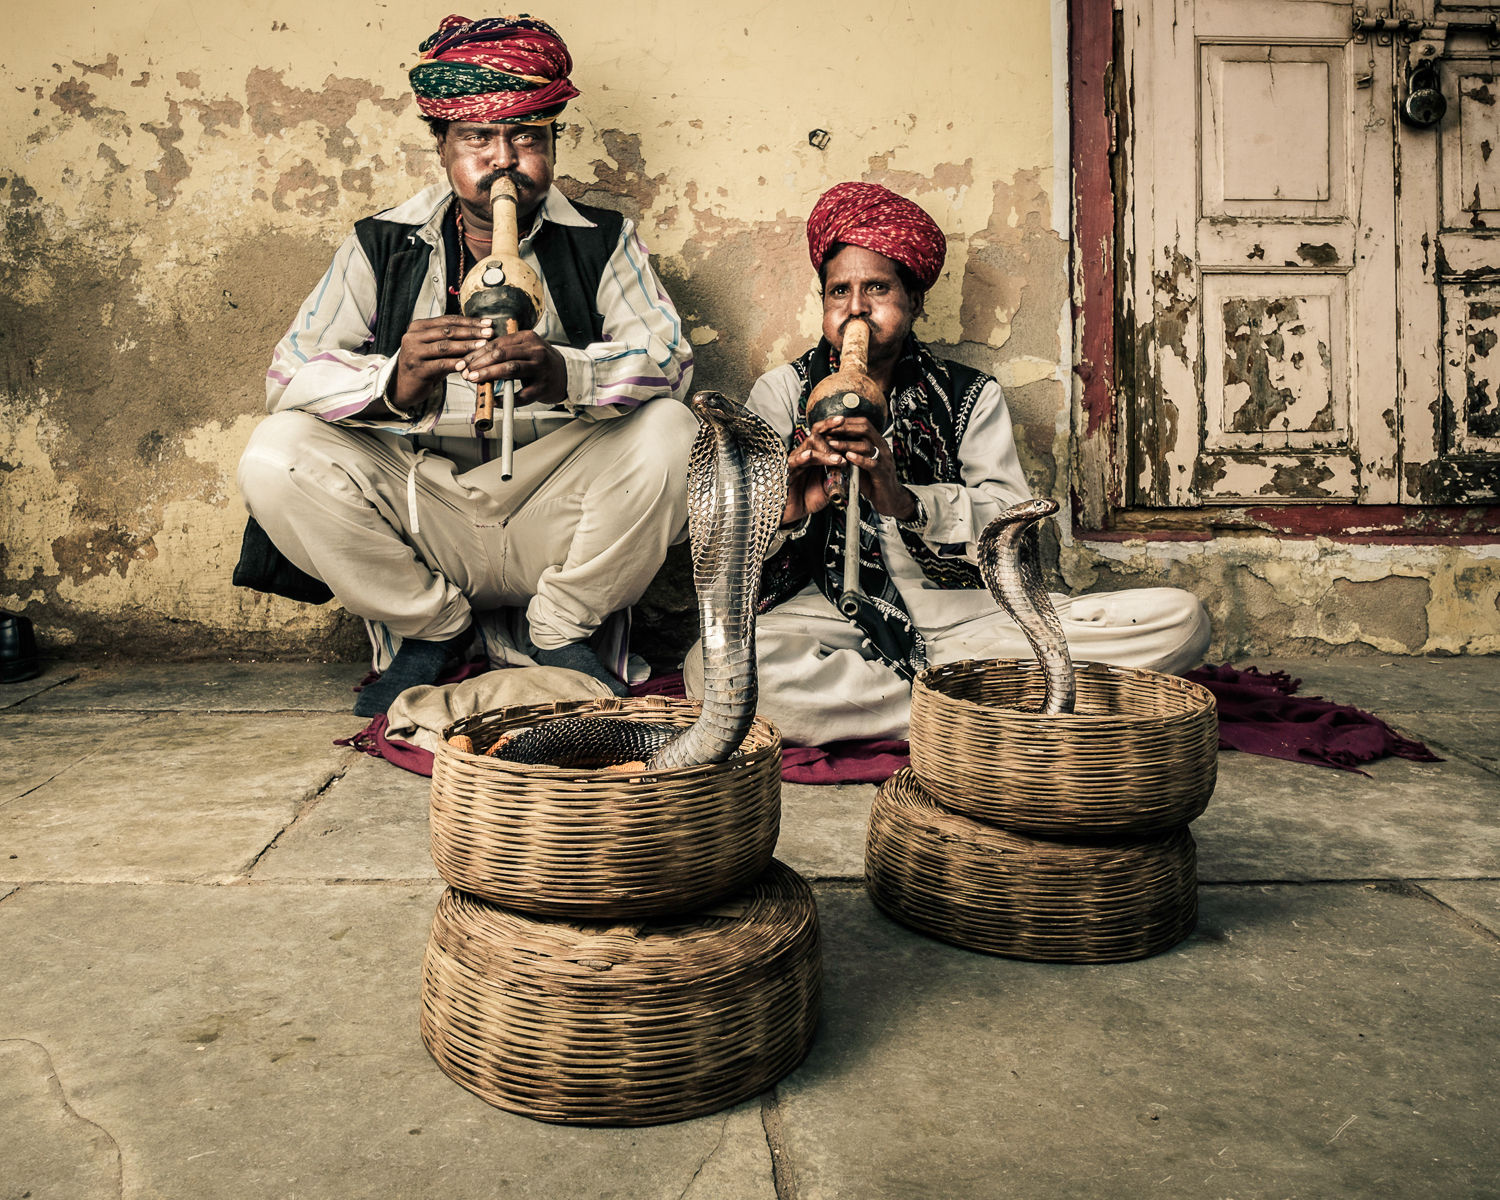
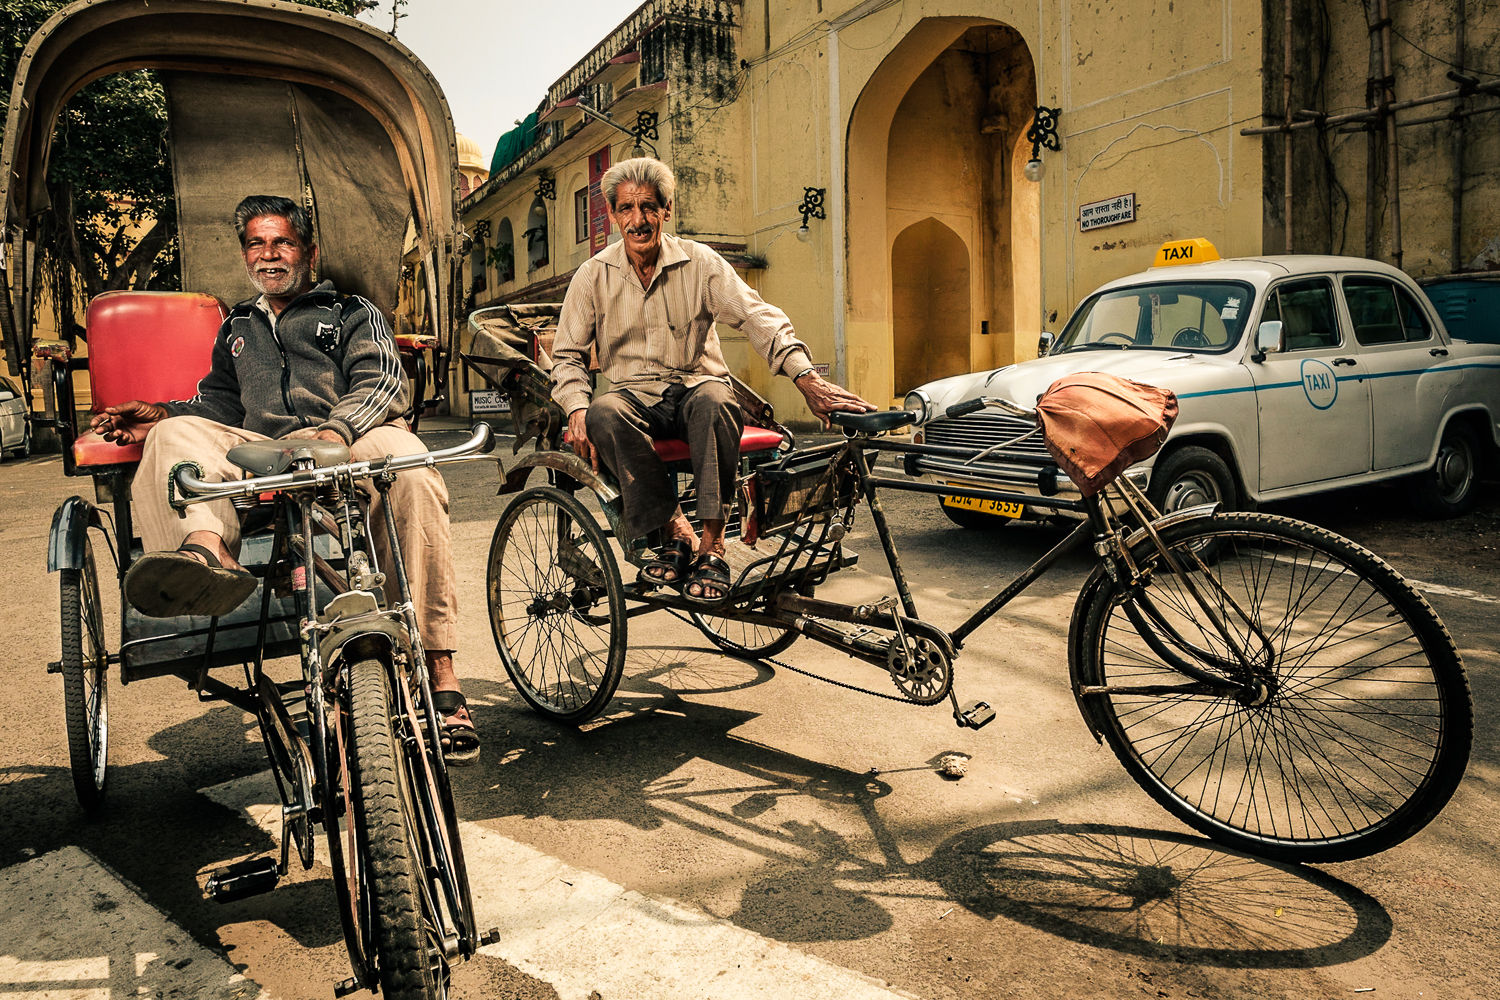
We're wrapping up some final details, but the dates are already set and I already wanted to share these with you: this unique workshop will be held from Saturday, February 25th 2017 until Sunday, March 5th. We will meet in New Delhi and after two introductory days of shooting the bustling street life there, we will go to Varanasi. For the rest of the week, this holy city will become the beautiful backdrop for our portrait sessions. In fact, probably the only thing more photogenic than the city itself is its inhabitants. We will photograph sadhus and silversmiths, fishmongers and rickshaw drivers.
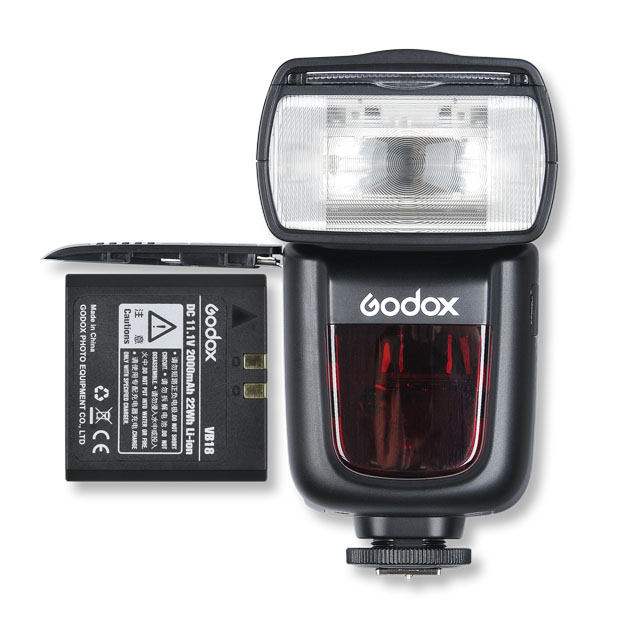
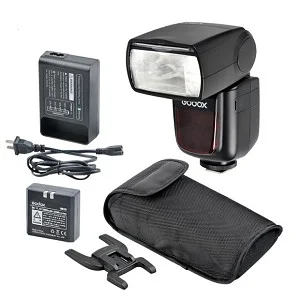
We will use available light but we'll help that available light a hand (or two) by bringing our own available lights (in the form of speedlights and portable studio flashes) to the party.
Best of all, while other workshops often have an 8:1 or even 10:1 guest/workshop leader ratio, we're limiting subscriptions to only 6 participants (so a 3:1 ratio), so you will have ample opportunity to interact with us and with the people we'll be photographing.

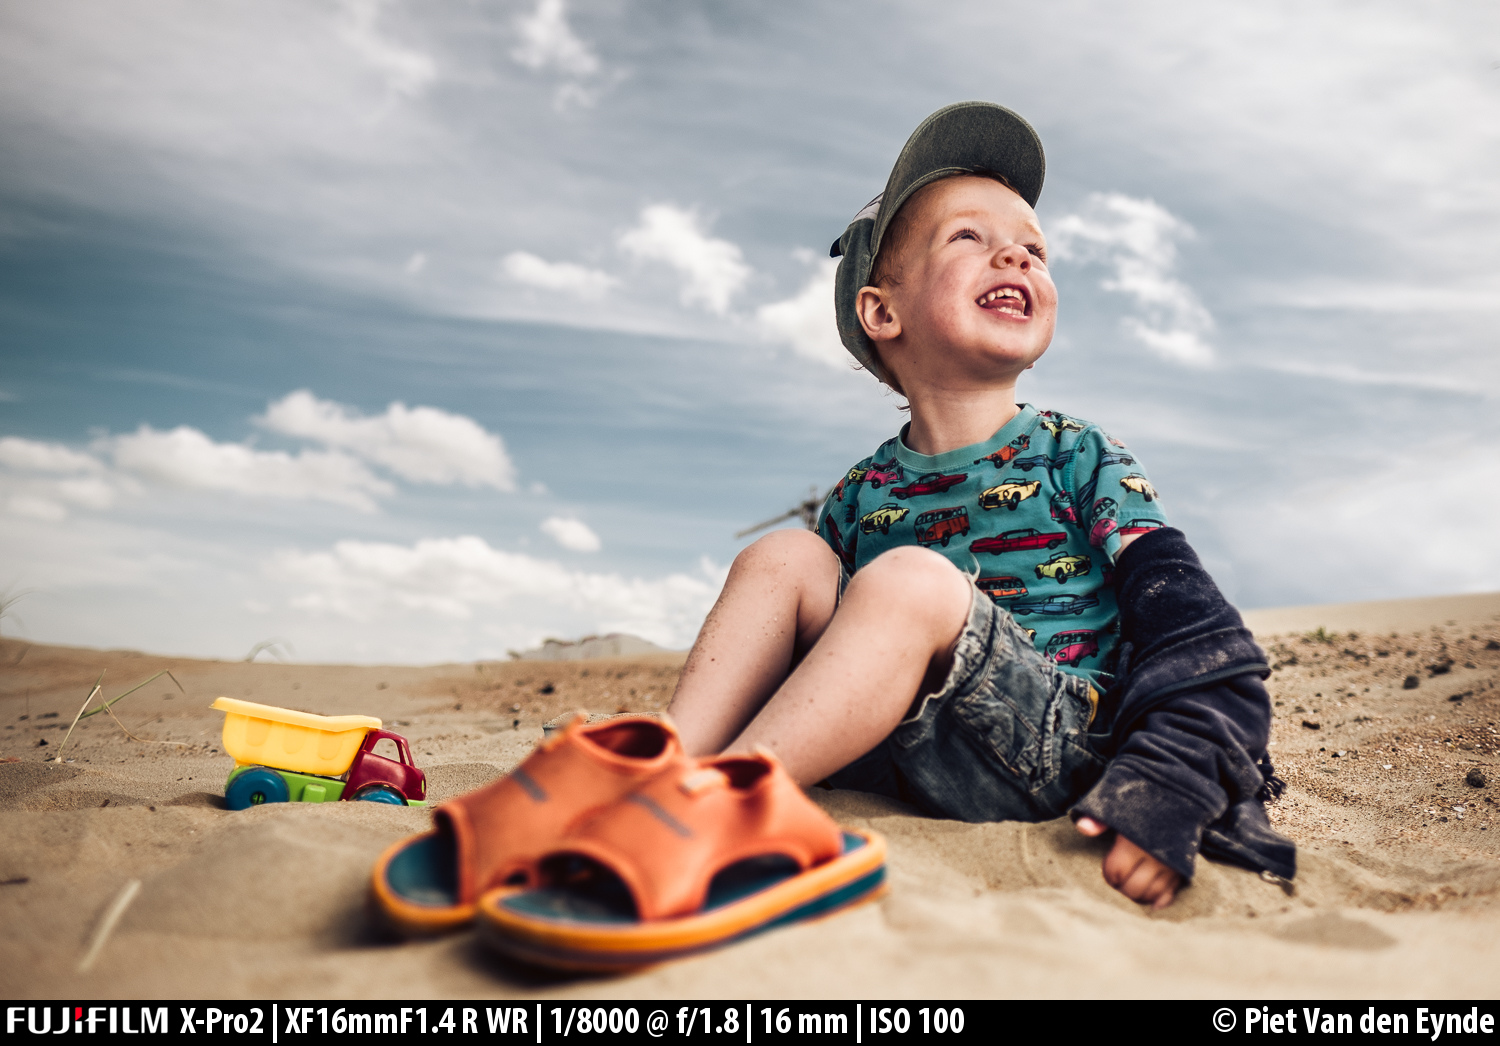
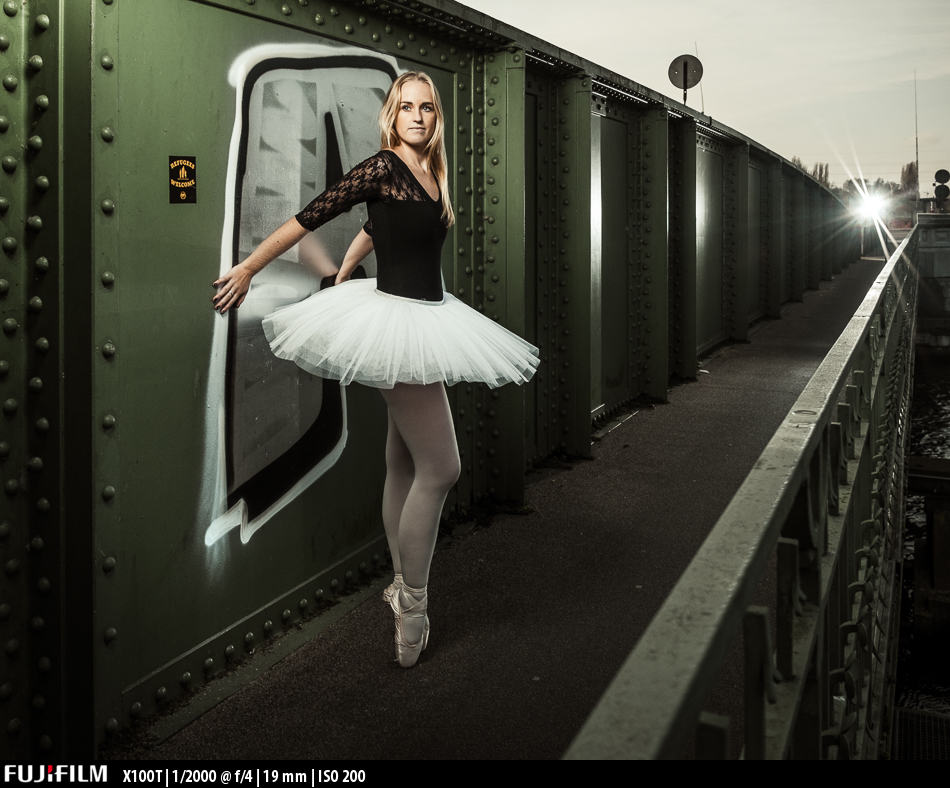
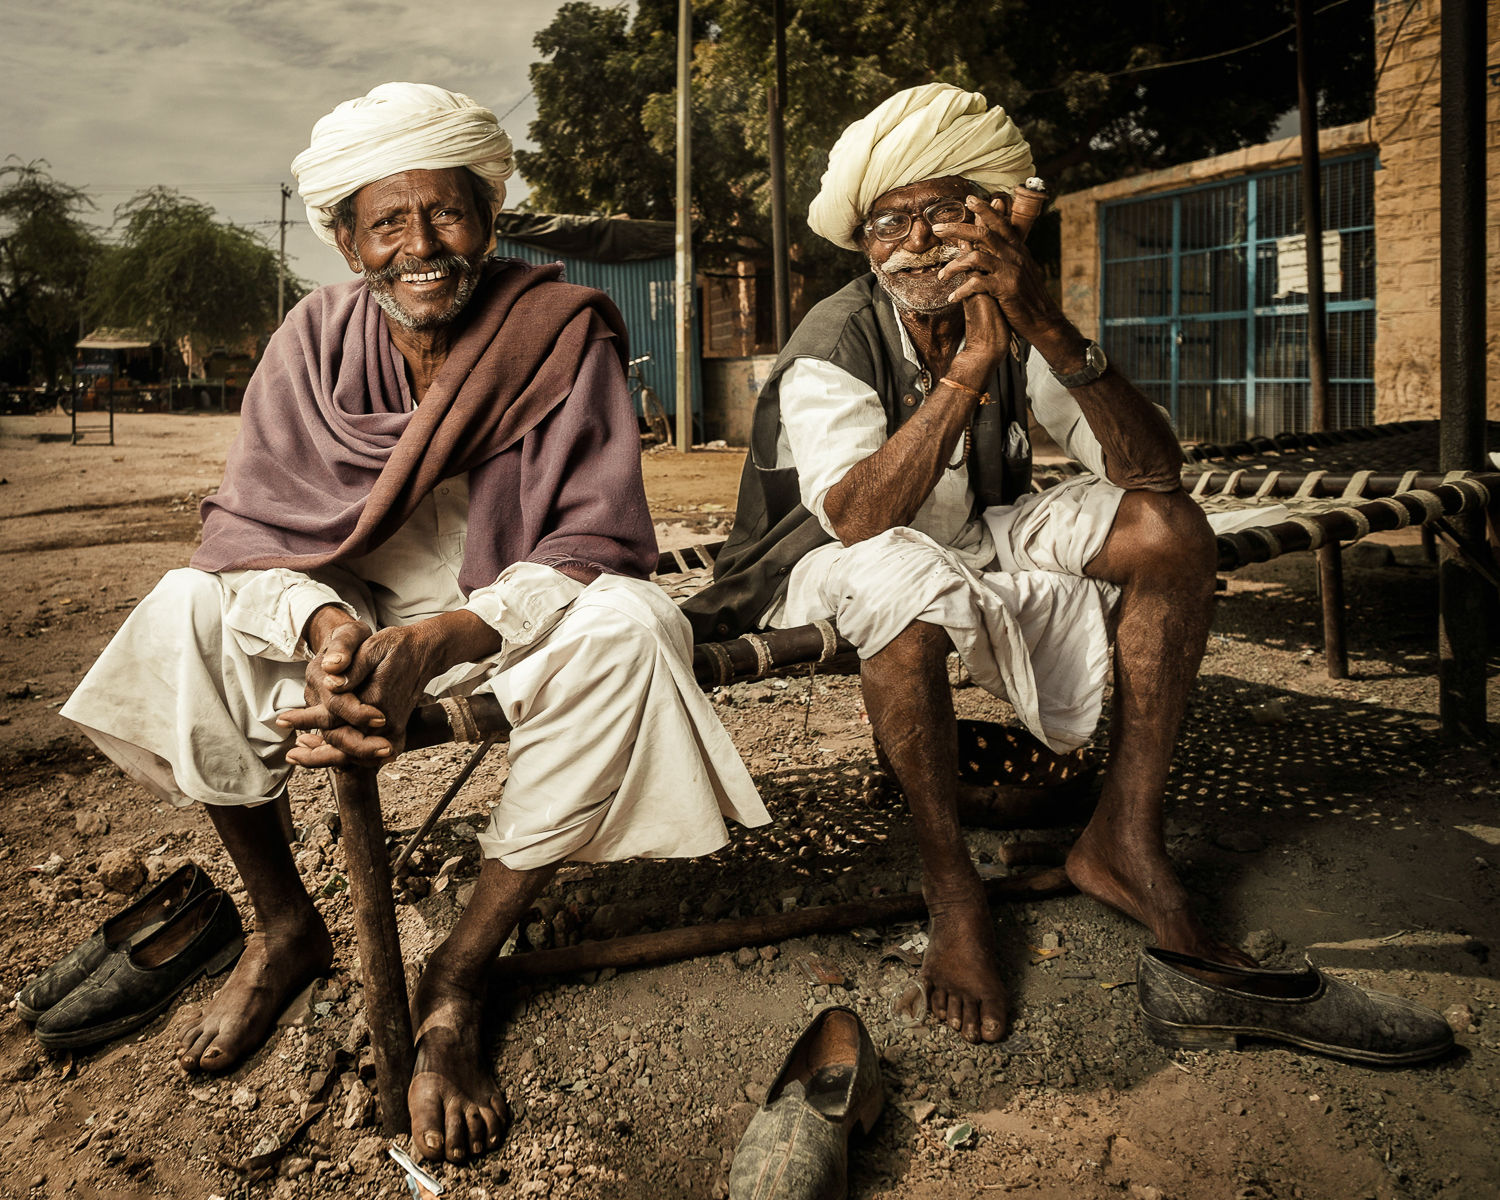
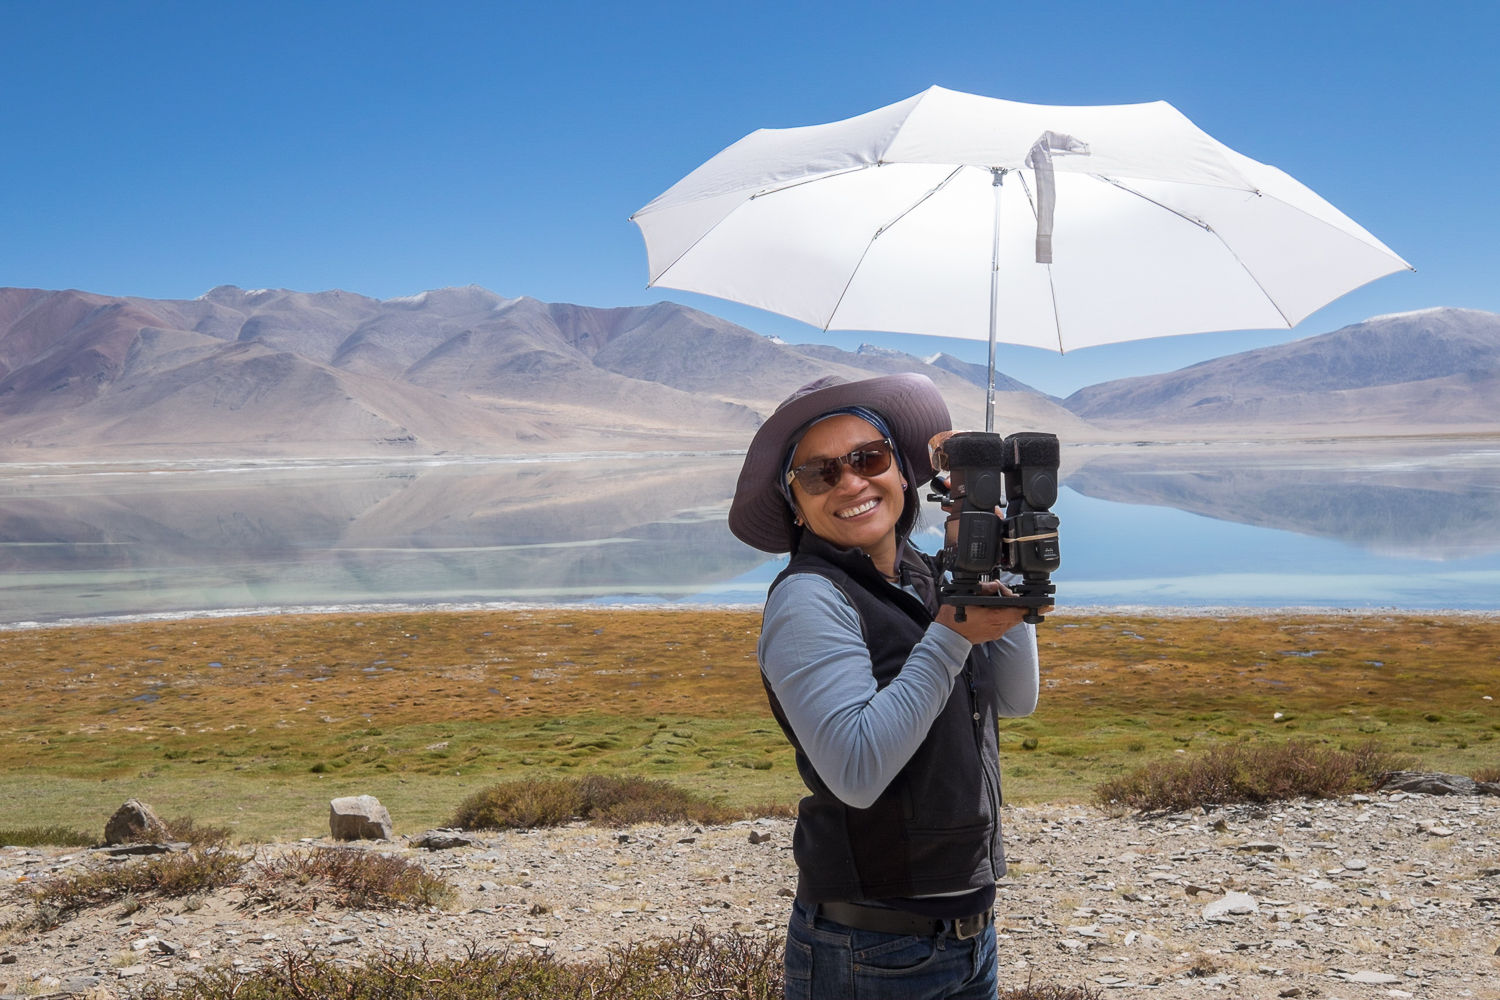
In this workshop, you'll learn how to make beautifully lit images even in the harshest of natural light conditions.
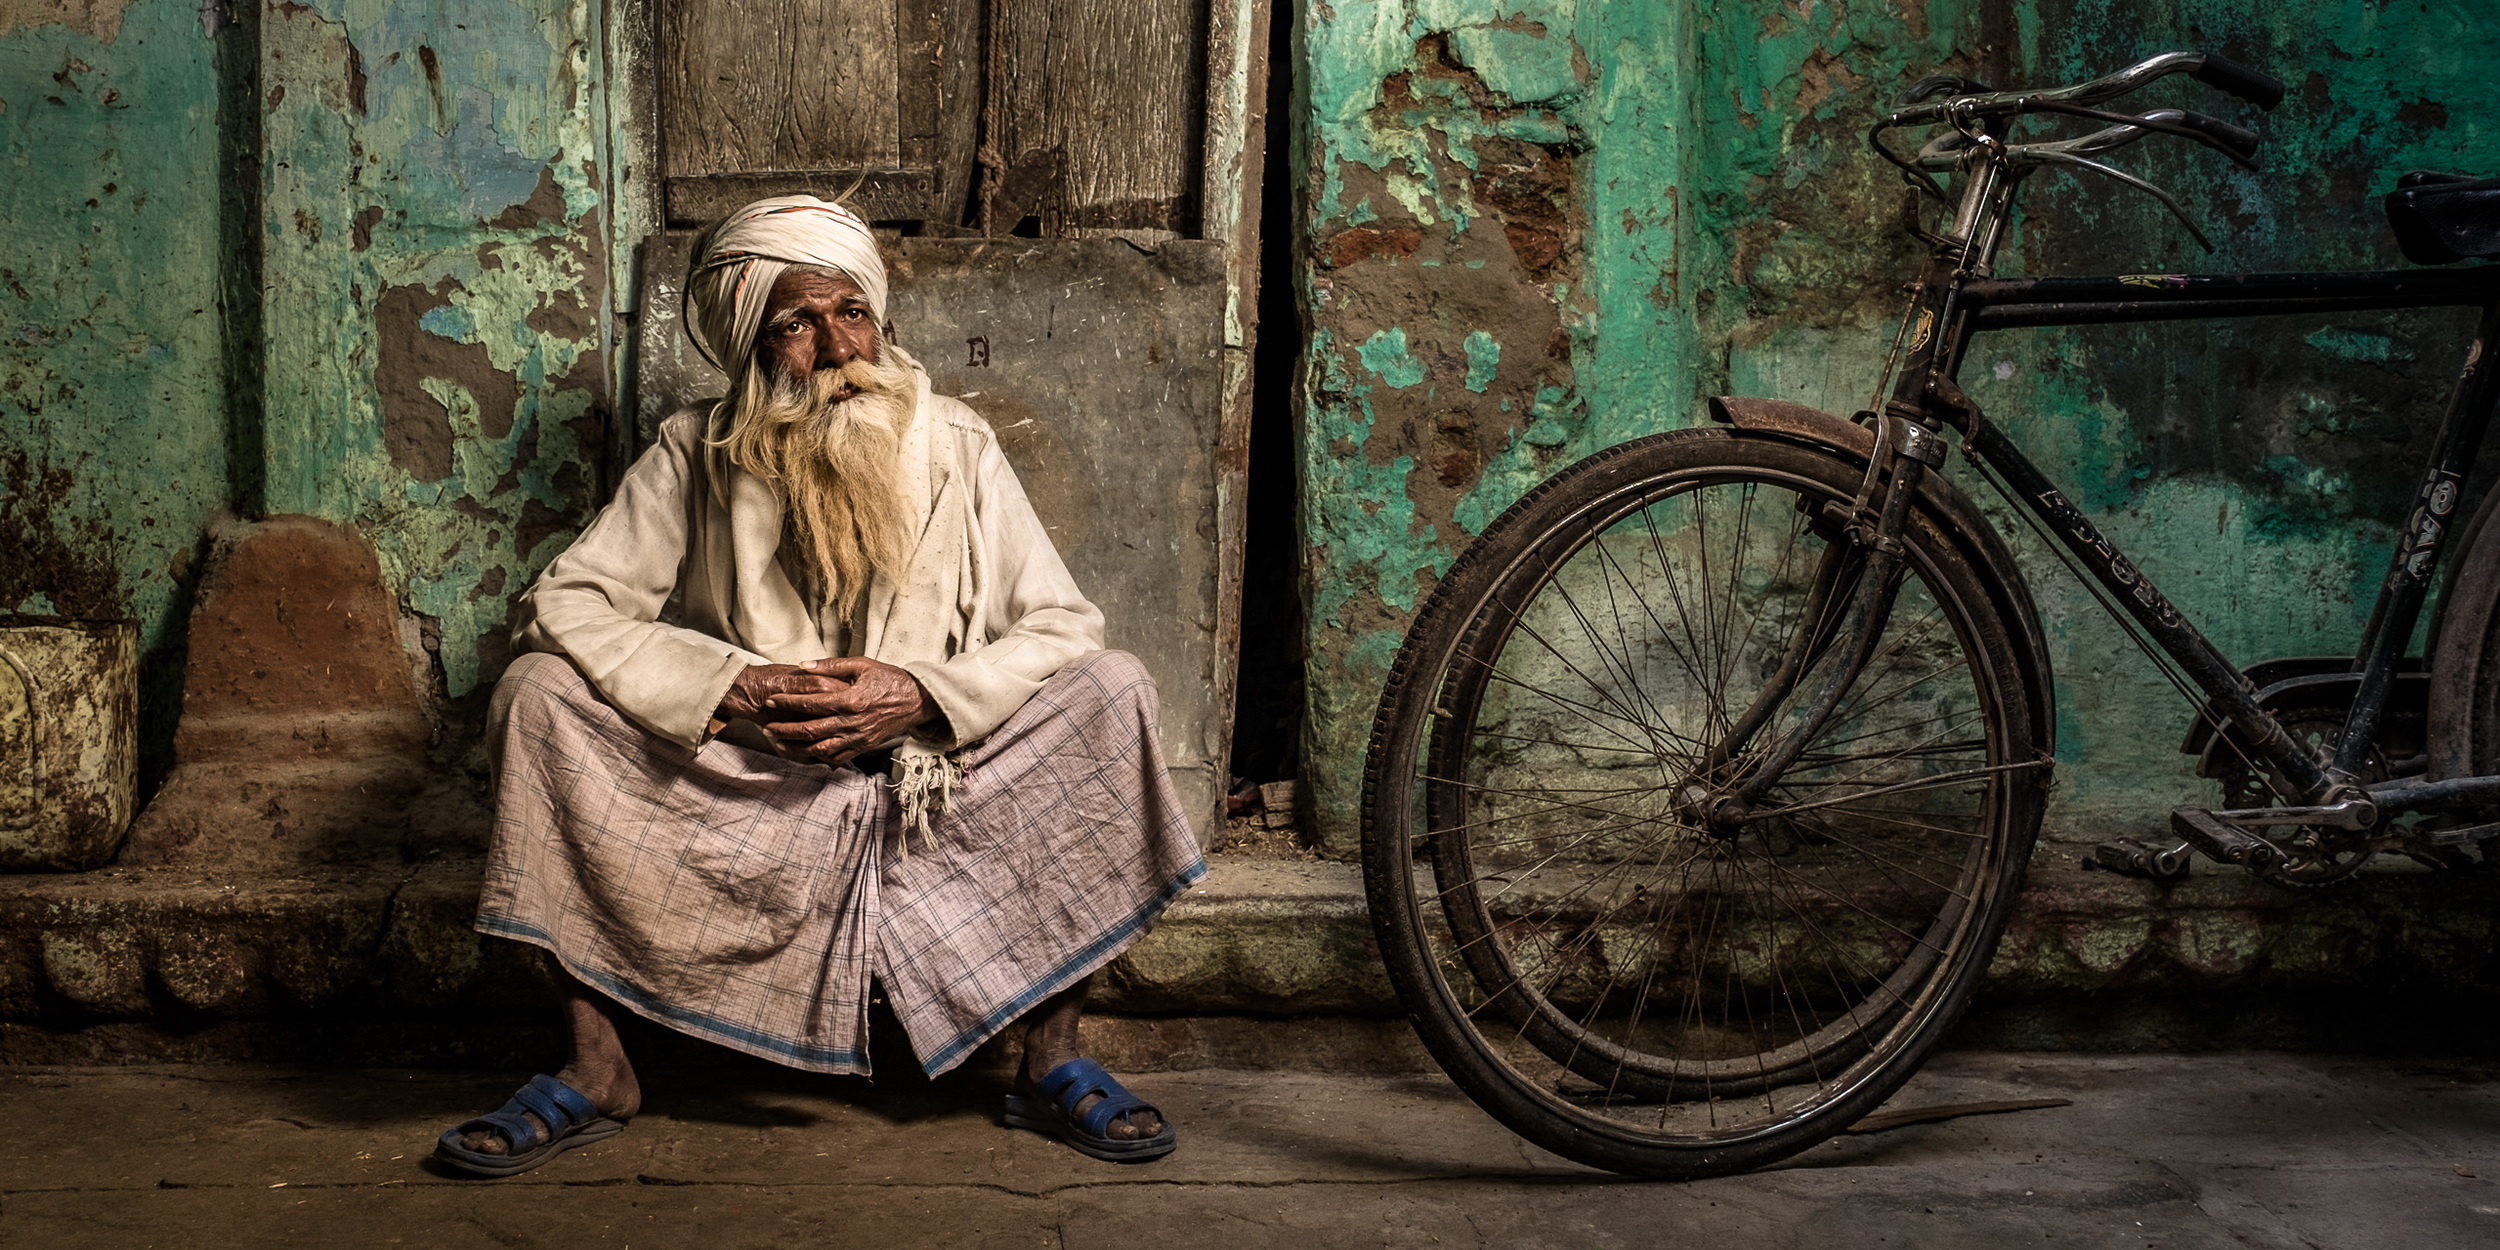
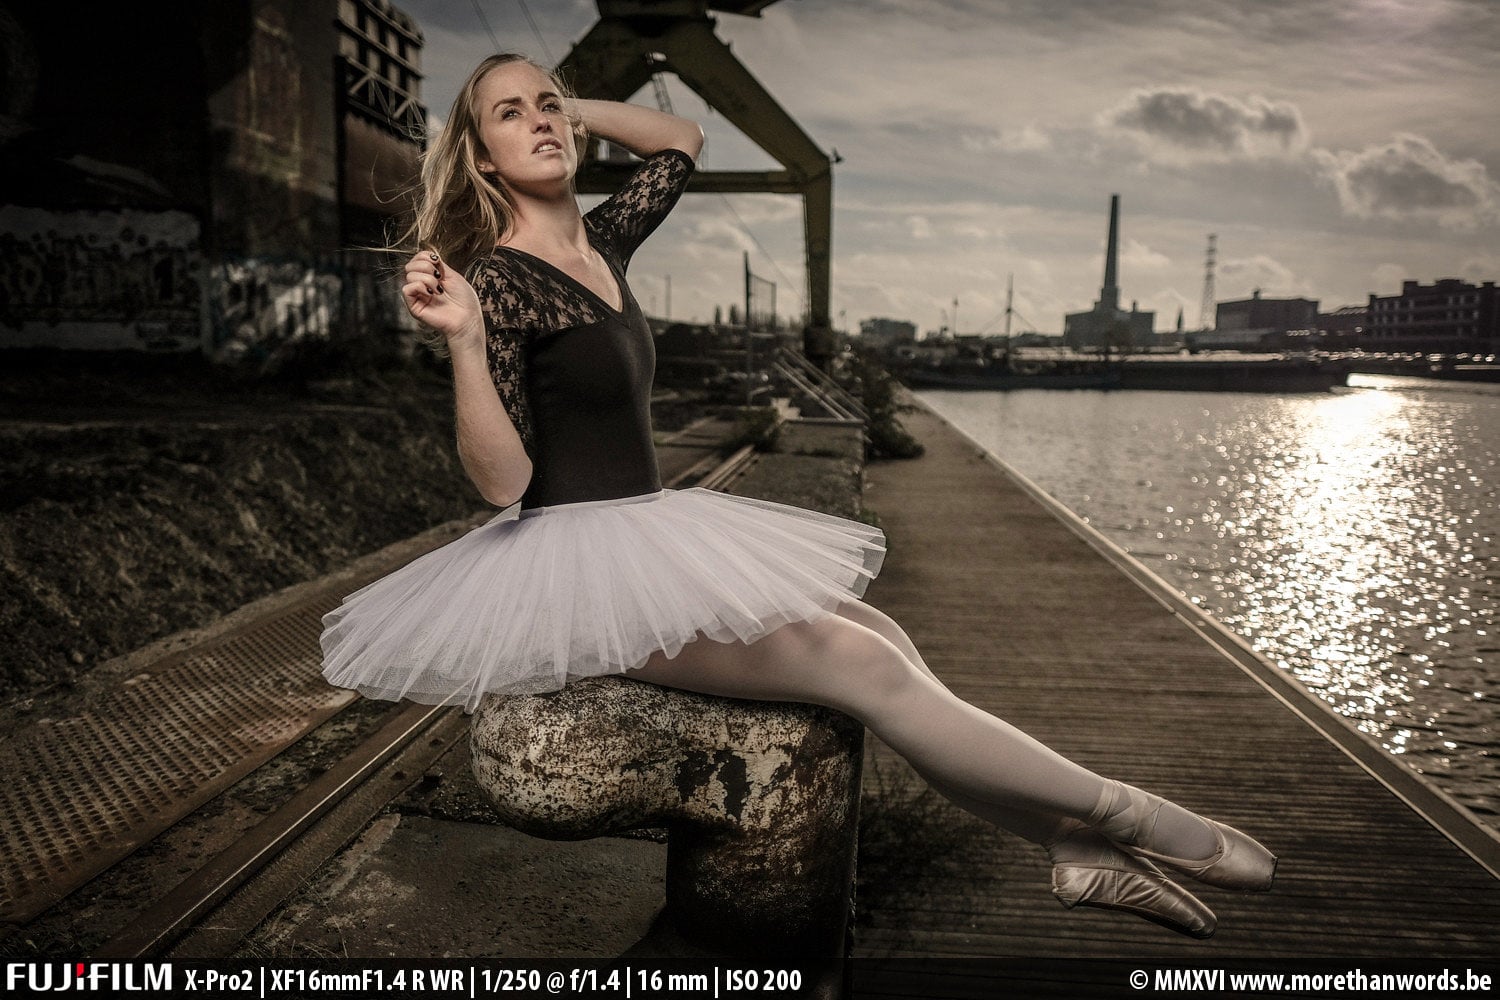
This workshop is open to all levels of photographers using mirrorless or DSLR-style cameras who know the basics about operating their cameras. You don't need to be a flash wizard, but we'll help you become one! And if you're already familiar with flash, we'll teach you more than a couple of tricks to take your knowledge and your images up a couple of notches. We've called this 'a Lighting Masterclass' because that's what we want you to be by the time you return back home: a master of lighting, both available light and flash, and any mix in between, for that matter. Below are some examples of the kinds of pictures we made on the first edition of this workshop last year and previous workshops in Delhi.
If you want to be first to learn when the workshop website goes up and final details and pricing are announced, use the form below. (Note: even if you're already subscribed to the regular MoreThanWords newsletter, I recommend you fill out this form).
UPDATE: No need to fill out the form as the Masterclass' page is now up: you can find it here.
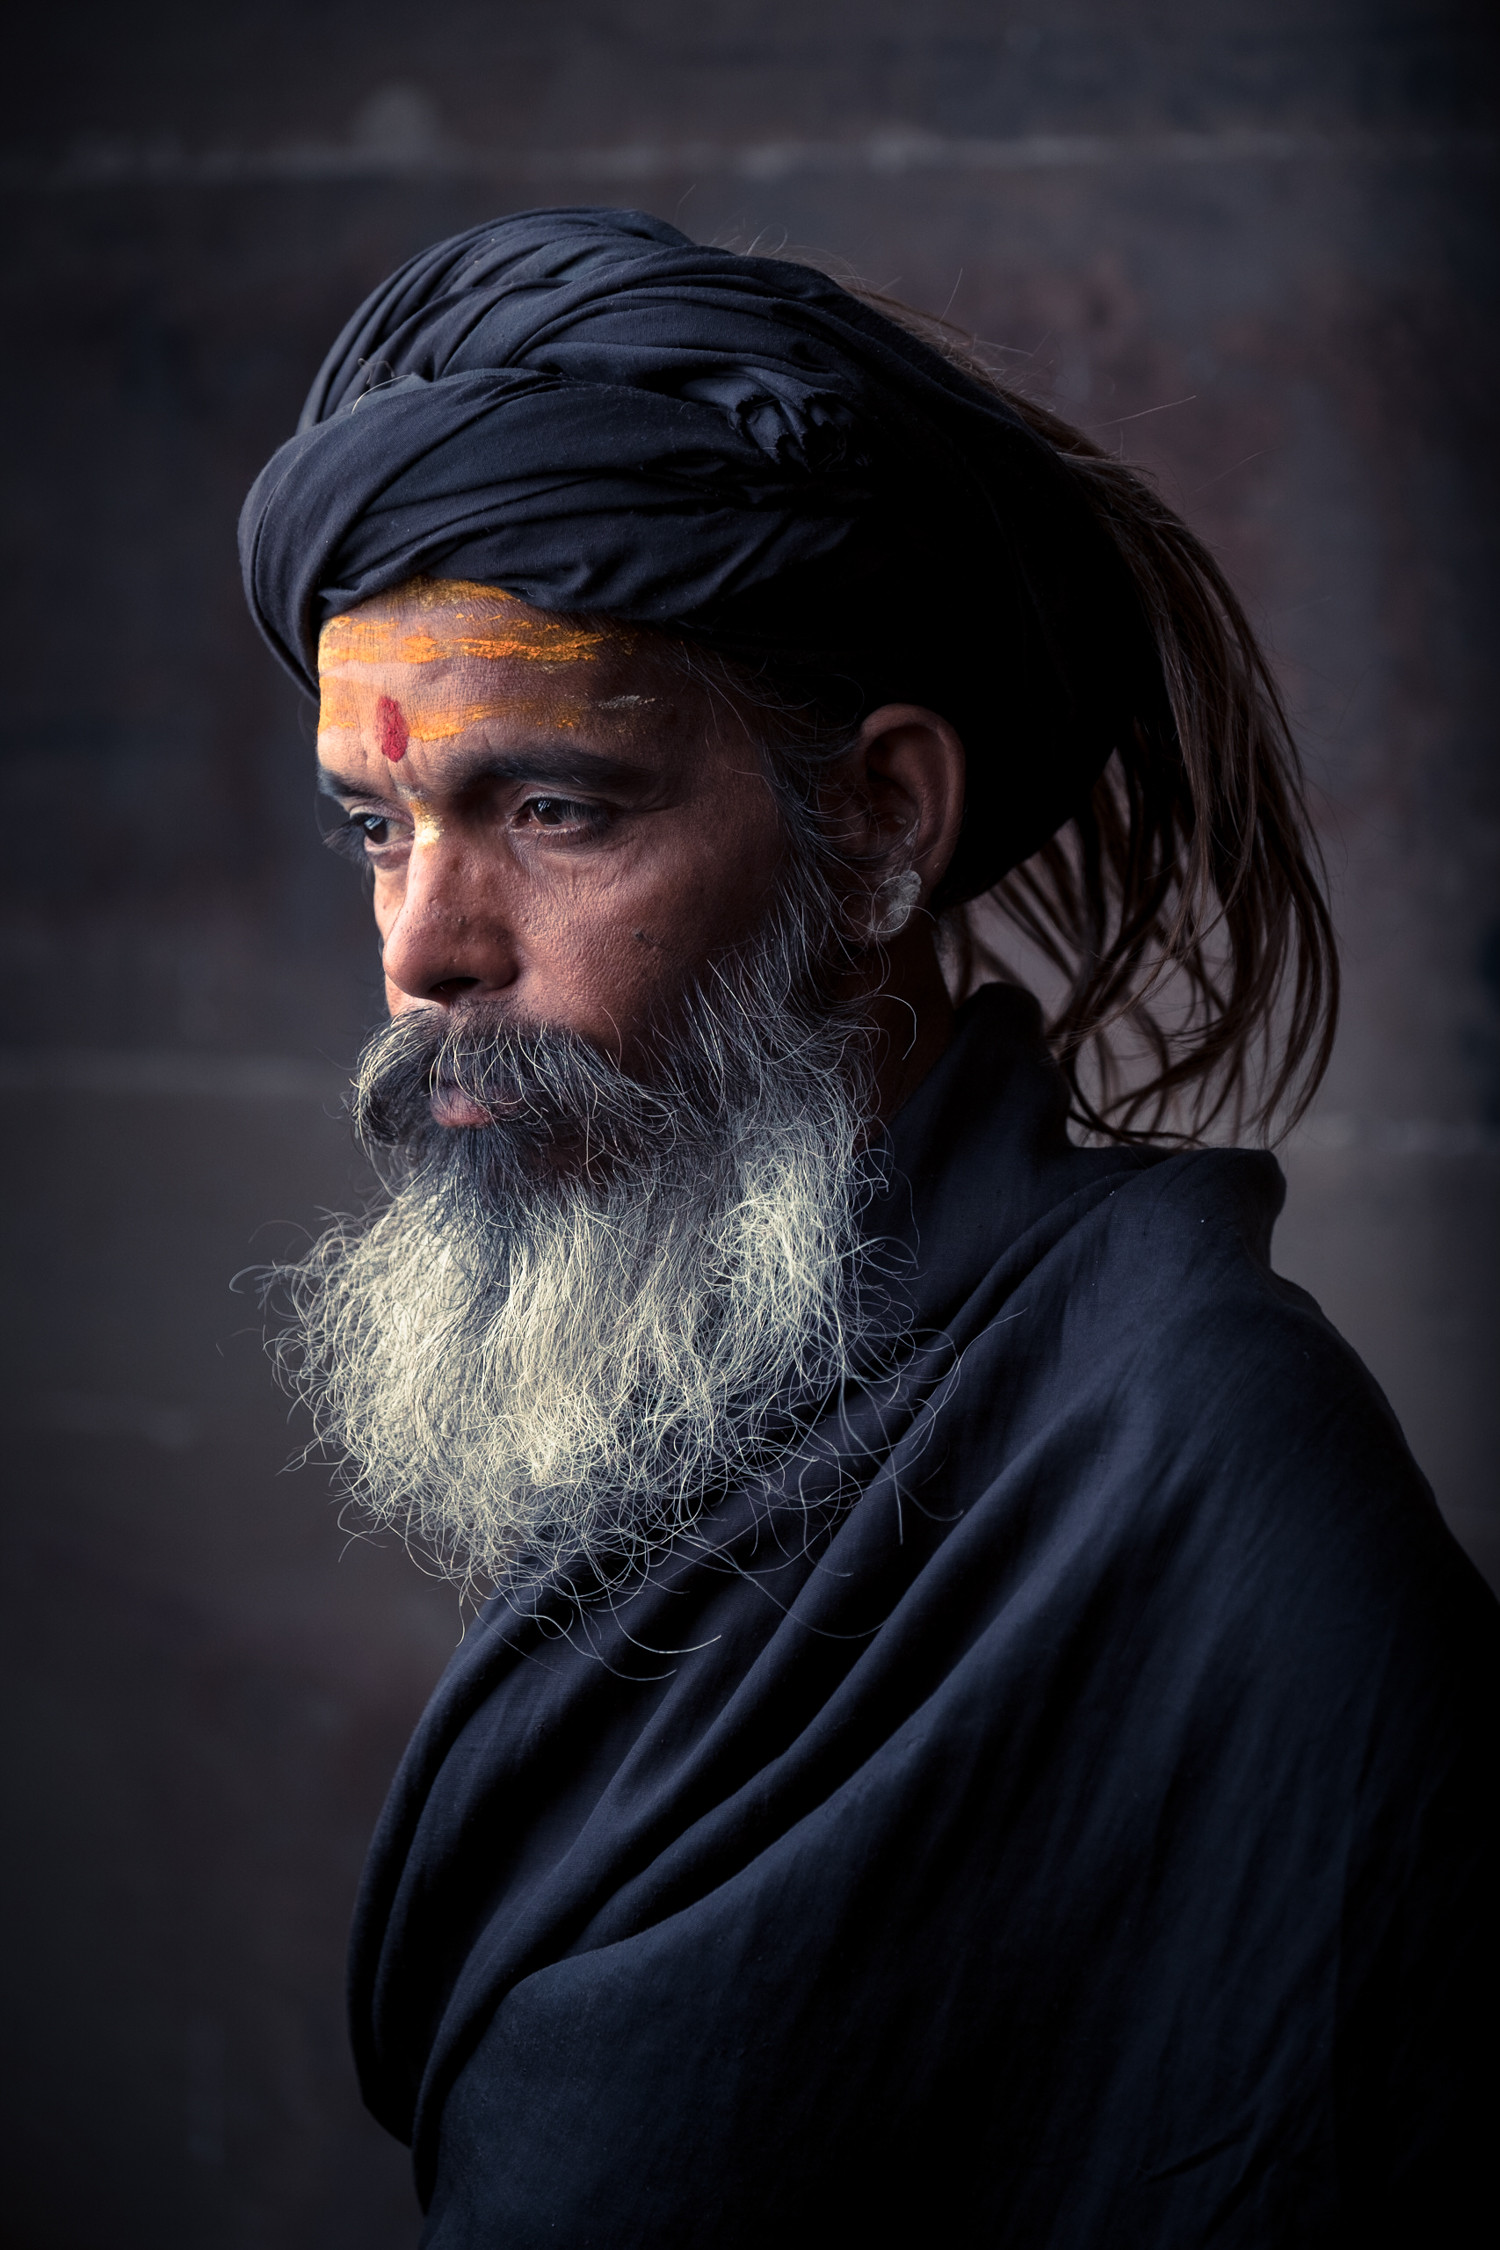
We used a so-called 'Short Lighting' light setup here because it works great with character faces like this sadhu's.

Have your travel juices already started to flow? Subscribe to my regular newsletter and get this free eBook with '10 tips for better travel photographs'!