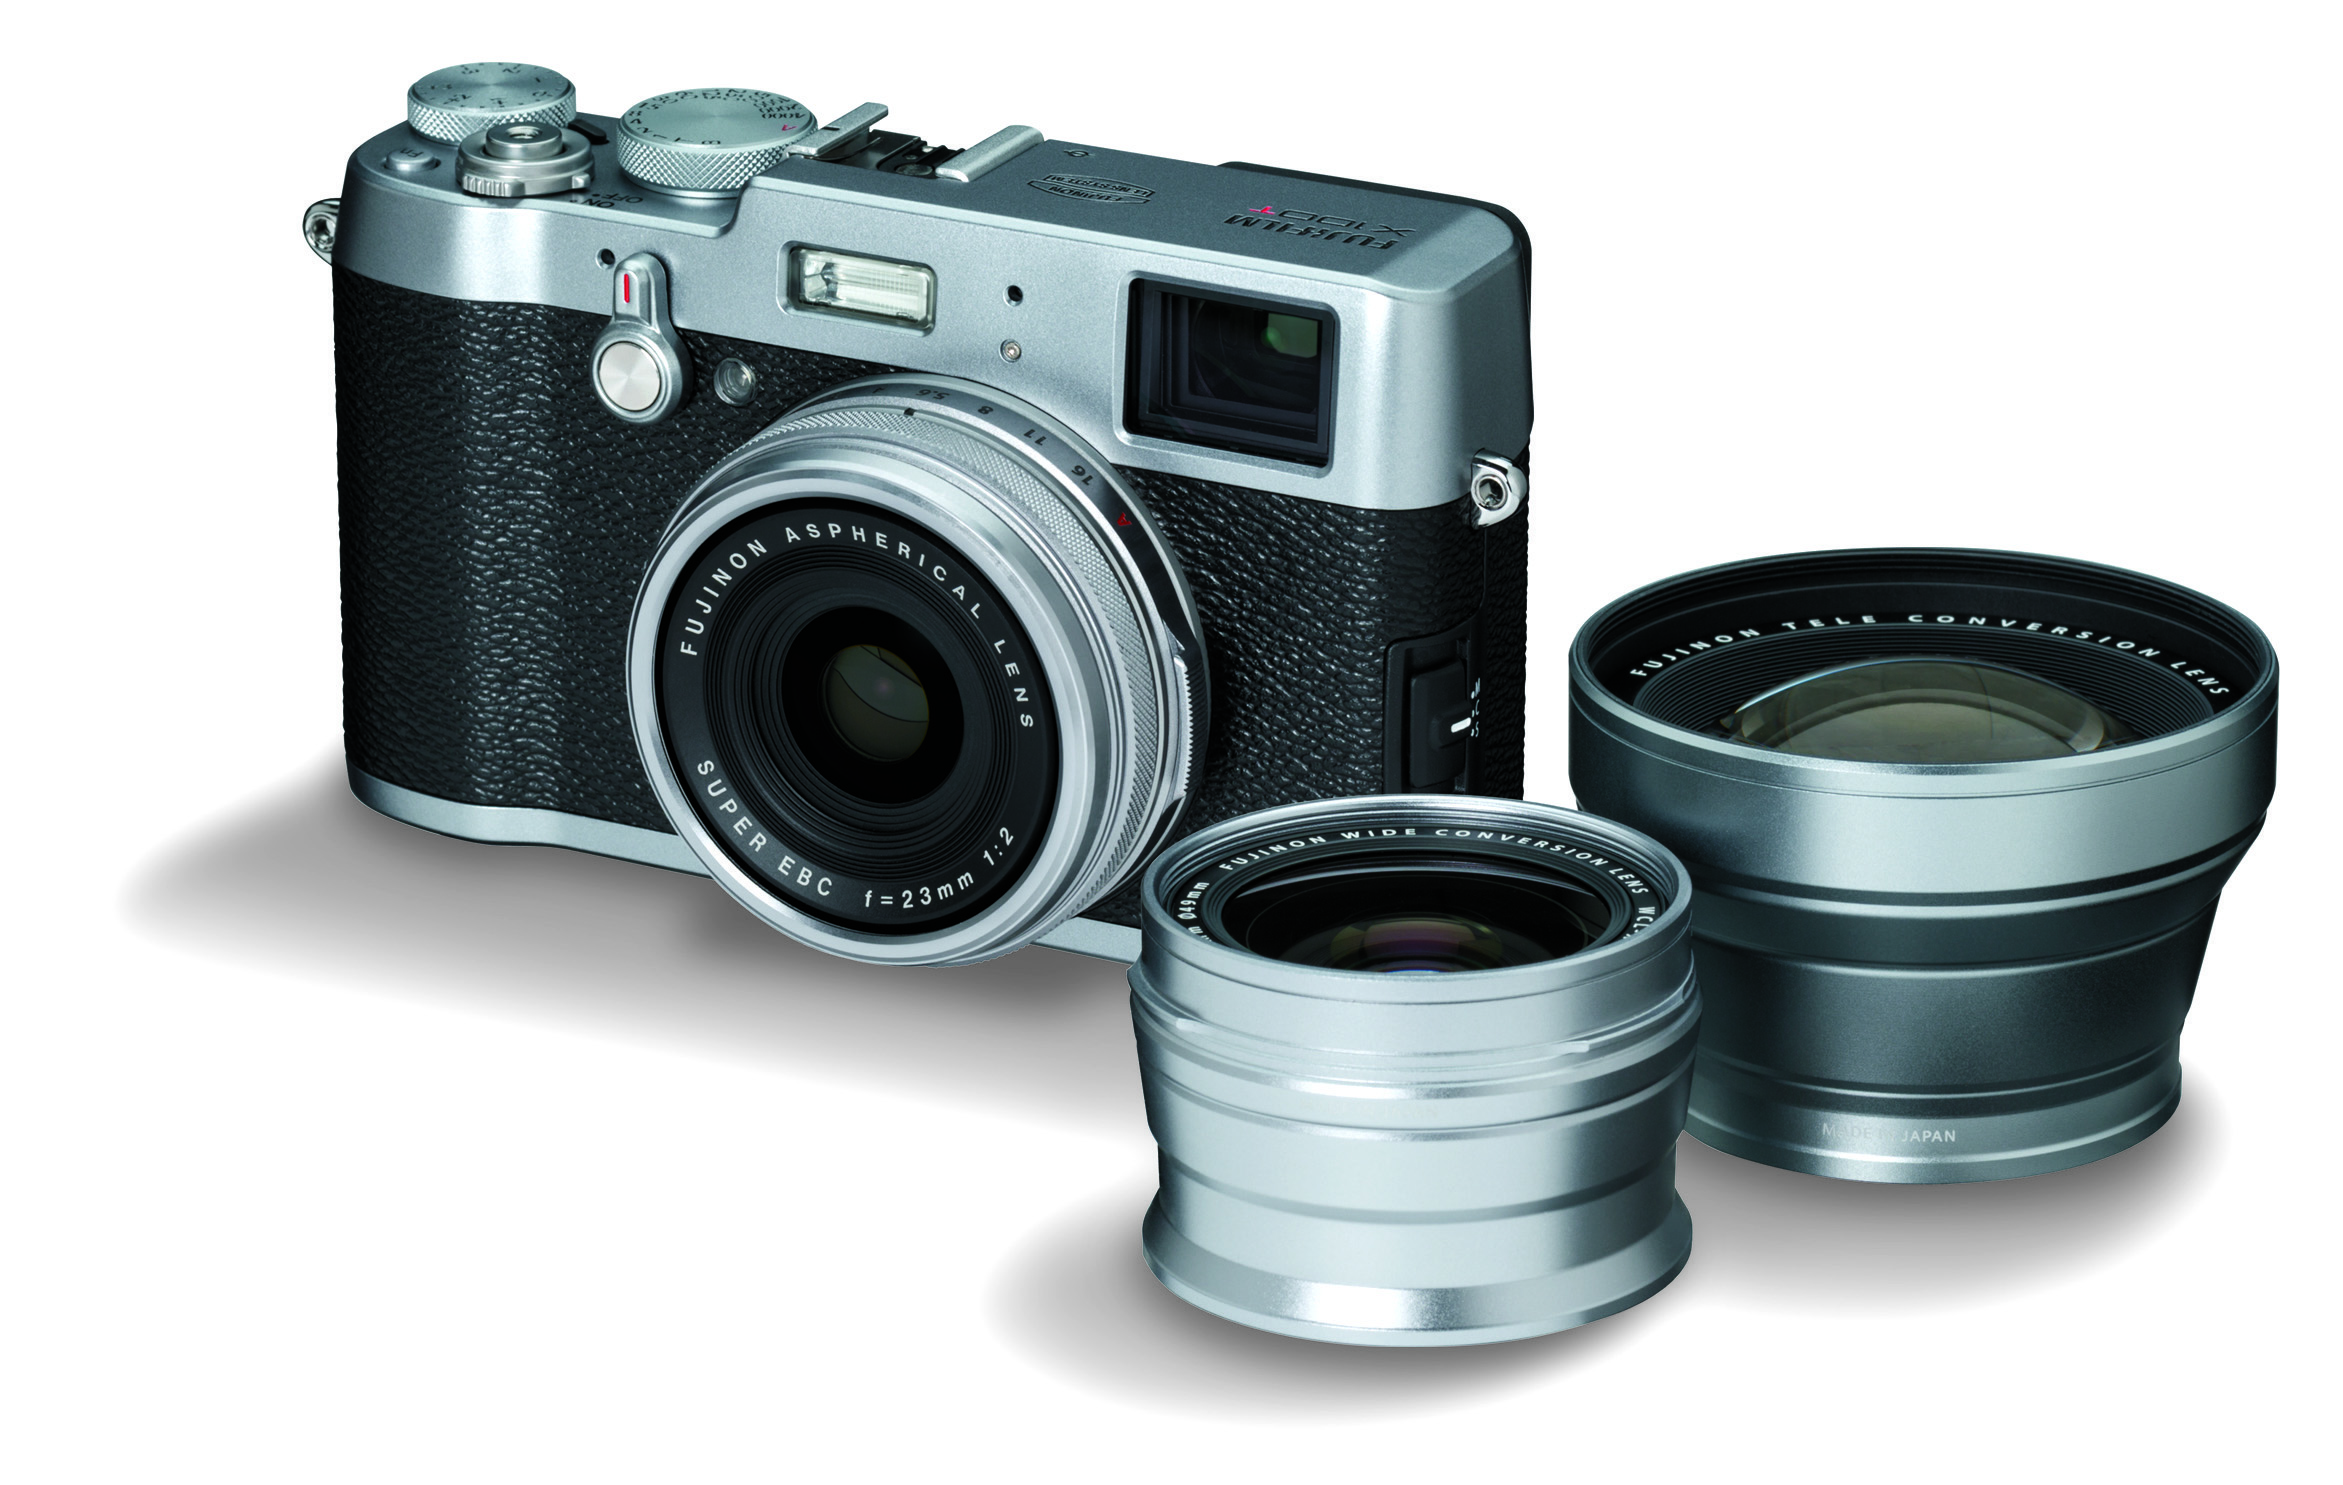
When a while back, Fujifilm offered me the opportunity to test a pre-production sample of the upcoming X-Pro 2, I felt honoured, humbled, frightened and excited all at the same time.
Honoured, because I was one of a limited number of photographers worldwide to receive an early sample. Humbled, because the list of the others included big name photographers that I regard very highly, such as Damien Lovegrove, David Hobby and Zack Arias, to name but a few. Compared to these guys, I'm just a grown-up kid with too many cameras, too many lenses and waaaay to many flashes. I felt like taking a shower with the highschool football team. When I had just been out in the freezing cold...
“You know the old joke ‘How many photographers does it take to change a light bulb?”
Frightened because I had a tight deadline to give Fujifilm four images, preferably from different shoots. Four images that would be looked at, pixel-peeped, scrutinized by the whole world. Four images of which Fujifilm would choose one to display during the Fujifilm X Series Five Year Anniversary Exhibition in Tokyo. You know how photographers can be ruthless for each other’s work. I couldn’t help but think of the old joke: "How many photographers does it take to change a light bulb?" The answer is: "Eleven: one to actually fix the bulb and ten to comment afterwards about how that one guy could have done it better."

Charleroi, one of Belgium's old industrial cities. I scouted this cool location without ever leaving my house, thanks to Google Maps and Google Street View. The actual hike up the hill made me appreciate a lightweight camera system like the X-Series even more. Hills definitely look lower from Google Earth than they do when you're standing in front of them! My original plan was to do a Long Exposure here, but the wind was so strong I could not keep the camera steady enough.
Excited
But I also felt excited: I had been slaving away at my new Lightroom book for months (the Dutch version is available now and the English version is in layout) and I hadn’t really been photographing a lot. This opportunity and the deadline it included gave me a much needed kick in the butt. So I rustled up some models, fired up Google Maps and Google Street View to scout some cool locations, charged the battery of my Jinbei flash, dusted off my Formatt Hitech ND’s and my B+W Vari ND's (Dutch link, English link) and planned a couple of shoots.
Shooting JPEG (and actually liking it)

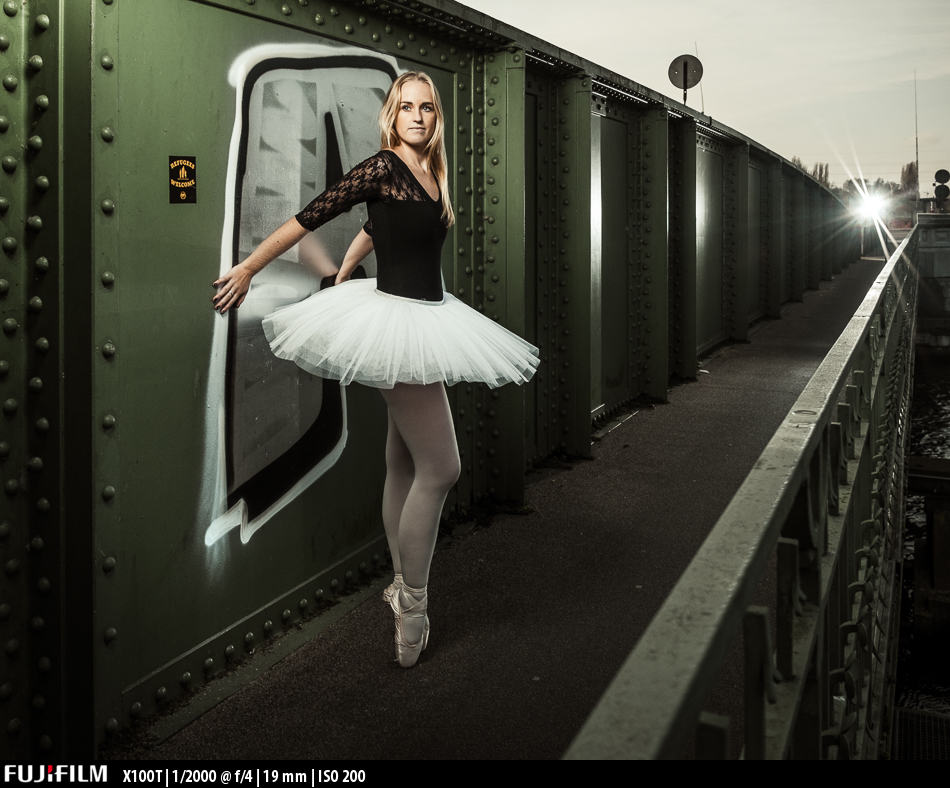
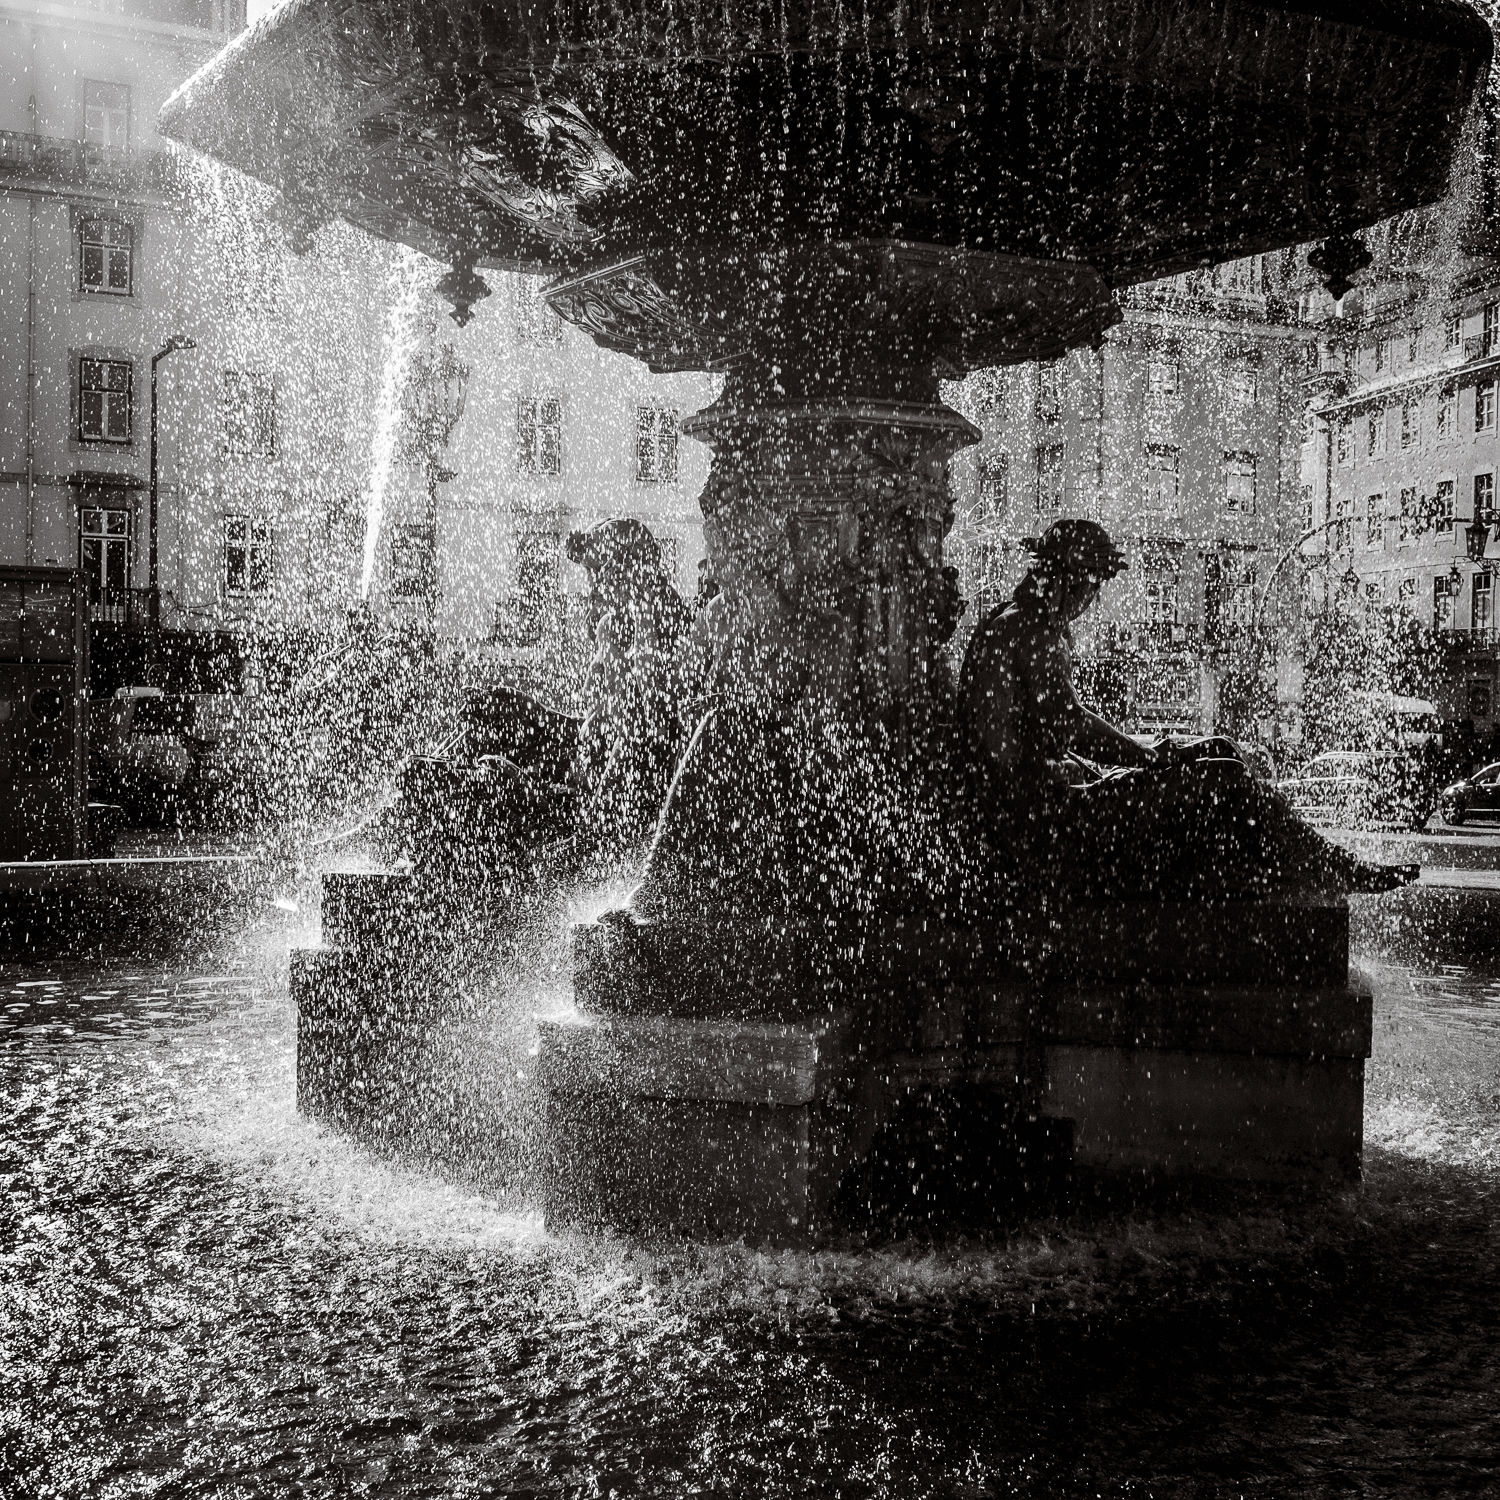
It was freezing cold but model Stéphanie was a real champ. Shot with one of my favourite lenses: the 10-24 mm. I used the Jinbei HD600 II and the Phottix Luna Folding Softbox. In very contrasty, backlit situations like these, it's good to have an Optical Viewfinder, too. Especially the X100T-like one, where you can still have a small EVF inserted in the bottom right corner to help you with your composition. The X-Pro 2 also has a 1/3rd stop faster sync speed than the X-T1, which comes in very handy when you're trying to overpower the sun in bright daylight.
The camera being a pre-production sample, the camera’s firmware was also still beta, so there were a couple of limitations. First of all, the ‘Preview Exposure and White Balance in Manual Mode’ feature was not working on my sample. It’s a feature I rely on heavily when using flash, because it lets me easily set the desired ambient exposure. However, my model will generally be too dark in this mode, so once I’ve determined how dark or bright I want the background to be, I will switch this mode off.
“I use the ‘Preview Exposure and White Balance in Manual Mode’ so much that I’ve assigned a function button to it.”
I’ve even dedicated one of the function buttons to it. To assign a function to a function button, press and hold it for a couple of seconds and then choose the desired function from the list that appears. When off, the EVF goes to a normal brightness level so you can choose your composition and your focus point more easily. Being able to switch between both views and having a live histogram is one of the key advantages of mirrorless cameras. Needless to say, the feature will work as expected on shipping X-Pro 2’s.
Another thing that slightly worried me was the fact that there was no RAW support yet. In fact, there still isn’t (as is always the case with new cameras). As a Lightroom user, author and trainer, I eat RAW files for breakfast. Although I love the quality of Fuji’s out-of-camera JPEG files (they’re probably the best in the whole camera industry), I prefer to shoot at least RAW + JPEG for the added postprocessing leeway that RAW files give me. Partly, that’s for creative reasons, as I like to edit my images quite elaborately but partly it’s also to cover up for the underexposure mistakes I sometimes make while shooting. When you know your way around Lightroom, you run the risk of becoming a sloppy photographer because you know the tricks to cover your ass after the shoot.

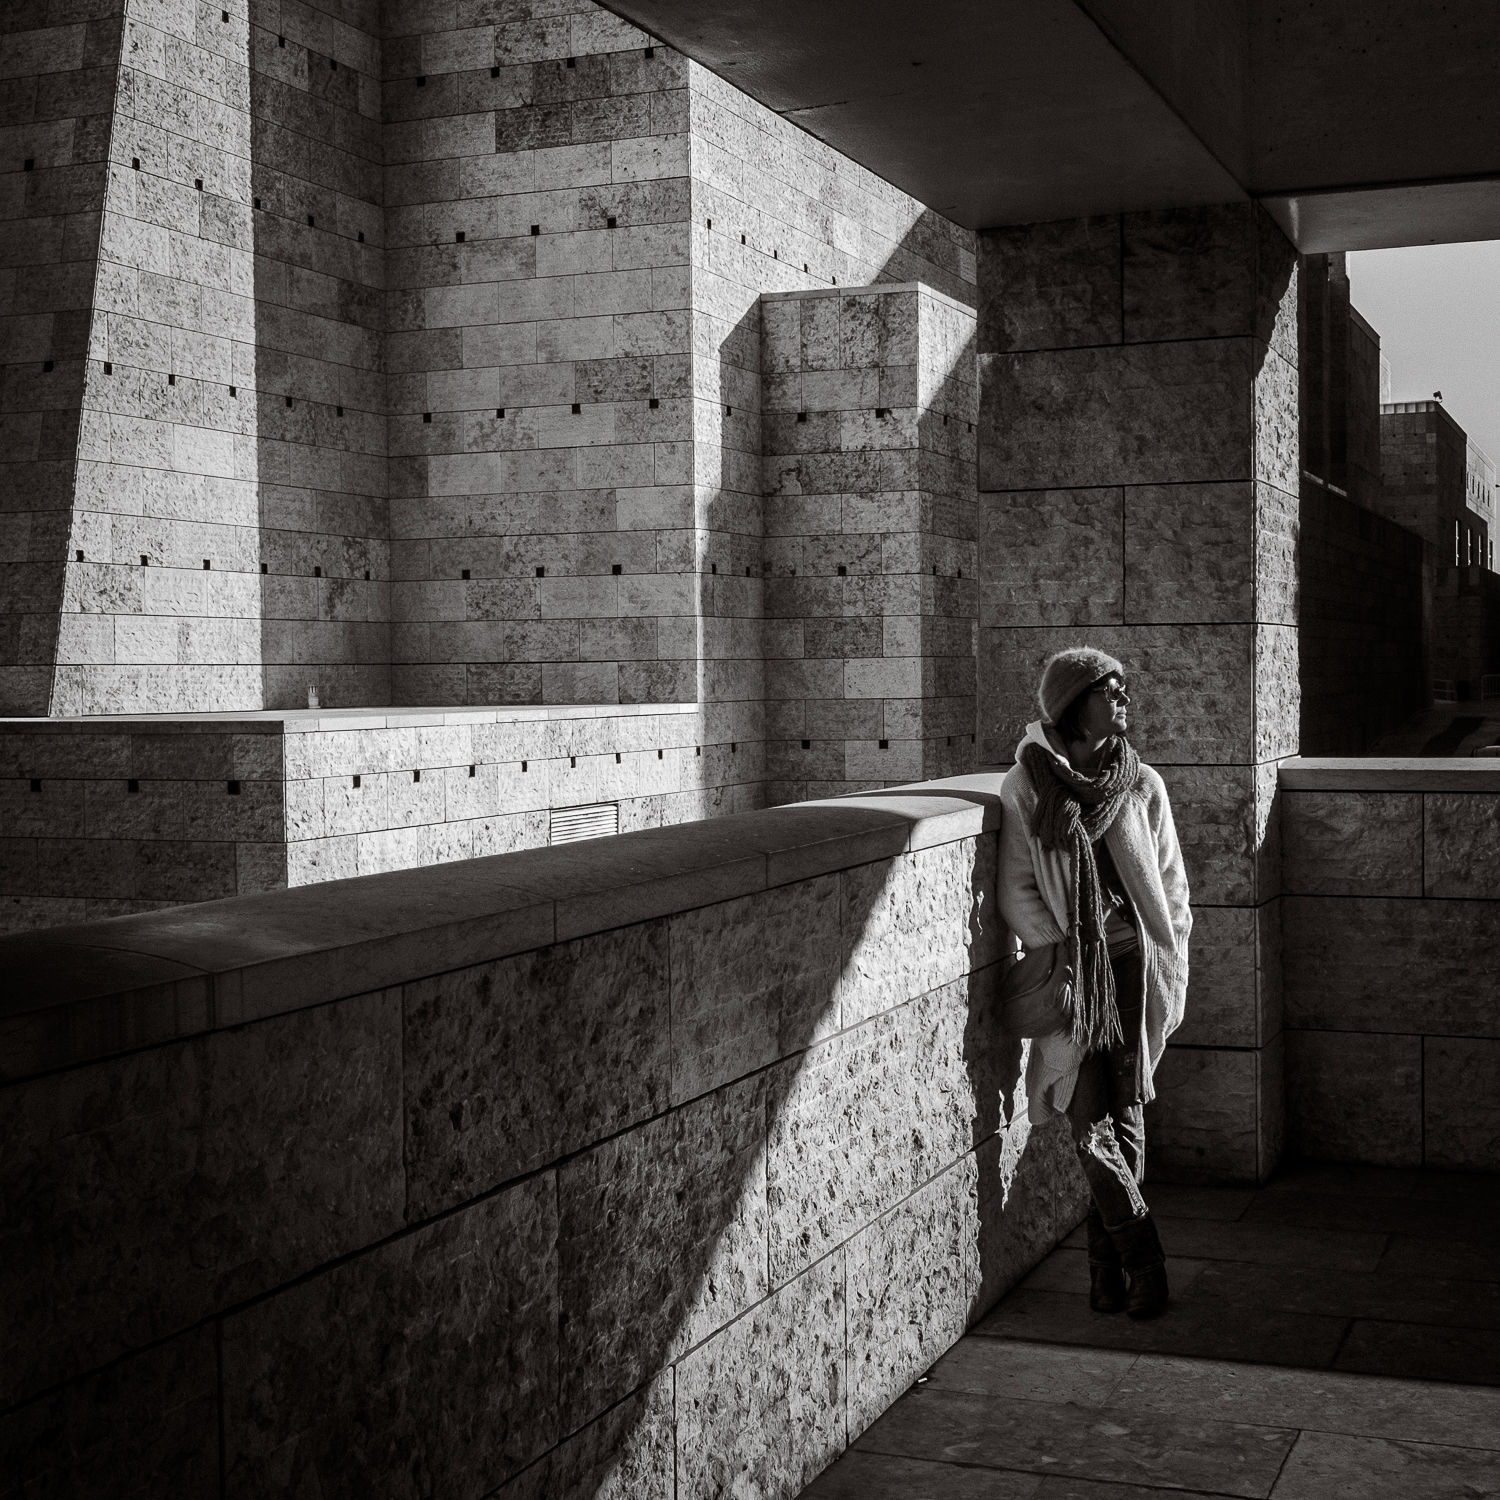
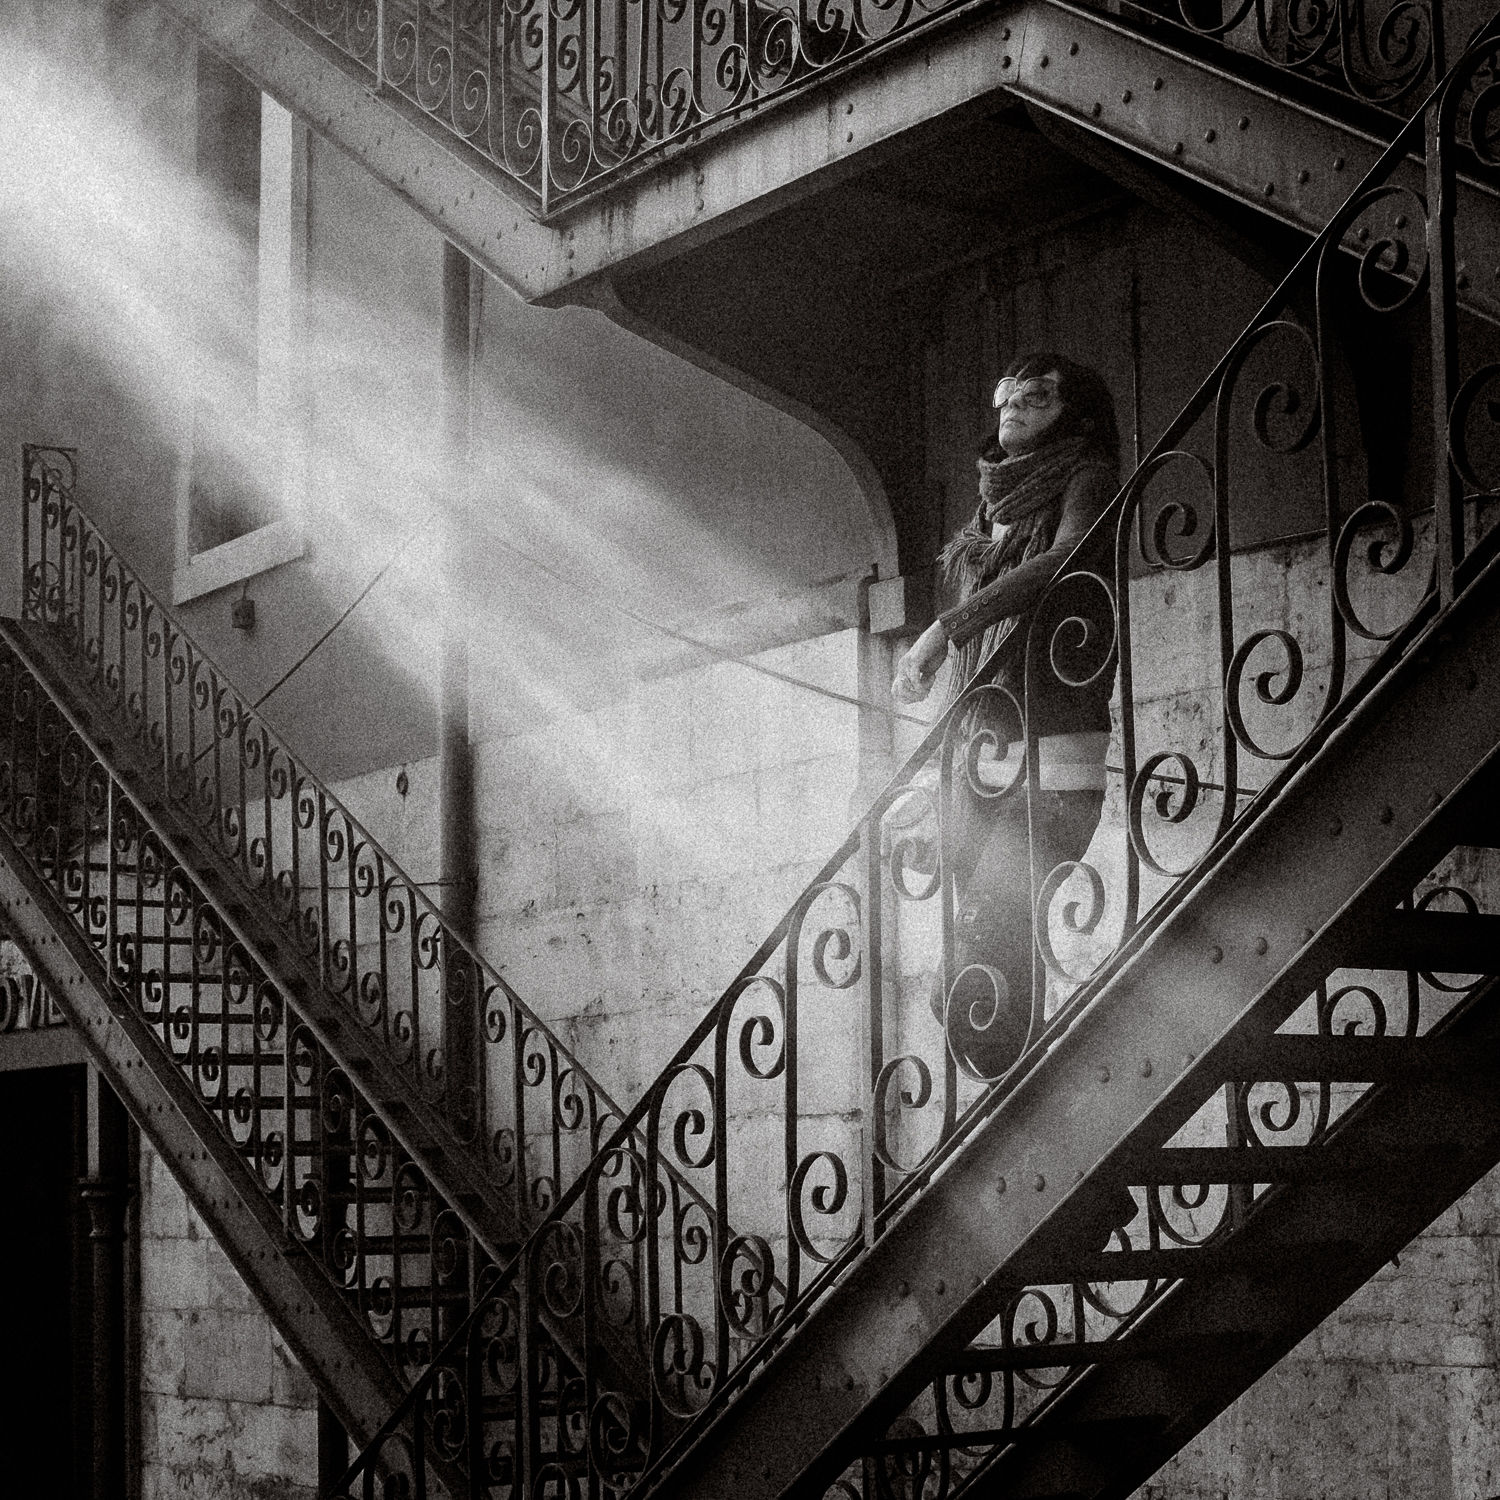
Just like David DuChemin, I firmly believe in Vision-Driven Postprocessing. I always try to maximise the mood in my images to make them convey what I felt at capture time. As you can see from the behind-the-scenes shot, this image was actually taken during the day, but I thought the loneliness I felt from shooting from the top level of a parking lot, would be better expressed by a "dusky" postprocessing. I used one of my Colorific Colour Grading presets.

Old X-Pro 1 shoots new X-Pro 2 :-) This is what the scene really looked like. The dusky atmosphere was added in post. I was surprised to see that even a JPEG could survive this much postproduction, so that's very promising for the RAW files!
For that reason, I chose to shoot with the Standard Profile, rather than with Classic Chrome which I normally prefer: that film simulation blocks the shadows and without the fallback option of a raw file, I preferred to keep my options open. The X-Pro 2 also has a new Black & White film simulation and a new grain feature, but I did not test that for the same reason.
In this blog post, I will list my top 10 favourite features of this incredible new camera. To conclude this post, I was amazed with the quality of the JPEG files and the flexibility they still offered in terms of further processing. It almost made me wish Fuji would offer an option to save images as 16 bit TIFFs: you would get the benefit of near-raw like editing options along with the beautiful out-of-camera film simulations.
So, these were the four images I submitted to Fujifilm. I’m as curious as you to know which one they picked for the 5 Year X anniversary exhibition. I hope they picked at least one. And even if they haven't, I still had a hell of a time shooting! For me, the X-Pro 2 is already a fantastic camera: it made me get up from my couch and go shoot. Isn't that what all good cameras should do?

This location, an abandoned cooling tower, had been on my to-do list for quite some time. But writing books, magazine articles, creating Lightroom presets and changing the occasional diaper kept coming in the way. The X-Pro 2 deadline was the necessary kick in the butt to finally load up my F-Stop Loka UL backpack and go explore. And that's probably what I like most about Fujifilm cameras: they inspire me to just go out and shoot, experiment, learn from my mistakes and shoot some more.

My trusted F-Stop Loka UL backpack and me at the foot of the hill overlooking Charleroi.

My favourite new camera with my favourite old lens: the 10-24. I think I make about half of my shots with that lens. In fact, three of the four images on this page were shot with it.

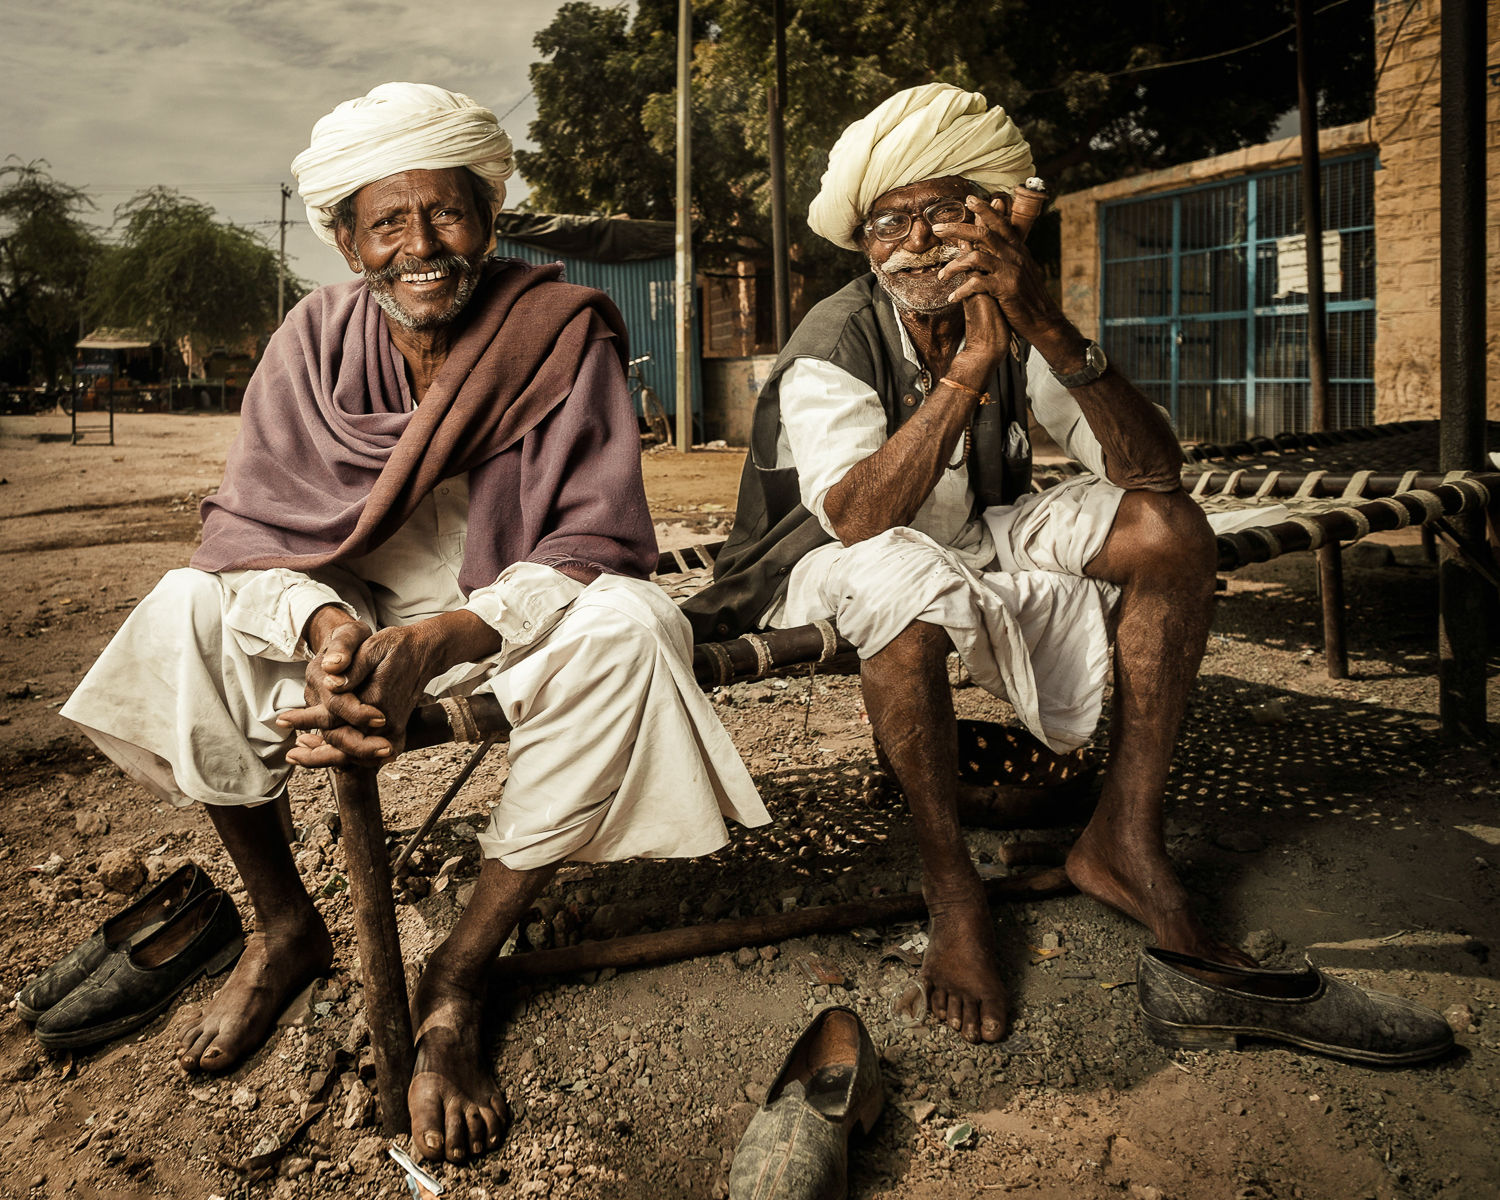
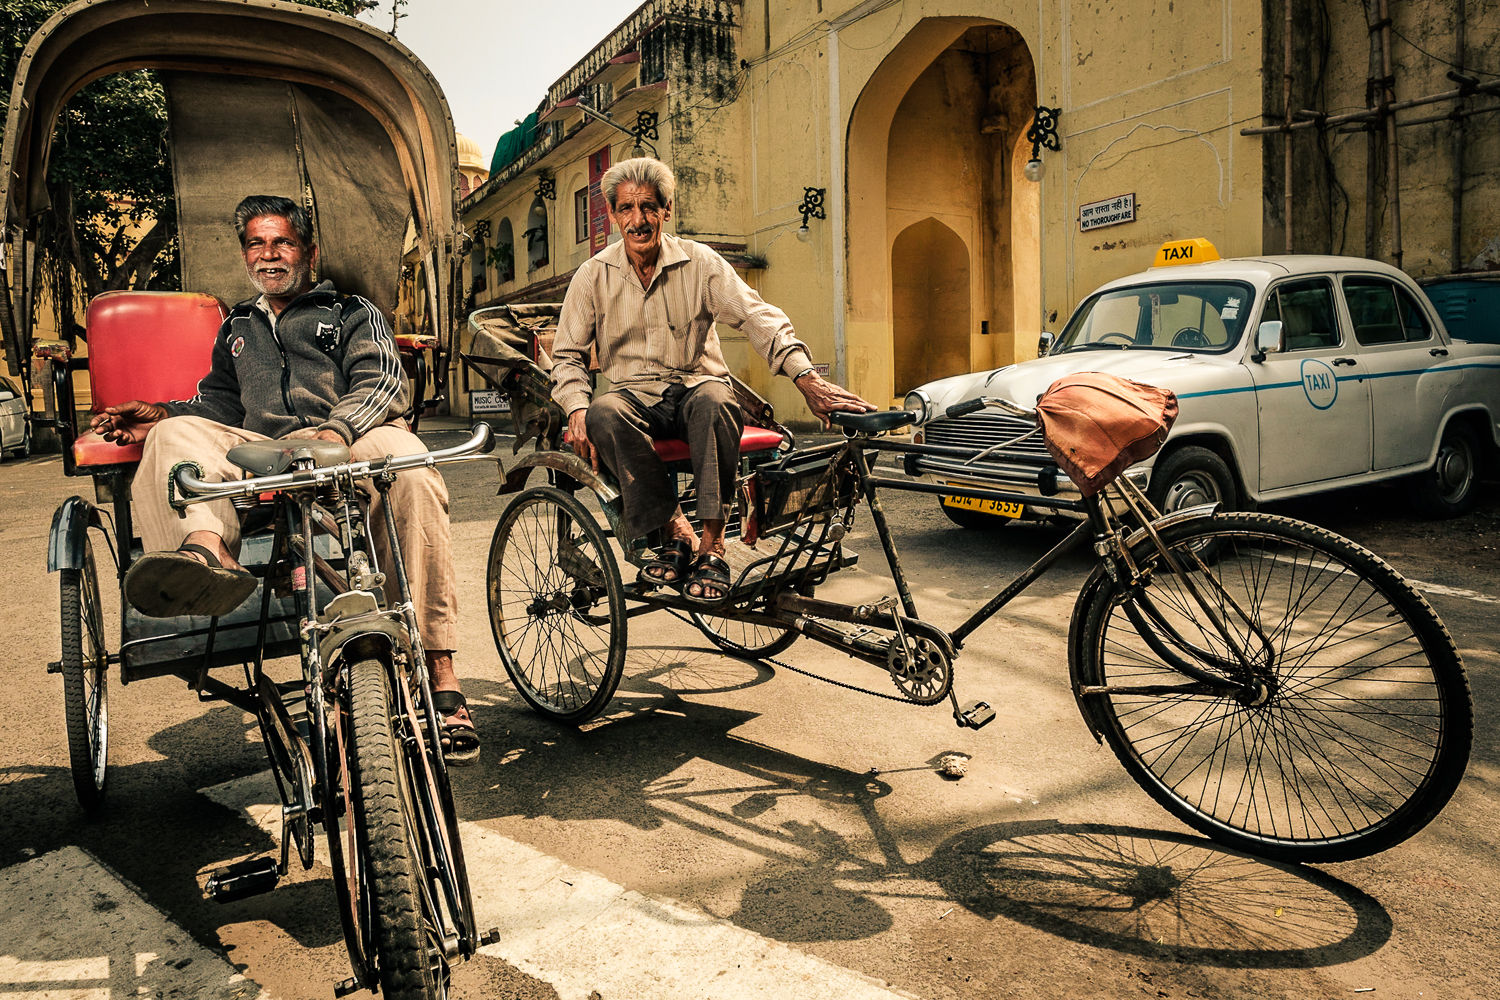
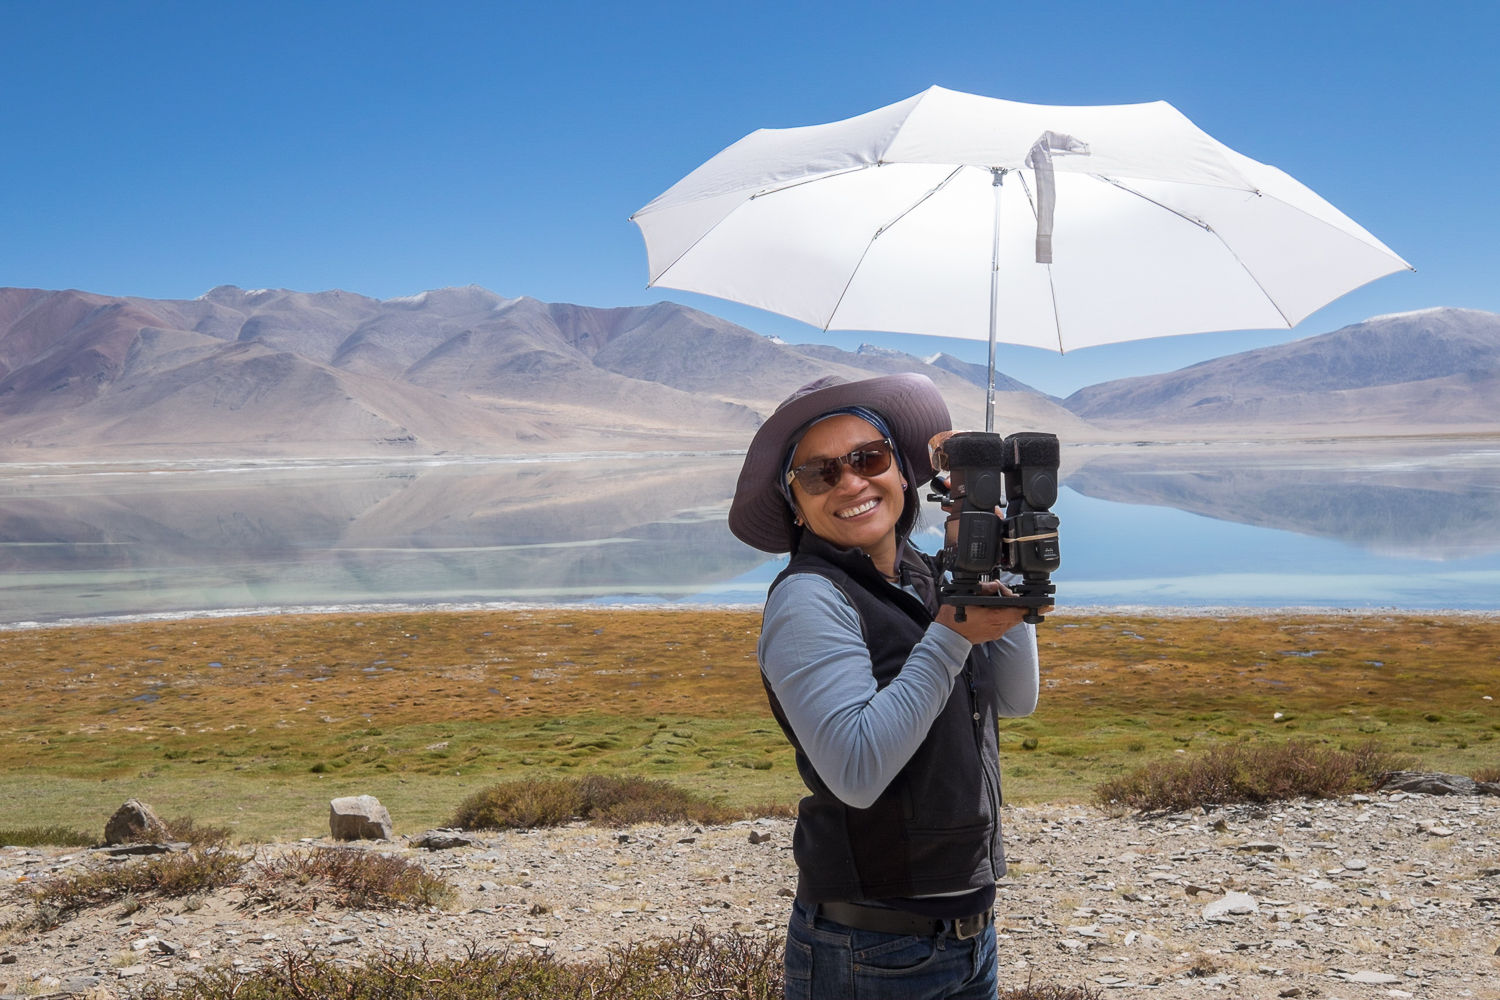
All images in this blog post are JPEG images coming from a pre-production X-Pro 2. They were processed in Adobe Lightroom with my Colorific Lightroom presets. A big thanks to Serge from www.fotografieblog.be for the behind-the-scenes shots (made with an X-Pro 1).