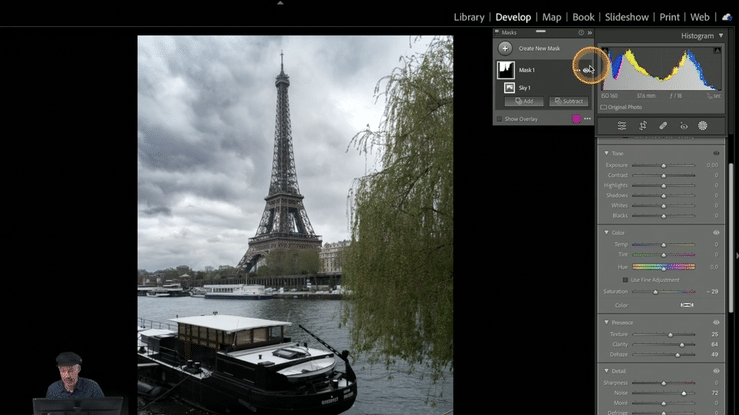
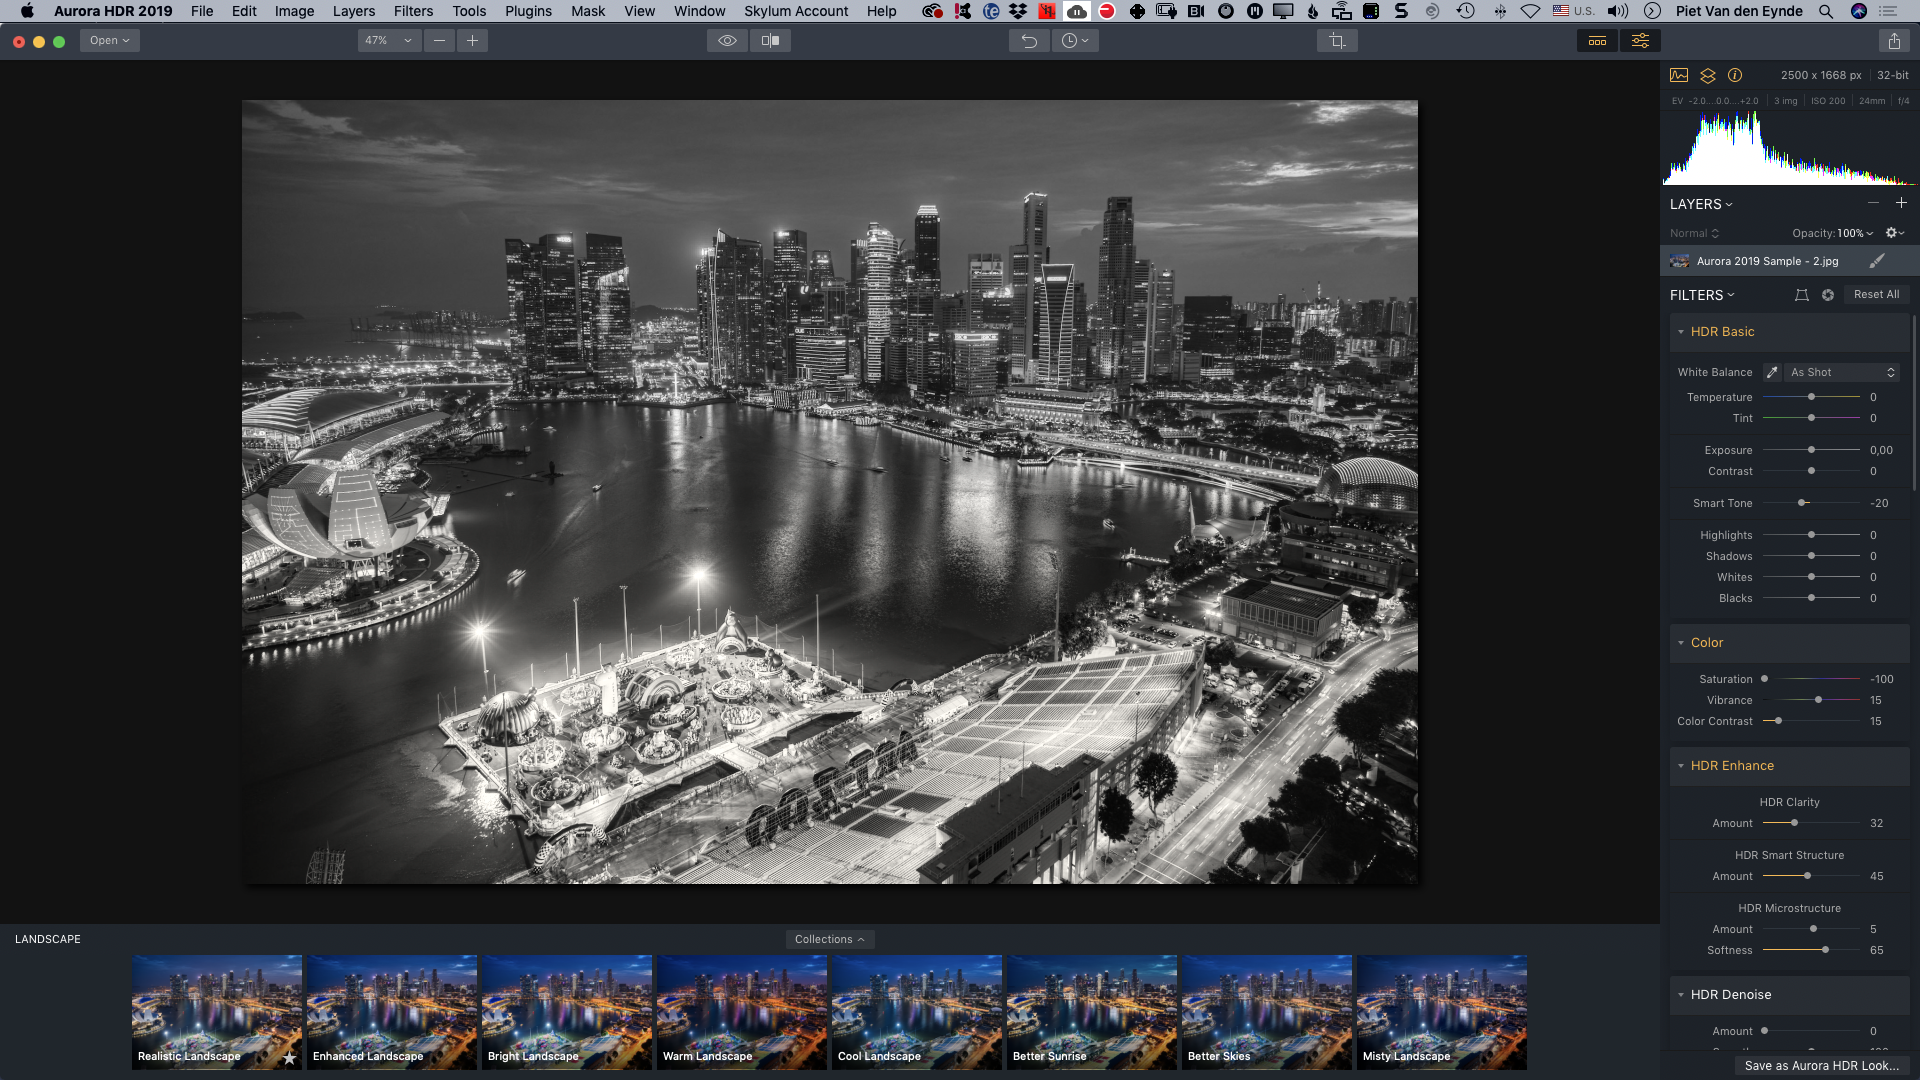
In this new video, I am turning a dull architecture shot into a dramatic Black & White in minutes, using a Creative Profile and some advanced masking, all in Lightroom Classic. Check it out below!

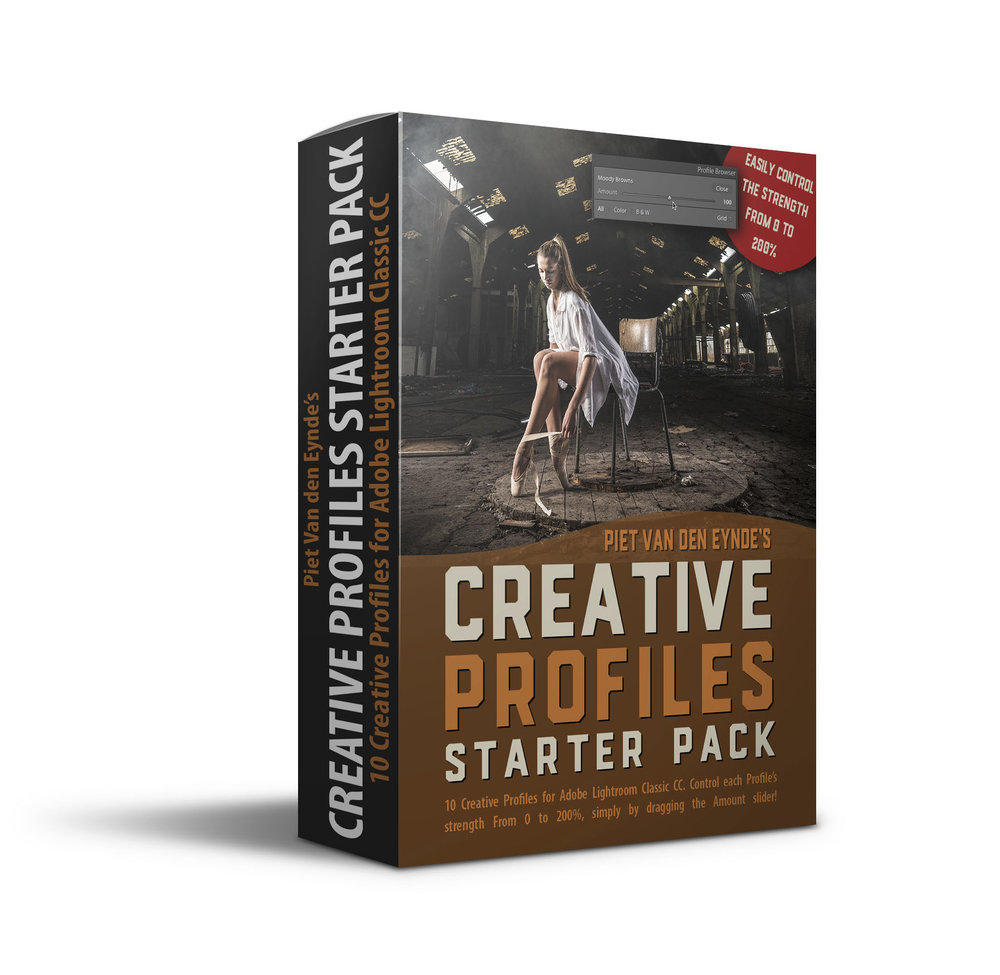
Creative Street Profiles, Vol. 01
10 Creative Black & White Profiles that turn your images into dramatic Black & Whites at the click of a button!
Introducing Ultimate Lightroom Masking
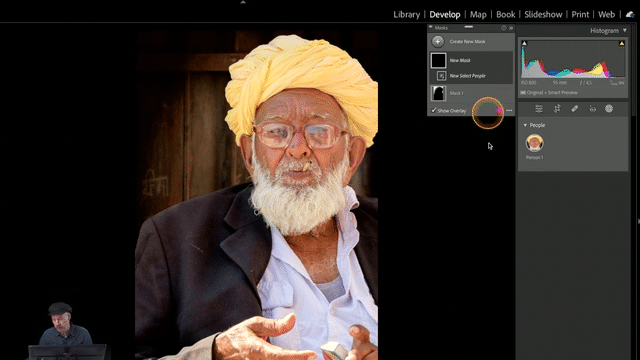
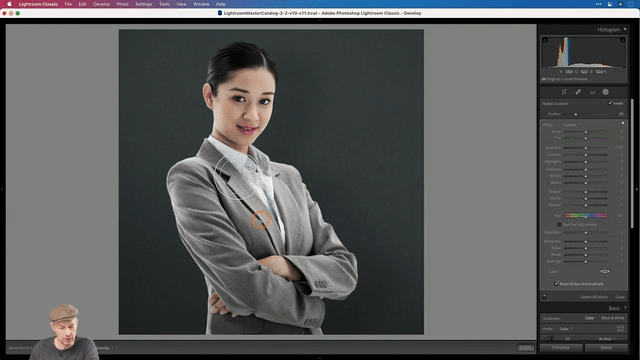
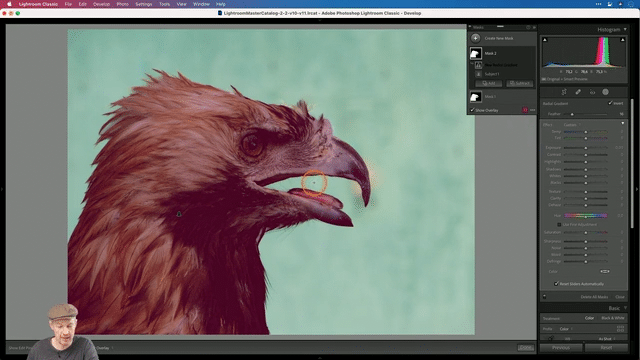
Did you find this interesting? This is only a glimpse of what the new masks that were introduced in Lightroom 11 and further (dramatically) improved in Lightroom 12, can do. If you want to know ALL about them and drastically cut down on your Lightroom editing time, all while making those edits better, then sign up for my upcoming ‘Ultimate Lightroom Masking’ 2-part Masterclass. The video below tells you all about it.
Part 1 is on Monday, March 27, 8 PM Brussels time, part 2 is on Wednesday, March 29, 8 PM Brussels time. But don’t worry if you can’t make it to the live sessions because everything will be recorded and your registration also entitles you to that recording at no extra cost so you can watch either the live, the recording or both!
Registration is now open. Take advantage of the discounted early bird rate using the links below. For a limited time, you pay only US$39.95 (including tax) instead of US$59.95 for both sessions, including the recording!