Every year, I try to set myself a new professional goal. For 2015, I wanted to redo my blog and website. And so I did. I switched to Squarespace from Wordpress. Squarespace is easier than Wordpress, but still, I had to learn it from scratch. So, you’re looking at the result of this year's goal. I hope you like it. And if you don’t, just imagine my previous site was even worse!
For 2016, I want to get better at compositing. In preparation, I think I’ve bought just about every tutorial and book there is on the planet. And there are a lot of them, believe me!

A couple of weeks ago, I noticed Dutch compositing guru Adrian Sommeling had released his brand new (and first) English training DVD: Realistic Compositions. Adrian’s work is fantastic, both literally and figuratively. I know his work from some of the covers of the Dutch photo magazine Focus. Although they're very realistically composited, I'd rather call them 'Surreal Compositions'. A look at his portfolio will tell you why. Watching one of Adrian's composites is like watching a show by a really good magician: you know it's not real, but you can't put your finger on 'the trick'.
I was lucky to receive a review copy. So... here is my review!
Almost 5 hours in 11 chapters
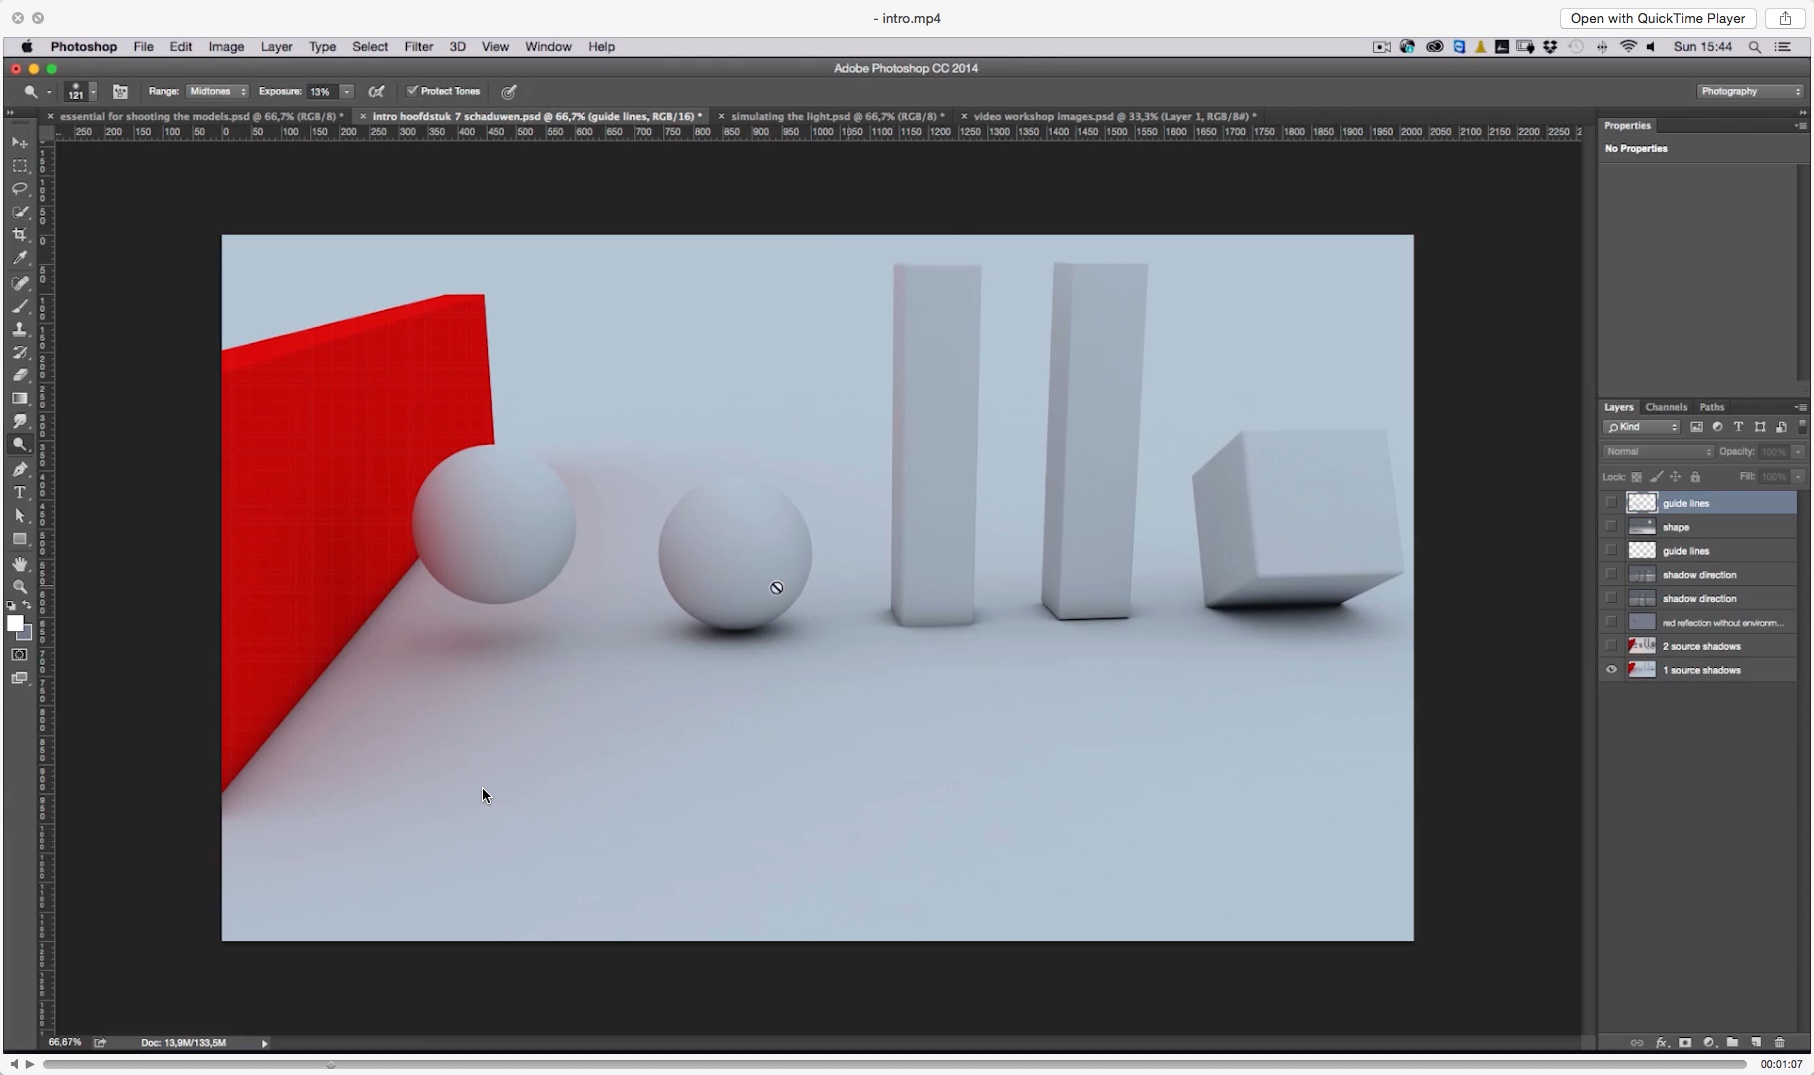
In this download-only production, which is broken up into 11 chapters, you get to see and follow along with a full composite from shoot to finish. That’s already a big difference with some of the other tutorials out there, who simply start with the Photoshop process. As it turns out, the way you plan your shoot (and your lights in your shoot) is essential to make your compositing project work.

The final composite (don't be intimidated by the height of the layer stack: everything is built up in easy to follow steps). Image © Adrian Sommeling.
Another difference with some of the other training material available, is that Adrian chose a more complex shoot (including flying chickens!), with lots of challenges. That partly explains the length of this DVD. On the other hand, it also means you can really learn a lot and after following this DVD to the end, you should definitely be able to create a realistic composite of your own, especially if you're smart enough not to make your first one as complex as this one!
Shooting your subjects and masking them

A chicken with an expensive taste in lighting equipment. Image © Adrian Sommeling.
So the first chapters are all about the shoot. Then, Adrian will teach you how to mask your subjects to extract them from the studio background and put them into their new surrounding. I was surprised to see he only uses the Quick Selection tool. And I picked up a brilliant tip on how to use it that’s probably worth half of the DVD’s price. Now that I know that tip, I can understand why Adrian only uses this tool.

You might be surprised, but cutting out your subjects from the studio background is actually the simplest part of creating a realistic composite. Image © Adrian Sommeling.
“I learnt a trick about the Quick Selection tool that by itself is worth half of the price of the DVD”
It's all about the shadows
You might think that cutting out the individual elements is the most difficult part of the procedure, but it is not. That award goes to the tedious process of creating realistic shadows. Have you ever wondered why most composites (and compositing tutorials) only work with portraits from the waist up? That’s because it’s really difficult to create realistic shadows. And this is exactly what the biggest part of this DVD is about: Adrian gives us a little theory about shadows (I love his simple yet informative slides) and then he explains how to make contact shadows and ambient shadows.
Adrian's explanation on the types of shadows, their importance and how to recreate them from scratch is simply the best I've seen in any compositing tutorial.
He really makes you see your composite in three dimensions: there’s the shadows that the sun casts on the elements in your composite, but there’s also the shadows that the elements in your composite cast upon each other. Here again, I was surprised to see how he manually paints his shadows and then refines them with a layer mask. The closer a shadow is to its origin, the harder its contour will be and Adrian teaches you exactly how to simulate that.

All the elements placed into the scene. Without shadows, it definitely looks fake. Image © Adrian Sommeling.

After adding the different shadows: not only the long shadows caused by the sun, but also the contact shadows and the shadows that the elements of the scene cast upon each other. Image © Adrian Sommeling.
Getting the 3D look
One thing that is really typical for Adrian’s work is a very threedimensional feel: the elements seem to leap off your screen. He does that partly with his lighting, partly with his choice of lens (mostly wide-angle) and viewpoint (close to the ground) and finally, partly with his postprocessing. Adrian shows you how he uses relatively simple dodge and burn techniques to make his subjects stand out better.
Finishing touches
The final chapters are dedicated to ‘finishing touches’ such as replacing the sky, making tonal corrections, adding some Color Efex Pro (one of my own favourite plug-ins) and adding motion blur.
A nice personal touch is that Adrian uses his son in a lot of his composites. I can only imagine the kick the young boy must get out of seeing himself in these super composites.
Source files included
The DVD comes with all the source files, so you can try to mask them yourself and then put them together. My own boy is two and a half years old. He’s still too impatient to model for me and that probably (and luckily) gives me a year or two to work on my composites. In the mean time, I’ll rewatch Adrian’s DVD a couple of times!
Conclusion
As you might have guessed by now, I can really recommend this DVD. 85€ is a very fair price considering the amount of info that you get and given the fact that all the source files are included. In fact, if you ever consider taking one of Adrian’s workshops, this DVD is an excellent boot camp. In order to get the most out of this training DVD, I do recommend you should be familiar with layers, layer masks and adjustment layers. If you aren’t, I would recommend taking a basic Photoshop course first. I'm obviously slightly biased but I have had some really nice reviews about my own - seven hour - ‘Photoshop for Photographers’ over at Craft & Vision. Alternatively, if you speak Dutch, the Photoshop courses Marit Hilarius and I have created for the Dutch Photography, Lightroom and Photoshop online video tutorial website Photofacts Academy. For the latter, you can get a 2 week free trial (no credit card required) here.

YOU MIGHT ALSO BE INTERESTED IN...